
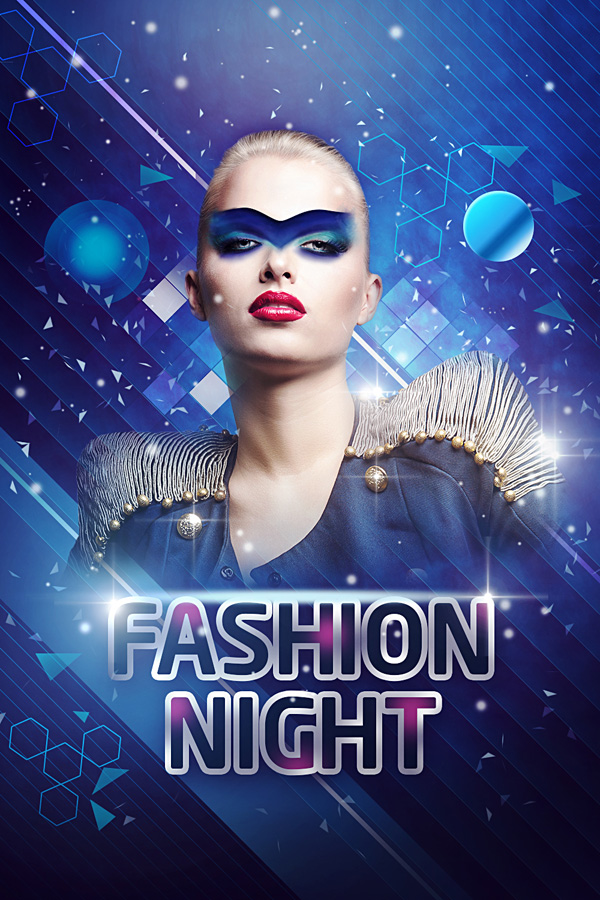
Create fashion-inspired digital collage in Adobe Photosop CS6
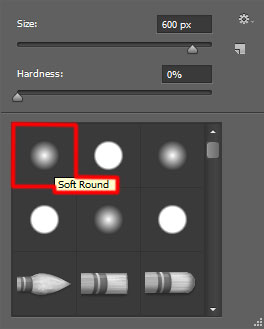
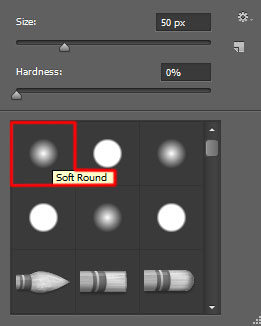
Create a new layer again and select the Soft Round brush to paint the upper zone with the color #FAFA00 (brush Opacity – 7%).
The layer must be placed under the model’s layer.
Set the Blending mode for this layer to Hard Mix.

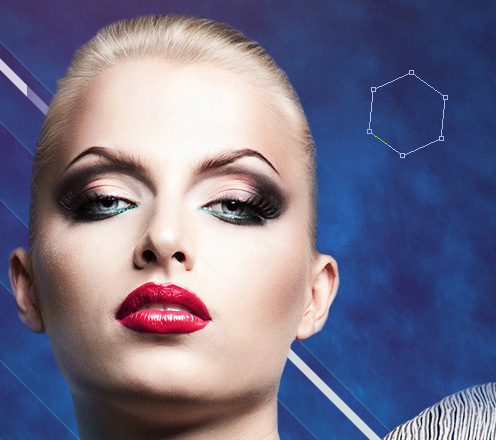
Using the Polygon Tool (U) we’ll draw the next polygon, placing this layer under the model’s layer.
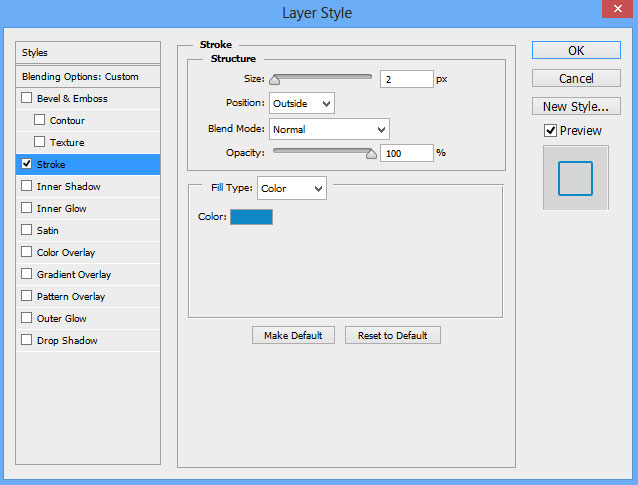
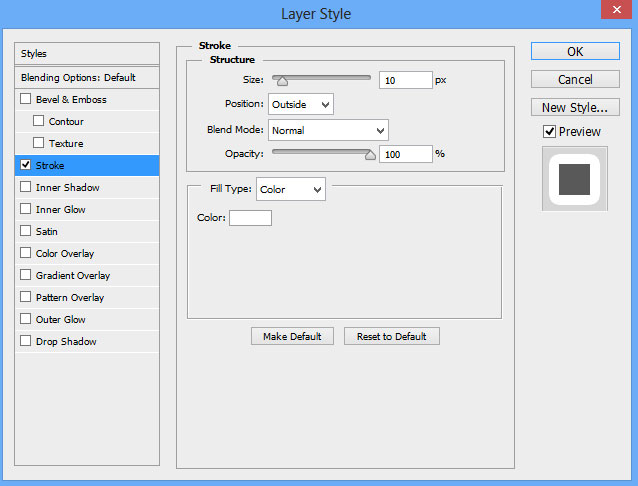
Set Fill to 0% for this layer and click on Add a layer style icon from bottom part of the Layers panel to select Stroke.
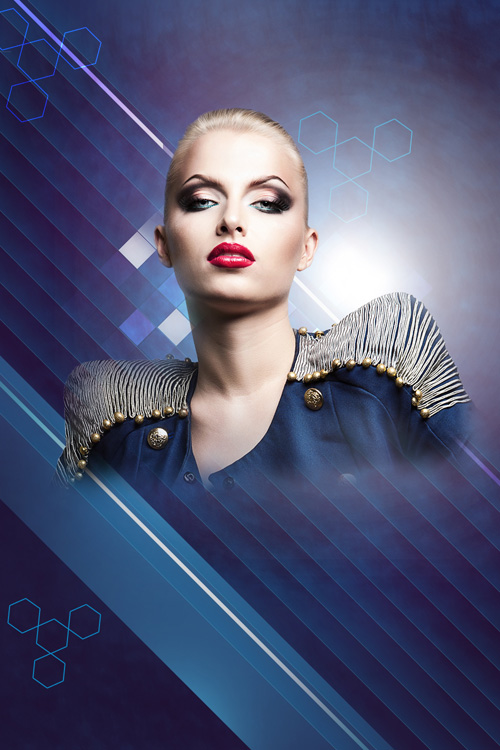
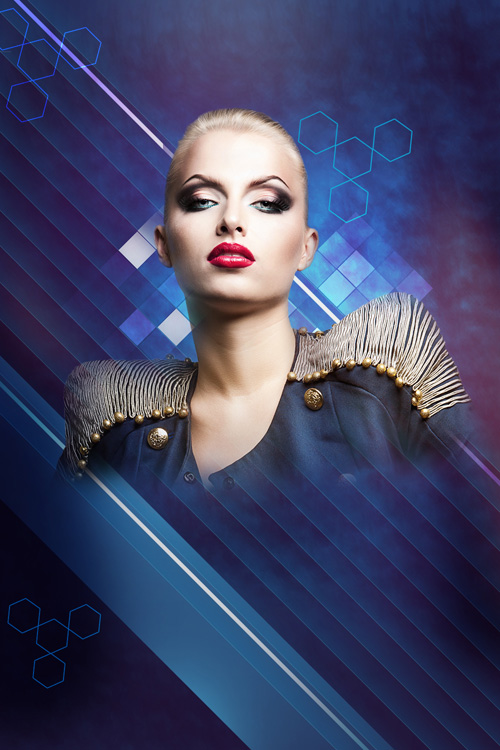
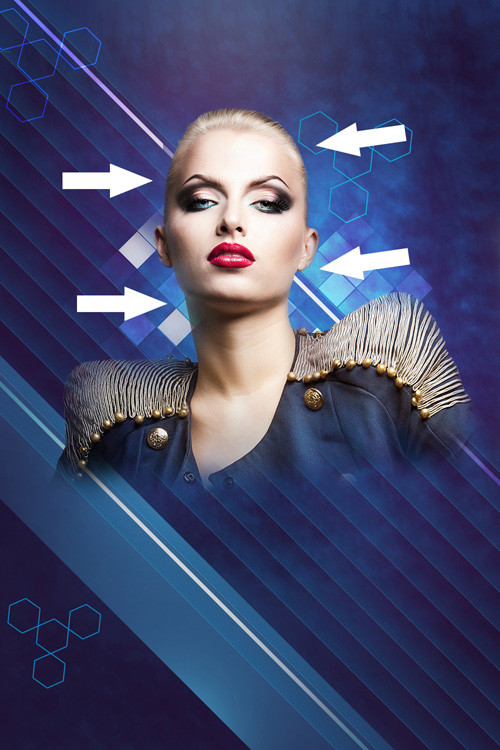
We’ve got the next result:

Make three copies of this layer and choose the Free Transform (Ctrl+T) command to turn over the copies connecting them by their corners.

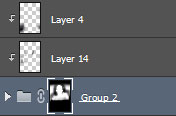
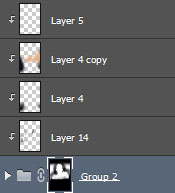
Now put in a group the layers with the polygons (hold Ctrl button to select the corresponding layers in Layers paneland then press CTRL+G). We have to make two copies of the got group and apply again the Free Transform (Ctrl+T) to change the copies’ sizes, placing them as below.
Try to set the Blending mode for the left top group containing the polygons to Color Dodge.

Now we‘ll represent the next set of squares. In this case select Rectangle Tool (U) and draw a square of white color. Make many copies of it and select the Free Transform (Ctrl+T) command to place the copies as on the picture it is indicated. We have also to change the Fill valiue on the copies’ layers, trying to get the same result as it is represented below. The elements’ layers will be situated under the model’ layer.

Combine in a group all the squares’ layers (press CTRL button to select the necessary layers and hold on the left mouse’s button while dragging the selected layers on Create a new group icon from bottom part of the Layers panel). Set the Blending mode for the new group to Hard Mix.

Insert the mask on the group by choosing Add layer mask on the bottom part of the Layers panel and choose the Soft Round brush of black color (set Opacity to 20% in Options bar).

Paint in the mask to hide out the squares the same way as it is shown on the picture.

Make a copy of the group containing the squares and choose the Free Transform (Ctrl+T) command to turn over the group’s copy to get the same effect as it is represented below. The group’s copy must be placed under the model’s layer. Remove the mask and change the Blending mode for this group to Overlay.

Make a copy of the recently made group and insert the mask on the copy (click on the bottom part of the Layers panel on Add layer mask) and use the Soft Round brush of black color (brush Opacity – 20%) to hide out the squares the same way from the next image.

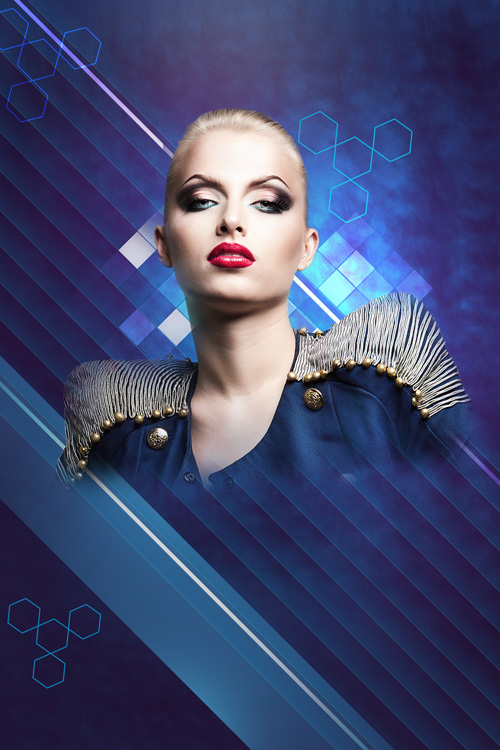
We’ve got the next result:

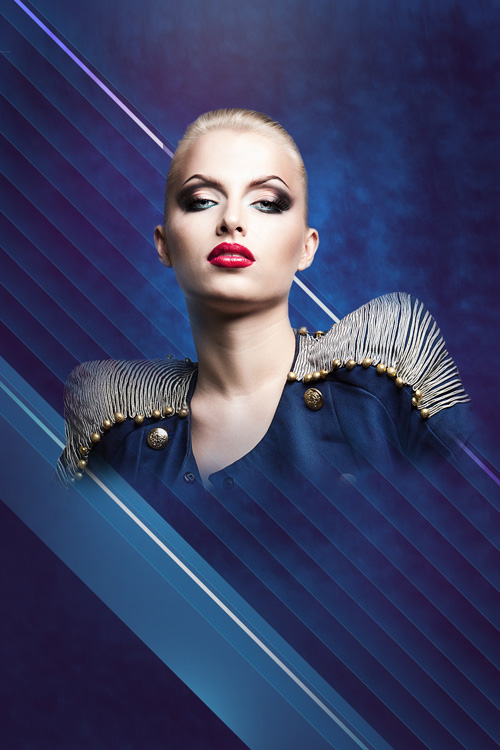
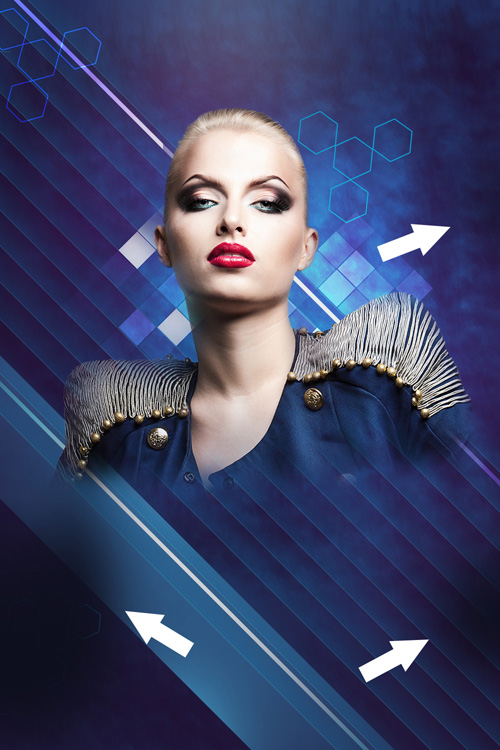
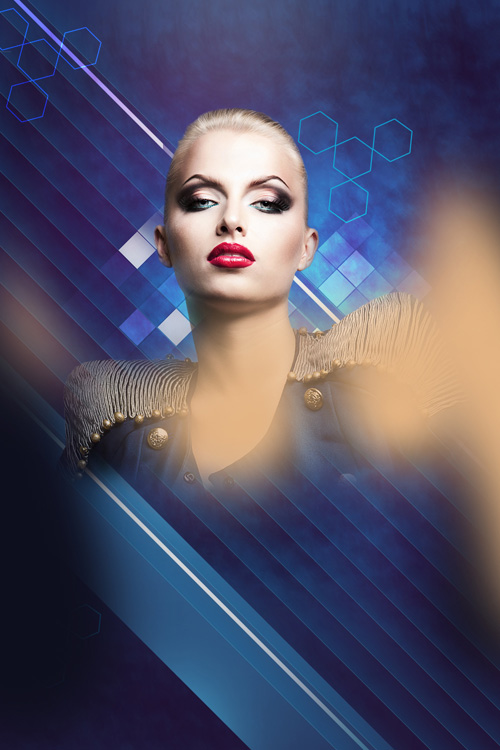
Next we have to represent a brightness behind the right model’s shoulder by creating firstly a new layer and using on it the Soft Round brush of white color (brush Opacity – 15%), clicking multiply on it.
This layer must be situated under the model’s layer too.
Set Fill to 84% for this layer and change the Blending mode to Overlay.
Create a new layer and select the Soft Round brush to paint certain zones on the model’s image, creating additional shadows.

Use this color #45005C (brush Opacity – 15%). This layer and the next ones will be situated above the model’s layer.
Hold down Alt (Windows) or Option (Mac OS) and click between the brush’s layer and the model’s layer in the Layers panel to create a clipping mask.
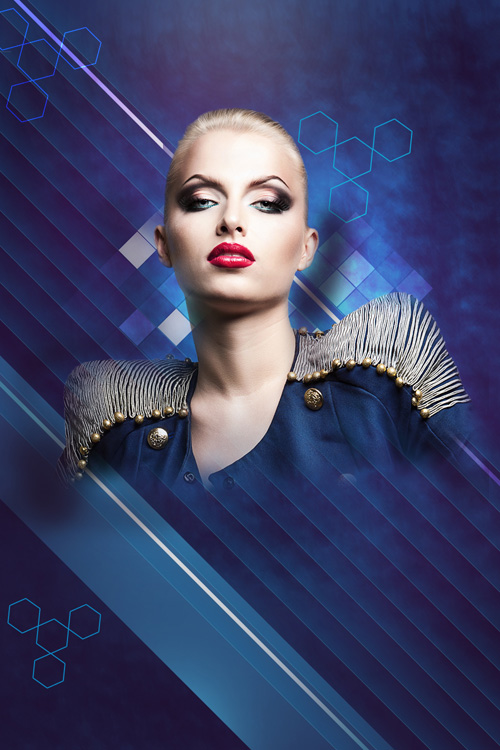
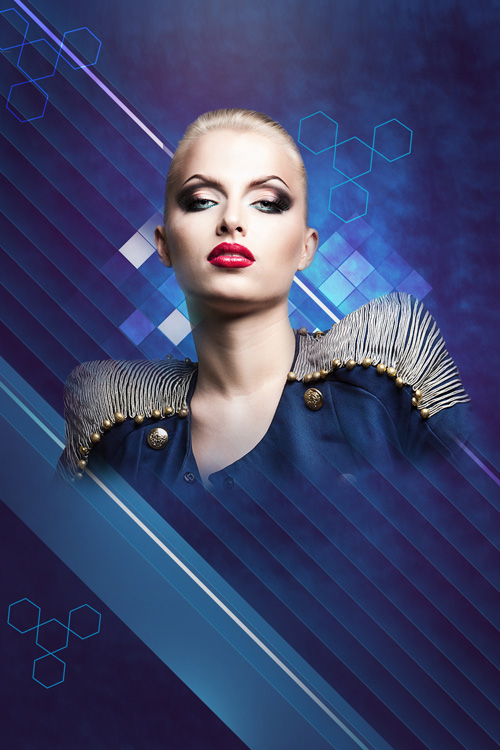
We’ve got the next result:
Create a new layer to insert more shadows on the model’s layer.
This time select a Soft Round brush of black color (brush Opacity – 20%).
Hold down Alt (Windows) or Option (Mac OS) and click between layers in the Layers panel to create a clipping mask.
We’ve got the next result:

Next we’ll represent the next new layer and select for it the brush mentioned previously to paint above the model’s surface, using the black color and this one – #E47200 (brush Opacity – 20%).
Set the Blending mode for this layer to Soft Light.
Hold down Alt (Windows) or Option (Mac OS) and click between layers in the Layers panel to create a clipping mask.
We’ve got the next result:
Create a new layer and select the Soft Round brush of white color (brush Opacity – 10%) to paint several zones indicated below.
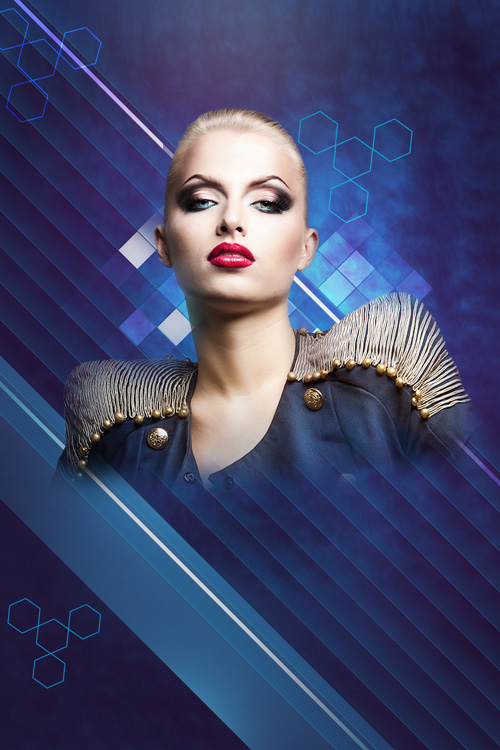
We’ve got the next result:
Hold down Alt (Windows) or Option (Mac OS) and click between layers in the Layers panel to create a clipping mask.
We’ve got the next result:

Insert the text we want now. Select the Horizontal Type tool (T). Select a font, size and color in the Character panel.
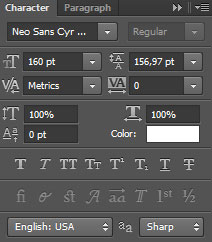
Click in the canvas and type ‘Fashion Night’. Press Enter to apply the text.
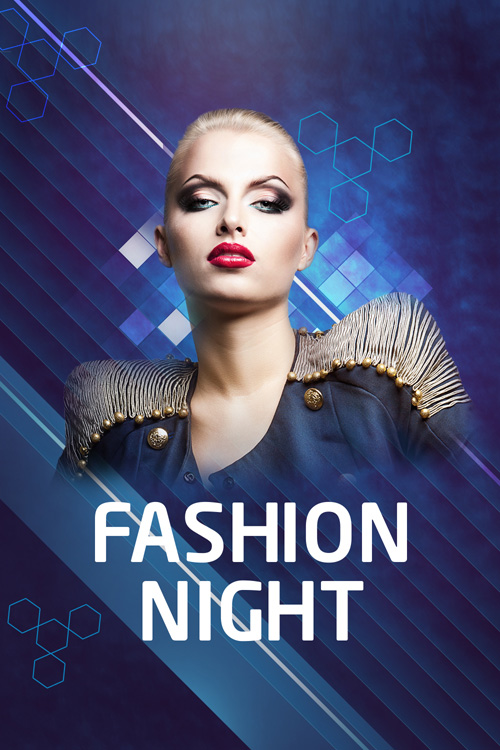
Click on Add a layer style icon from bottom part of the Layers panel and select Stroke.
We’ve got the next result:

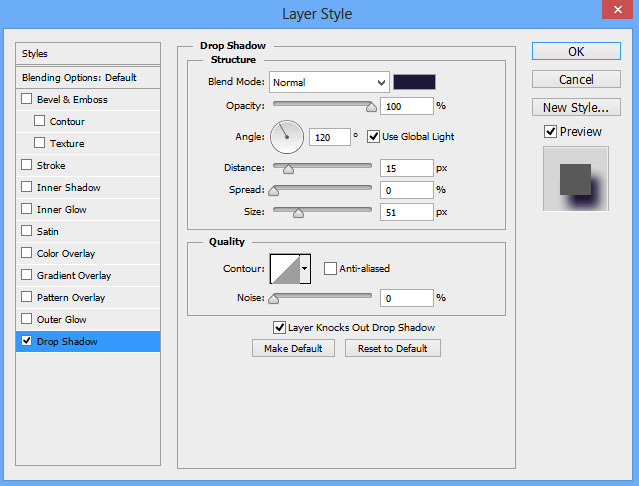
Right-click on the text’s layer in Layers panel and select Convert to Smart Object. Click on Add a layer style icon from bottom part of the Layers panel and select Drop Shadow.
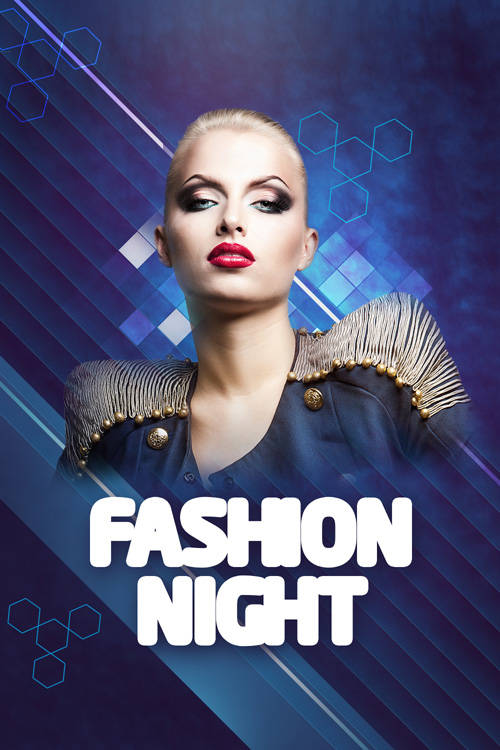
We’ve got the next result:
Comments