
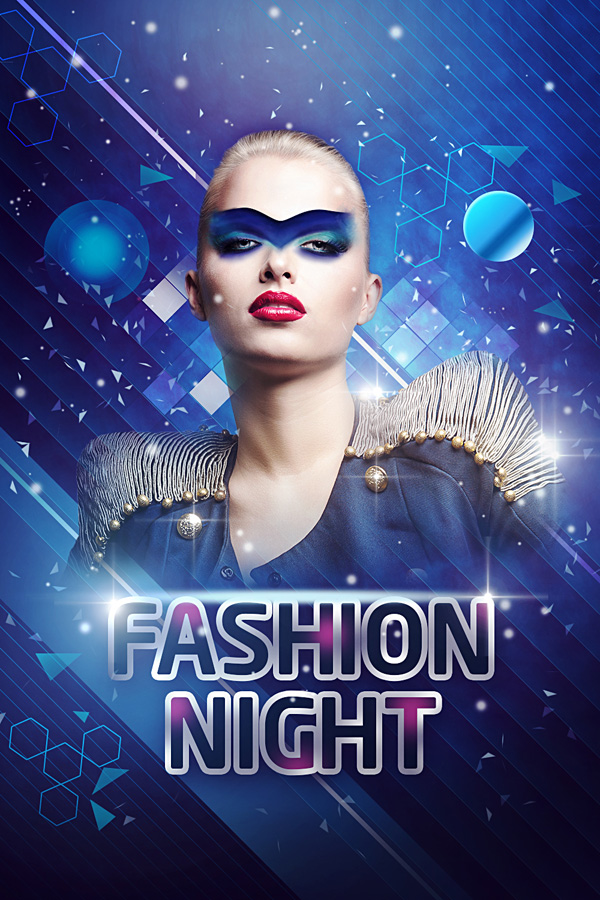
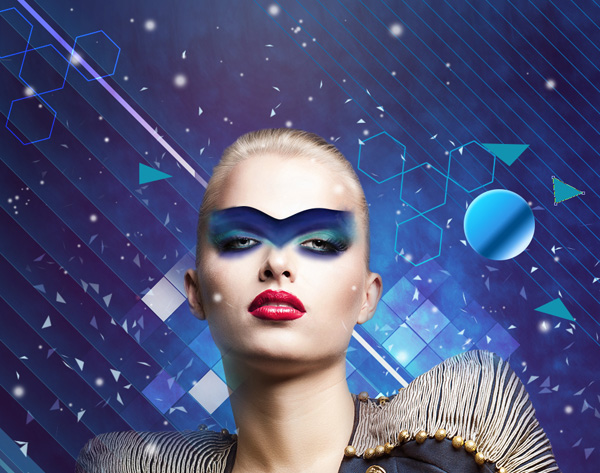
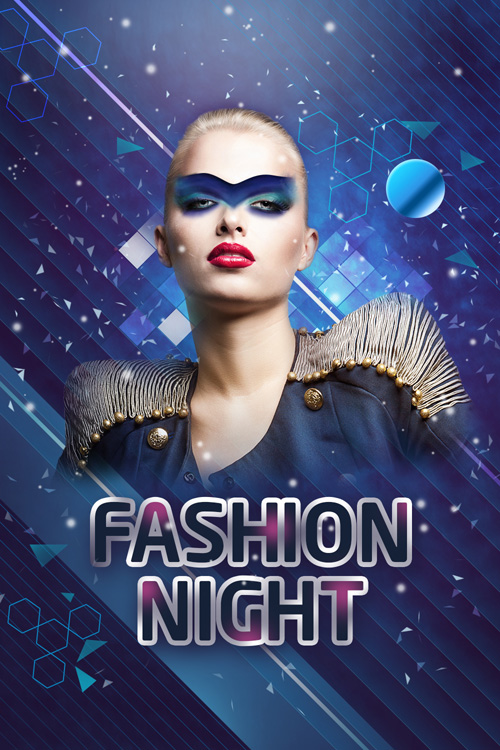
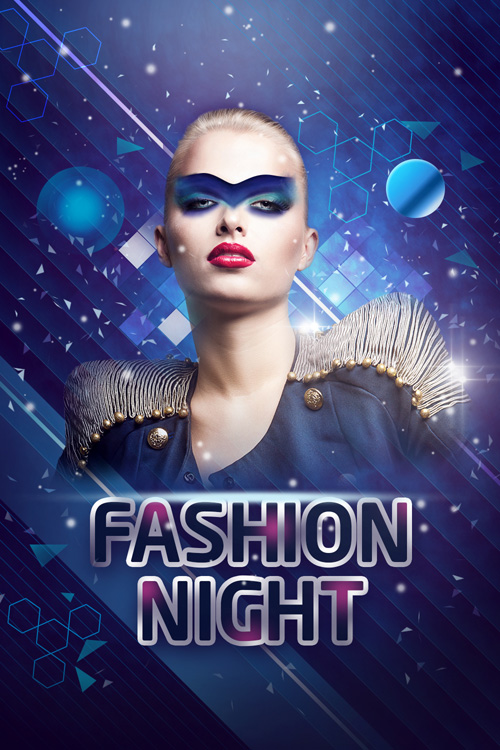
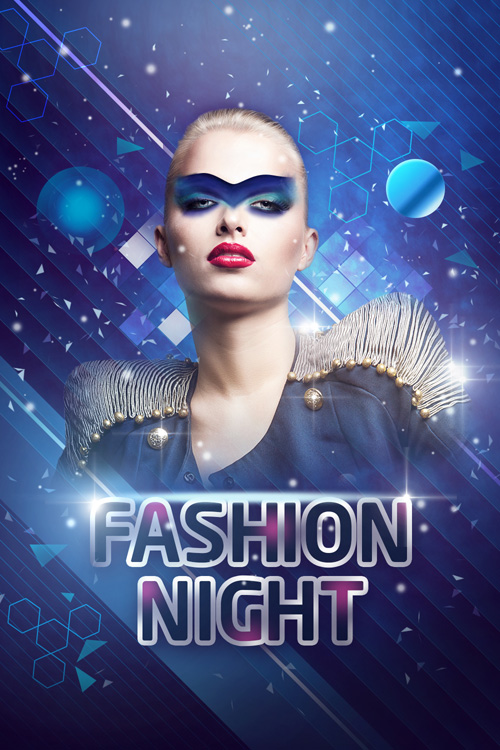
Create fashion-inspired digital collage in Adobe Photosop CS6
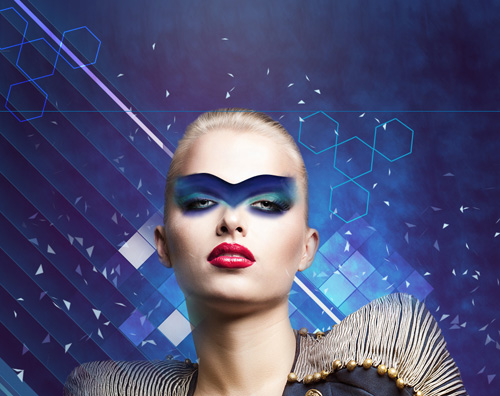
On the next new layer we’ll continue applying the brush from mentioned set to paint the make-up shape on the model’s face. This time select the color #2D2B51 (brush Opacity – 20%).
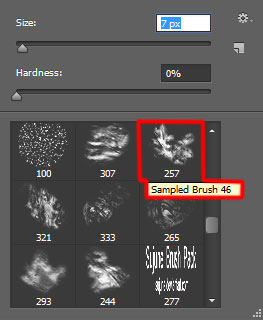
Then spread the color, applying the same Smudge Tool (R).
Now we have to repeat the above described operation, continuing working with the make-up. The brush’s color is the same. Create a new layer and apply the brush on the model’s right eyebrow. On the left one we’ll insert a very smooth line, which will be spread also with the same Smudge Tool (R).


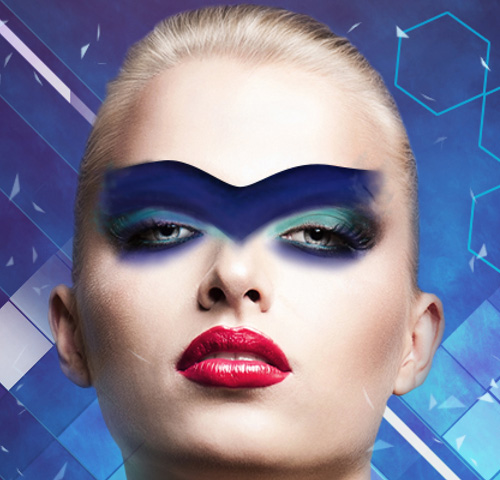
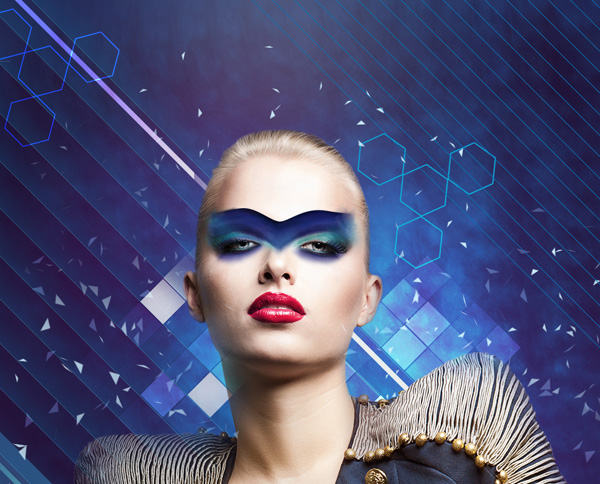
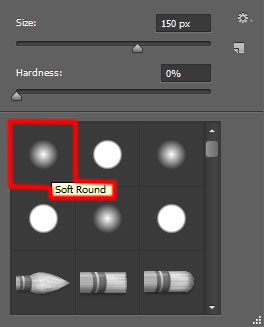
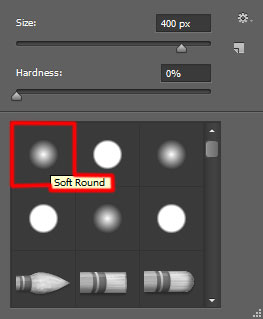
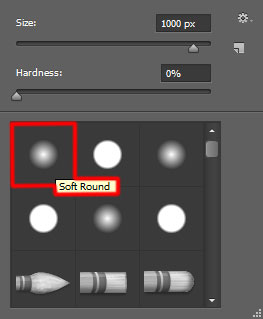
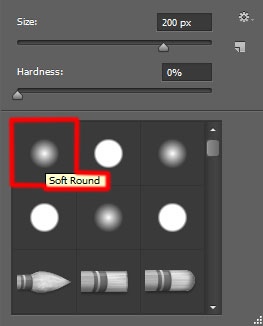
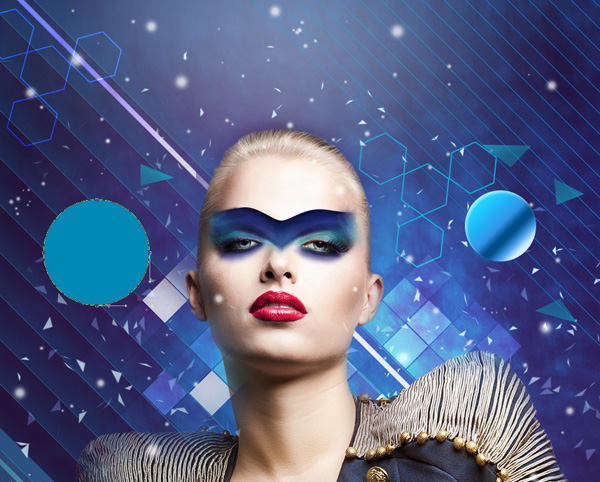
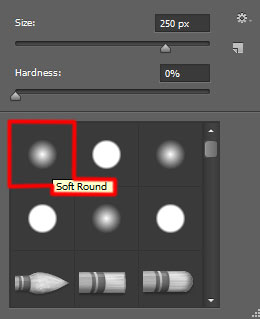
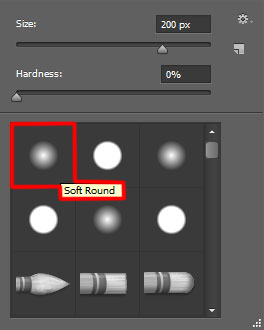
Finish with the make-up by creating a new layer and using on it the Soft Round brush to paint the indicated zones on the canvas.

The brush’s color is #00C7FE (brush Opacity – 20%).
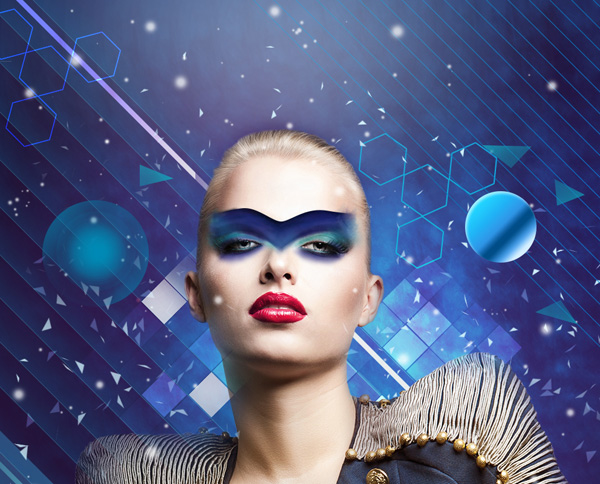
Next we’ll draw a line again, applying the Rectangle Tool (U):

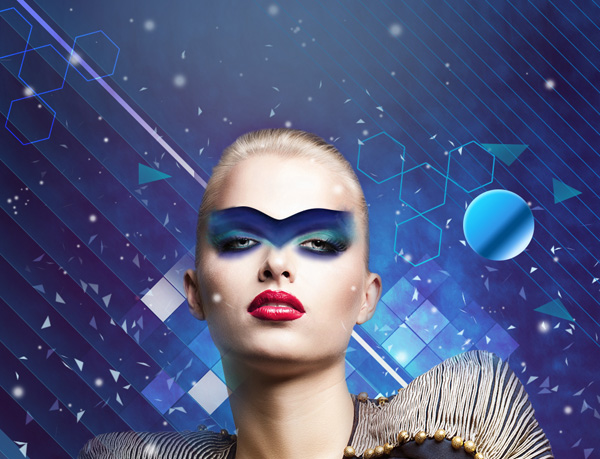
We’ve got the next result:
Make several copies of the last made layer containing the line and select the Free Transform (Ctrl+T) command to incline the copies and placing them the same way from the image below.
Combine in a group all the layers containing the last made lines (hold Ctrl button for selecting them out in Layers panel and then press CTRL+G). Make a copy of the last got group and select the Free Transform (Ctrl+T) command to place the group’s copy on the left lowest corner.
Insert the mask on the group by choosing Add layer mask on the bottom part of the Layers panel and choose the Soft Round brush of black color (set Opacity to 20% in Options bar).
We’ve got the next result:

Create the next new layer and select here the Soft Round brush to paint above the lines on the top right corner, having this color – #002CB5 (brush Opacity – 15%).
We’ve got the next result:
Set the Blending mode for this layer to Color Dodge.

Create a new layer and select the standard brush of white color this time (brush Opacity – 40%) to insert many small dots of different diameters.
We’ve got the next result:

Using the Ellipse Tool (U), we’ll represent a small circle.
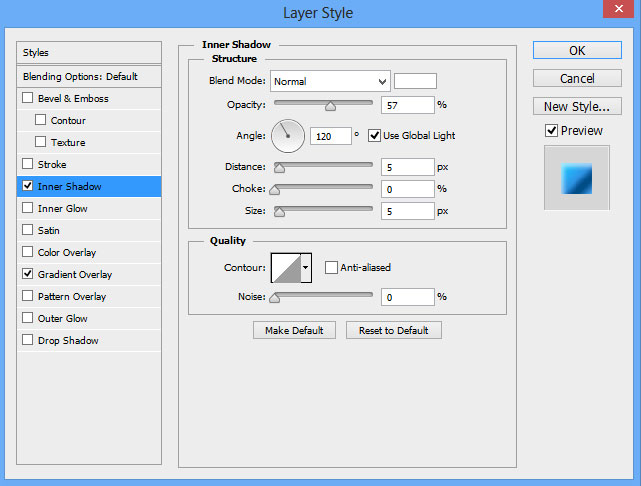
Click on Add a layer style icon from bottom part of the Layers panel and select Inner Shadow.
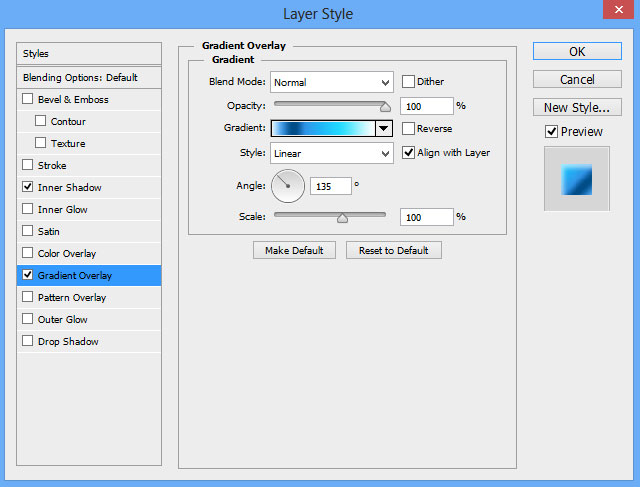
Apply Gradient Overlay:
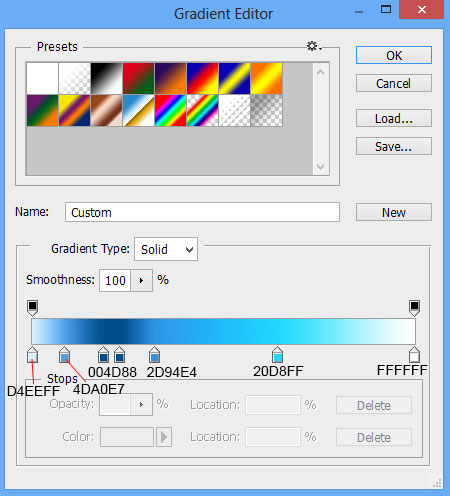
Click in the color bar to open the Gradient Editor and set the color stops as shown. Click OK to close the Gradient Editor dialog box.
We’ve got the next result:
Using the Pen Tool (P), create several triangles of the color #1293B0.
We’ve got the next result:
Combine in a group all the layers of the blue triangles (the same way described above). Insert the mask on the group by clicking on the bottom part of the Layers panel on Add Layer Mask and choose the Soft Round brush of black color (brush Opacity – 20%) to hide out the triangles the same way indicated below.

We’ve got the next result:

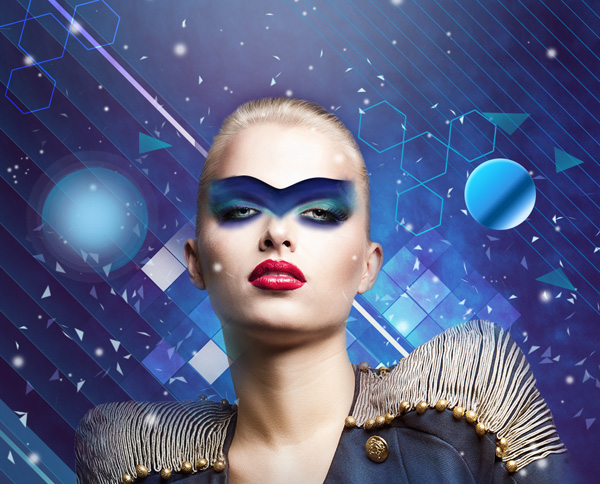
Let’s create the next new layer and select again the Soft Round brush to paint the background on its upper side. The brush’s color is #005FB9 (brush Opacity – 30%).
Clean out very smoothly the brush’s layer on the model’s head zone, using the Eraser Tool (E).
Set the Blending mode for this layer to Screen.
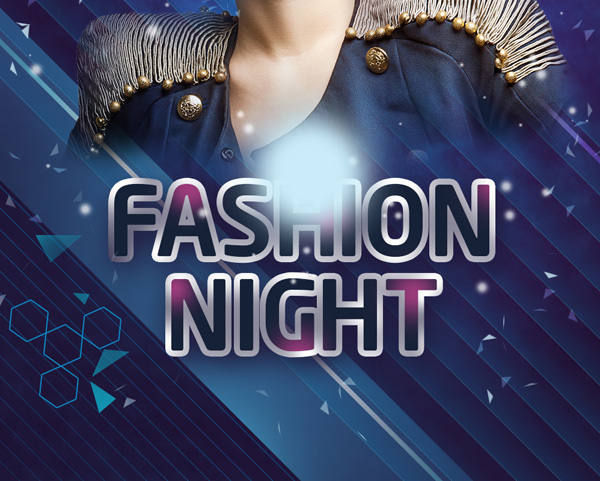
Next we’ll draw the text’s luminescence by creating a new layer and using the Soft Round brush to represent a spot of the color #CAECF8.
We’ve got the next result:
Apply the Free Transform (Ctrl+T) command on the spot’s layer and compress it by vertical position, stretching it out in the same time by horizontal one.
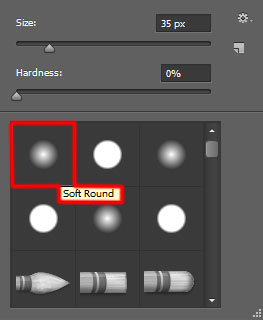
Next we’ll draw a small circle of the color #0089B4 with the Ellipse Tool (U).
Insert the mask on the same layer by clicking on the bottom part of the Layers panel on Add Layer Mask. Press after that on CTRL+I on the mask to inverse the color and choose the Soft Round brush of white color (brush Opacity – 30%) to get the same effect on the circle by having multiple clicking to get the same result shown below.

Using the black brush we should clean out the zone on the left bottom part.
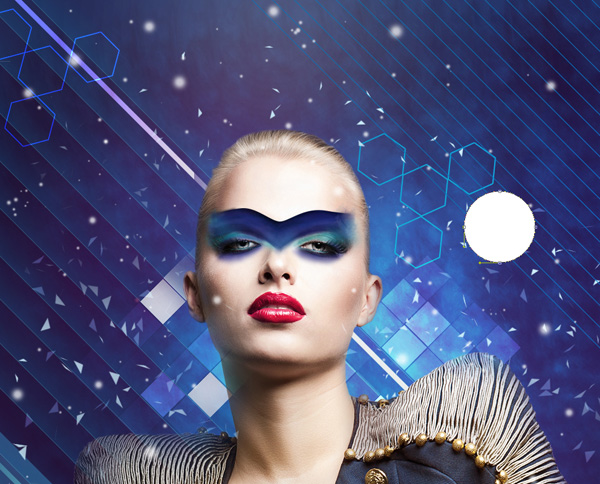
Create a new layer and take the Soft Round brush of white color (brush Opacity – 15%) to represent an effect of luminescence on the sphere by multiple clicking operations.
We’ve got the next result:
Set Fill to 45% for this layer. Set the Blending mode for this layer to Overlay.
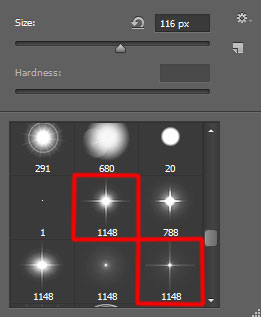
Next we have to introduce the shinning effect, creating a new layer and using the next brush from Light Brushes 2. In this case we’ll represent several small stars around the model’s shoulder on her right side.

We’ve got the next result:
Create a new layer and select for it the Soft Round brush to make darker the canvas’s edges.
The brush’s color is #2C1C3A (brush Opacity – 20%)
Create a new layer and select the Paint Bucket Tool (G) to fill it of the color #5A31F2.

Set Fill to 8% for this layer and change the Blending mode to Color Burn.
Make another new layer and use on it the same brush applied earlier to paint the background on its upper right part and on the left bottom part. Also put some color on the model’s right shoulder. The brush’s color is #00A1F1 (brush Opacity – 40%).
Set Fill to 27% for this layer and change the Blending mode to Linear Dodge.
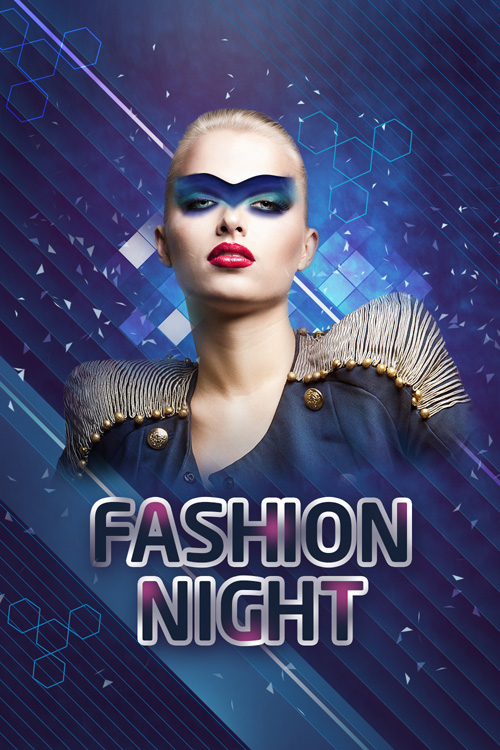
Make the text brighter as well as the model’s buttons, applying the brushes from Light Brushes 2.
We’ve got the next result:
Click Create new fill or adjustment layer from bottom part of the Layers panel and click to Curves to adjust the curve shape as shown to make a little color corrections.
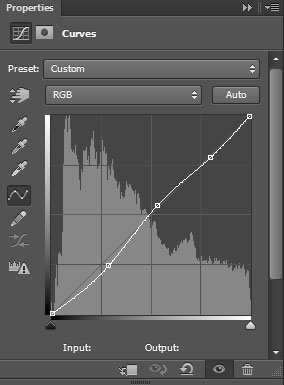
We’ve got the next result:

Finally combine all the layers into a single one (hold CTRL button and selecting all the layers in Layers paneland then press CTRL+E to Merge Down). On the rasterized layer we’ll apply the next filter: Filter > Sharpen > Unsharp Mask.
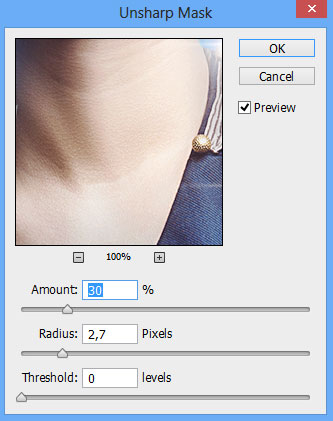
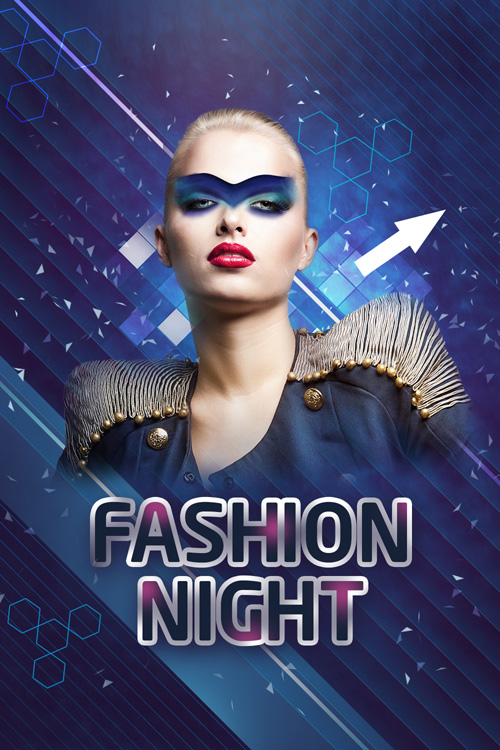
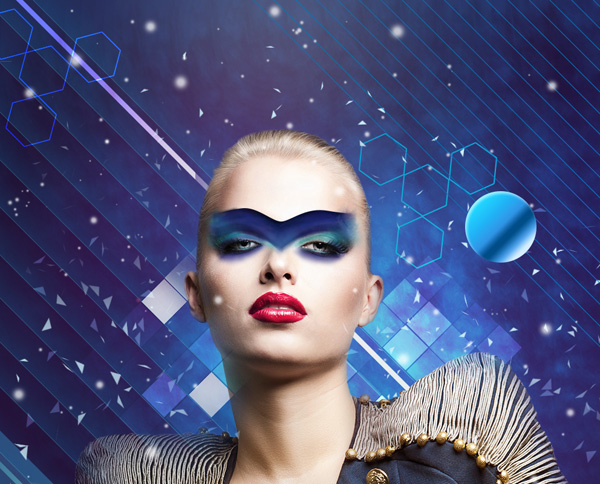
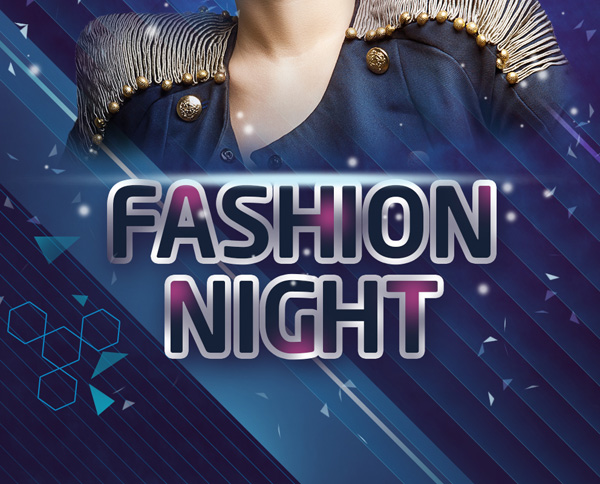
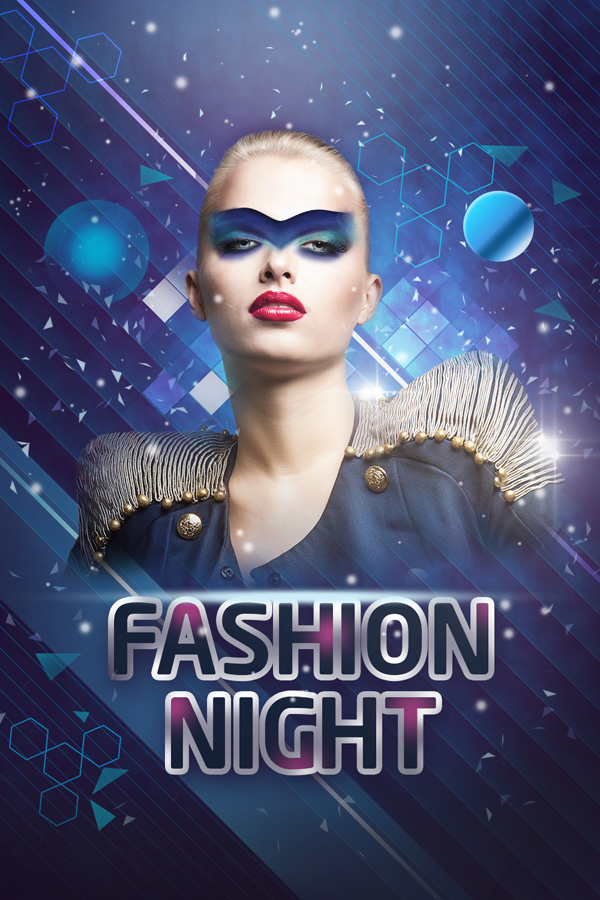
We’ve got the next result:

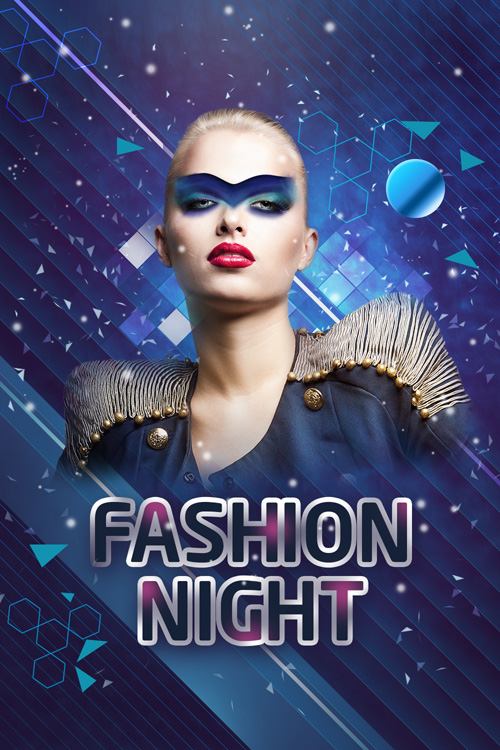
View full size here.
Download free Layered PSD file.
Comments