
Create Fantasy Wallpaper in Photoshop
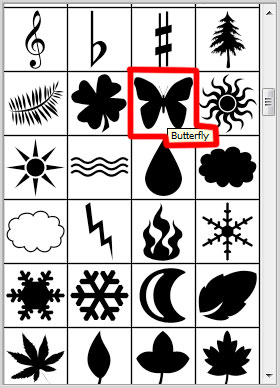
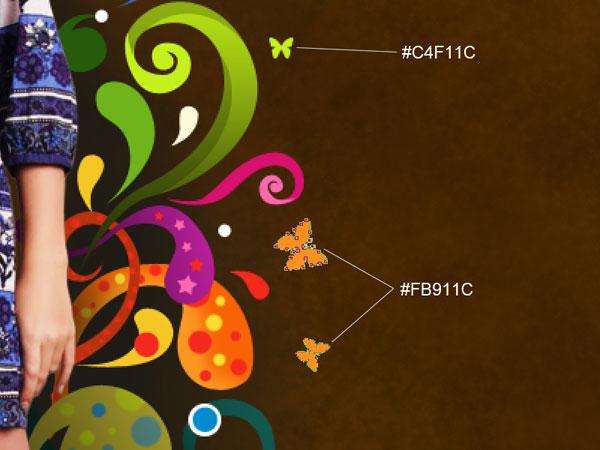
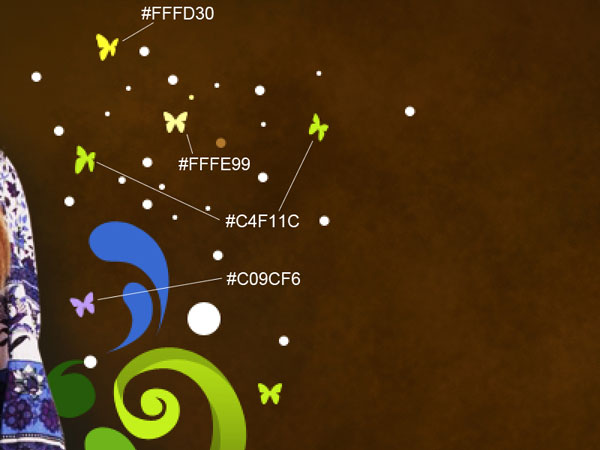
Now we’ll apply the Custom Shape Tool (U) to fill the ornament with several butterflies. They need to be turned over with Free Transform option.
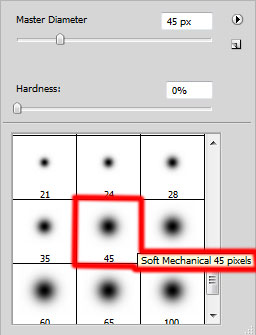
Use the standard brush (Opacity 10%) on a new layer (Create new layer) and select the Eyedropper Tool (I). This way we’ll take samples of colors out of near situated objects around the girl’s body and represent the highlights on her body. This layer will be situated above the layer with the Curves adjustments.

Set the next parameters for the last made layer:
Blending mode-Hard Light


Press Alt button and click between the highlights’ layers and the layer containing the Curves adjustment (on the layers’ panel)

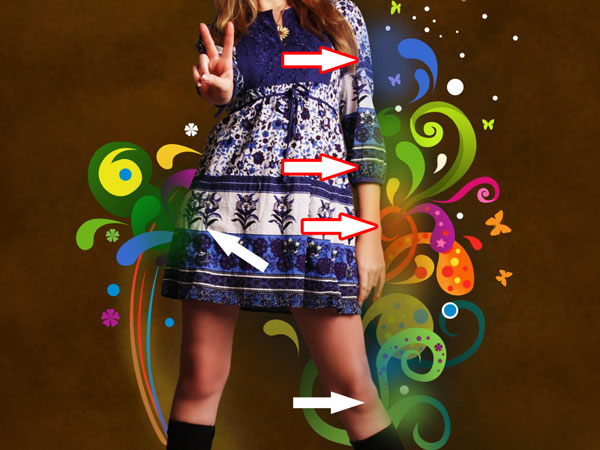
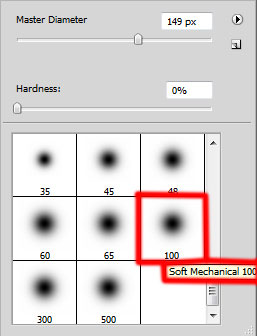
Create a new layer and select a standard brush of yellow color (Opacity 30%) to represent a train behind the girl’s boots and ornament’s luminescence, as it is demonstrated on the picture. This layer will be placed lower than the girl’s layer (on the layers’ panel).
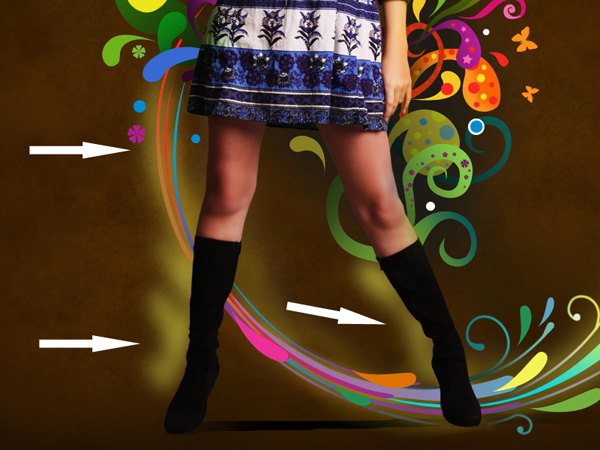
Choose the Smudge Tool (R) to blur out the train’s layer to get the same result as it shown below:

The Layer Style:
Blending mode-Hard Light
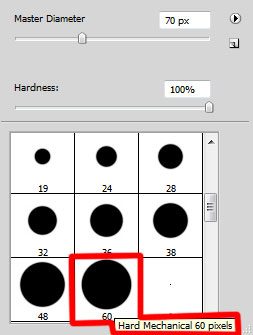
On a new layer (Create new layer) we’ll choose a standard brush of black color to represent by line along the left boot’s contour and the left skirt’s edge. Then we’ll apply the Smudge Tool (R) to blur out the black color to the left side of the picture.
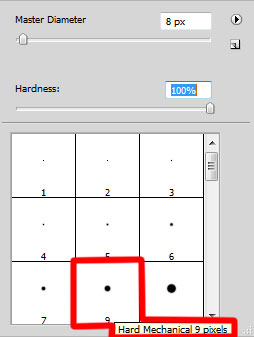

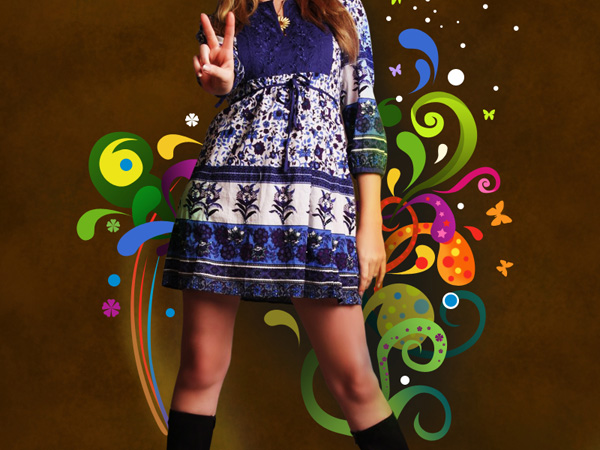
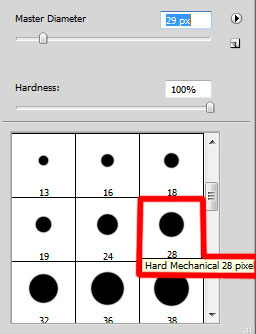
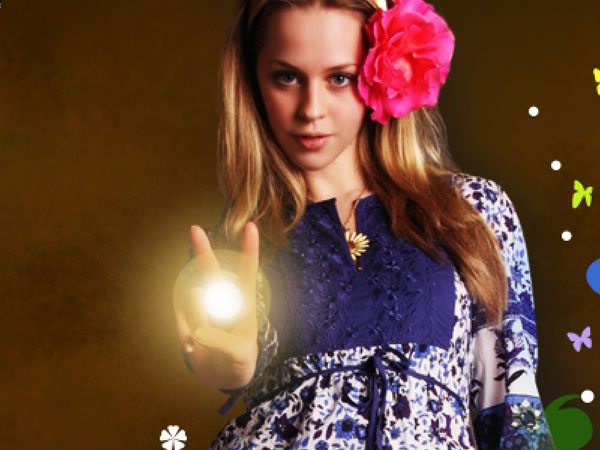
On the last stage we’ll represent a shining ball in the girl’s hands. This time we’ll select the standard brush to represent the ball in three stages. Firstly it is recommended to use the brush on a new layer and press it multiply to represent the shining effect. The layer’s color is #B69650 (Opacity 10%)
On the next new layer (Create new layer) we’ll apply a standard brush of the color #CBAC60 (Opacity 20%) to represent more intensively the shining effect.
On the next new layer (Create new layer) we’ll choose a standard brush of white color (Opacity 20%) to represent a bright nucleus.
Now we’ll combine in a group all the layers composing the shining ball (press Ctrl button and mark out the necessary layers. Then hold on the left mouse’s button while moving the marked layers on Create a new group selection).
Make a copy of the last got group and choose Free Transform option make the copy smaller, placing it the same way from below.
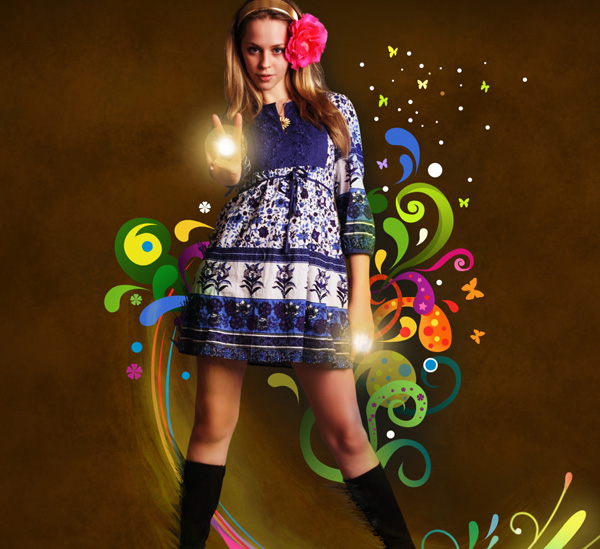
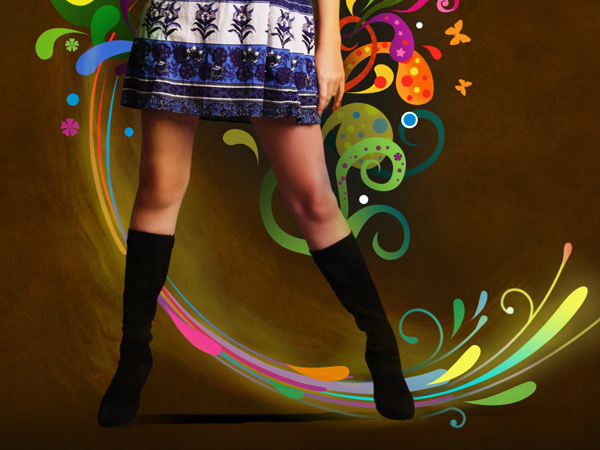
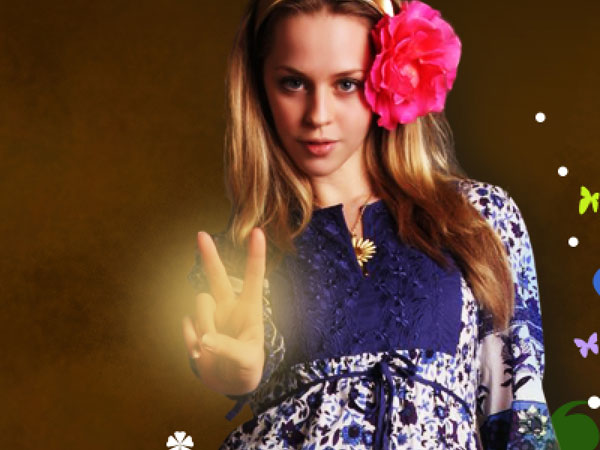
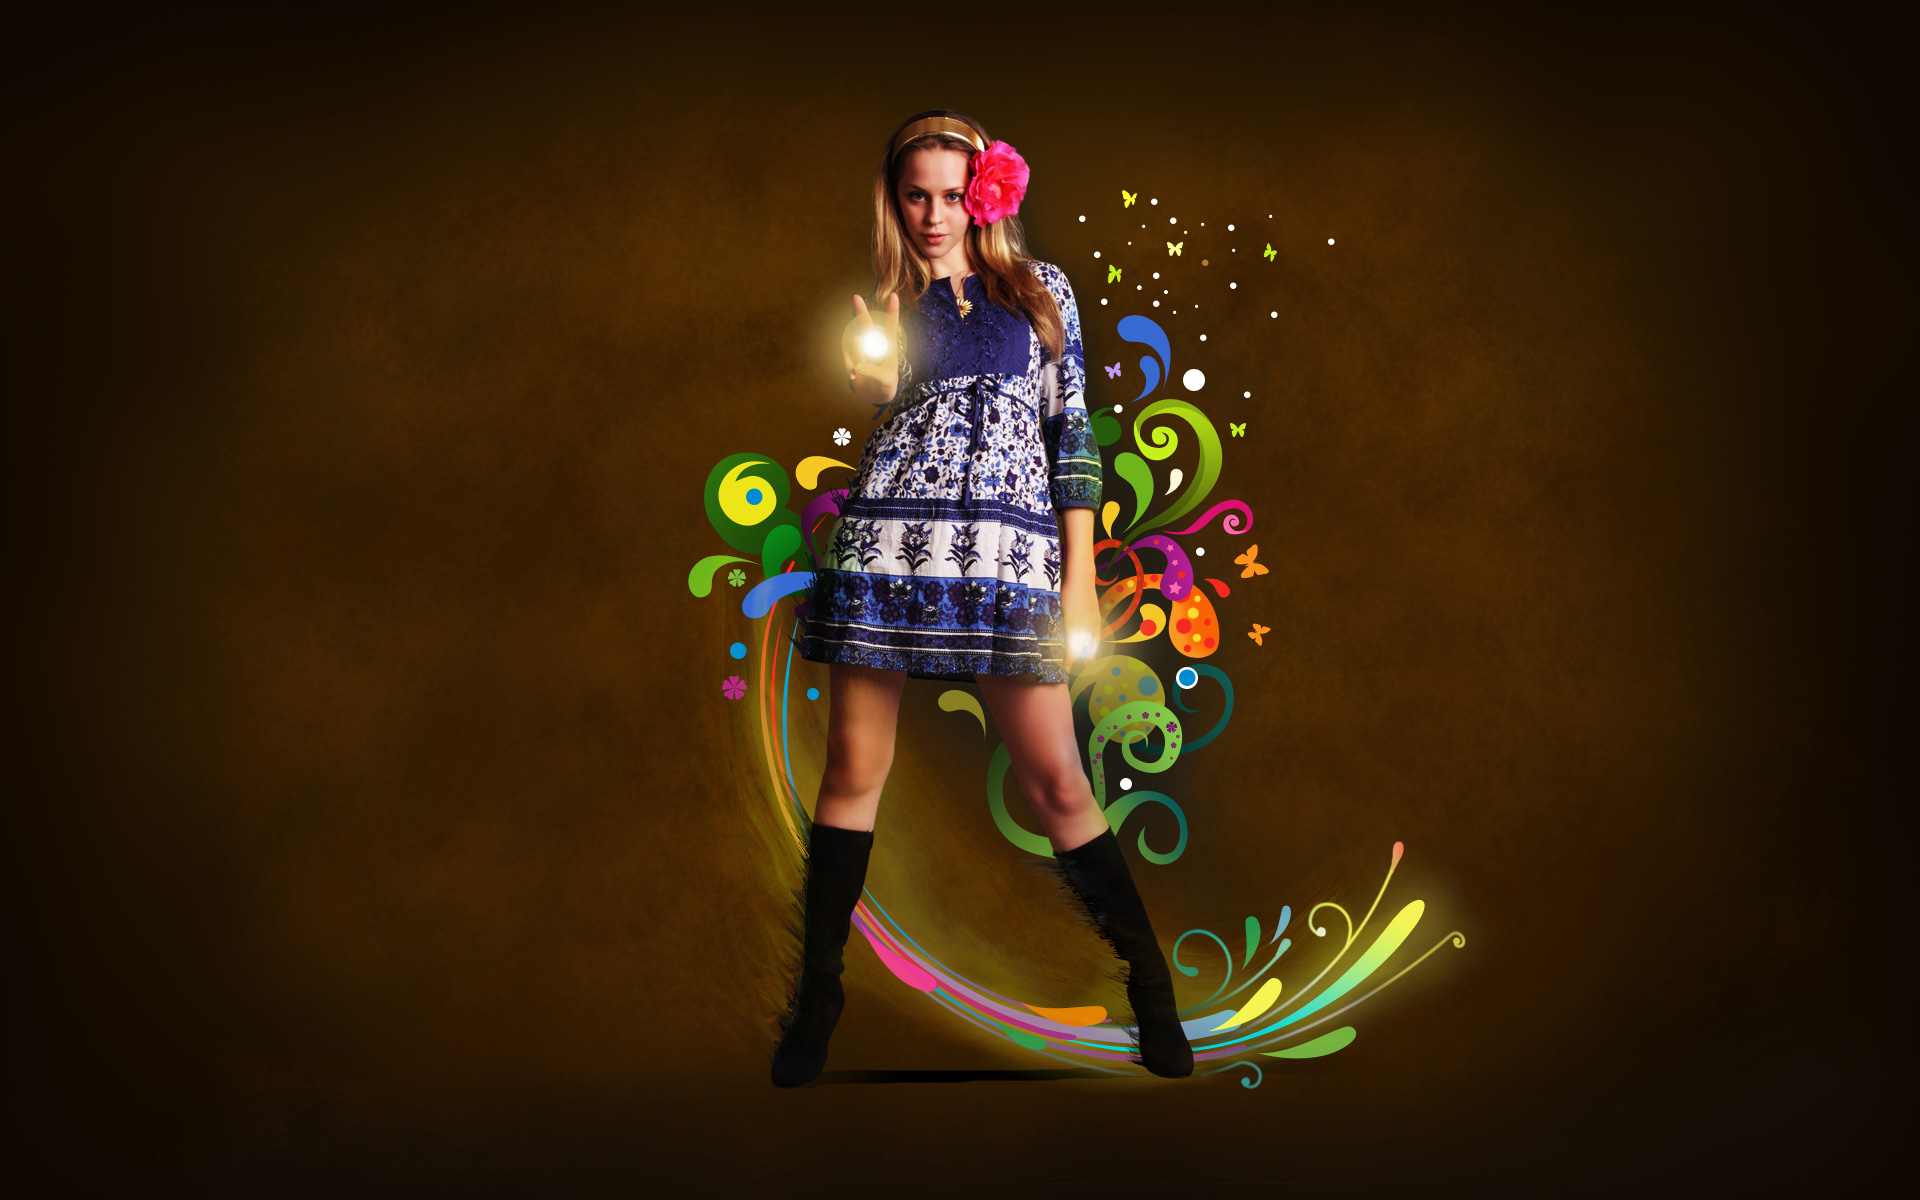
The final result!
View full size here.
Comments