
How to Create Christmas Greeting Card with colorful stars and baubles in Photoshop CS5
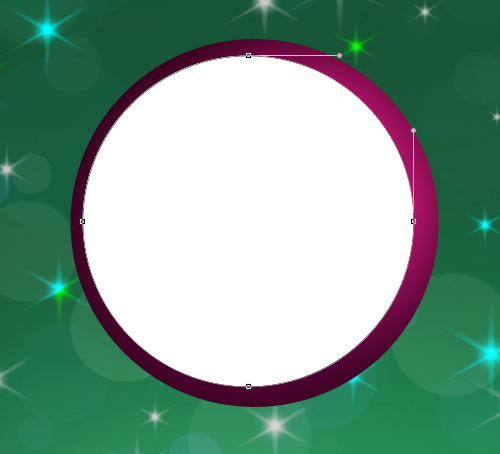
Using the same tool, we must draw the next bauble layer.
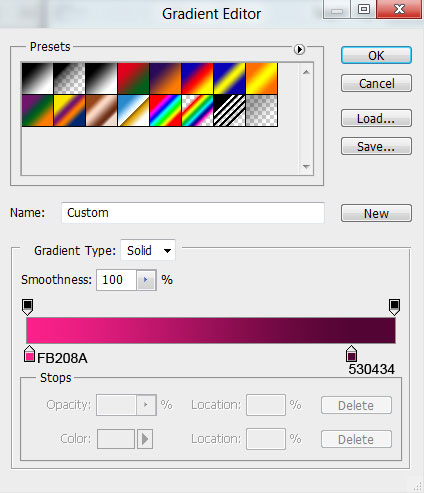
Click on Add a layer style icon from bottom part of the Layers panel and select Gradient Overlay.

Click in the color bar to open the Gradient Editor and set the color stops as shown. Click OK to close the Gradient Editor dialog box.

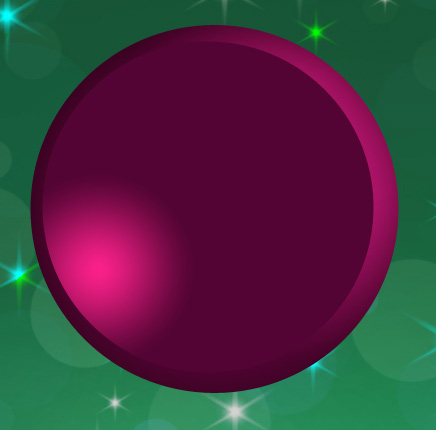
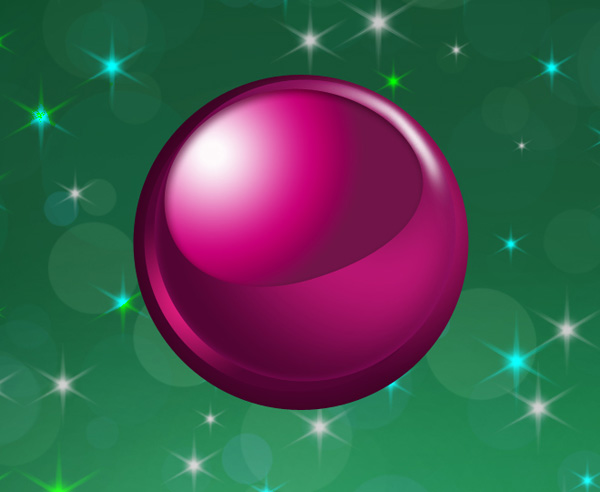
We’ve got the next result:
Take the same tool to represent one more layer for the bauble.

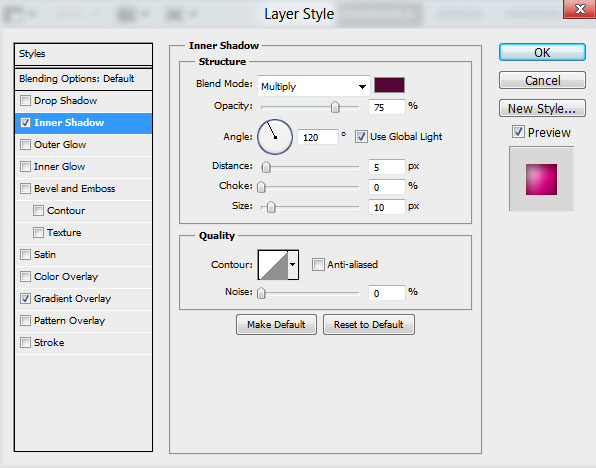
Click on Add a layer style icon from bottom part of the Layers panel and select Inner Shadow.
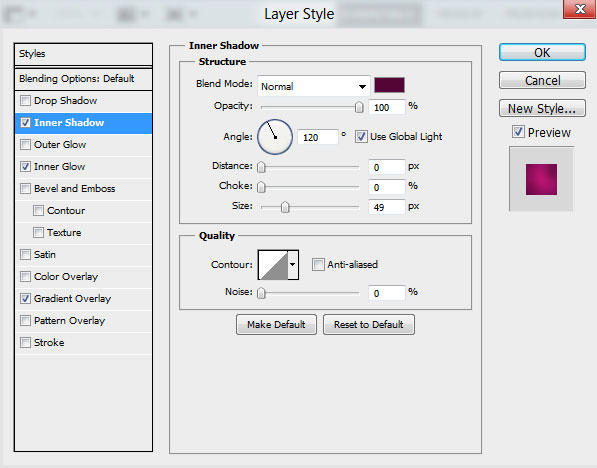
Add Inner Glow:
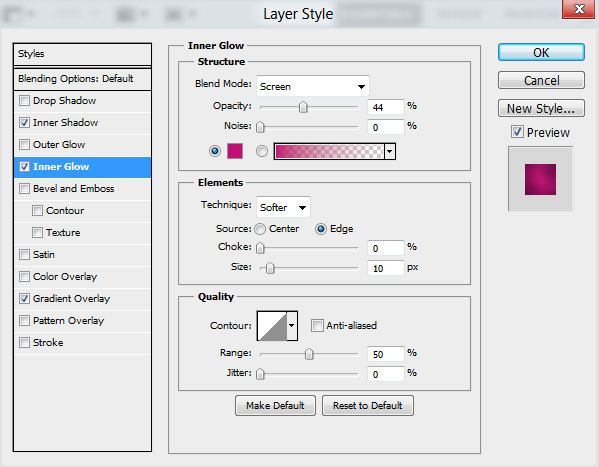
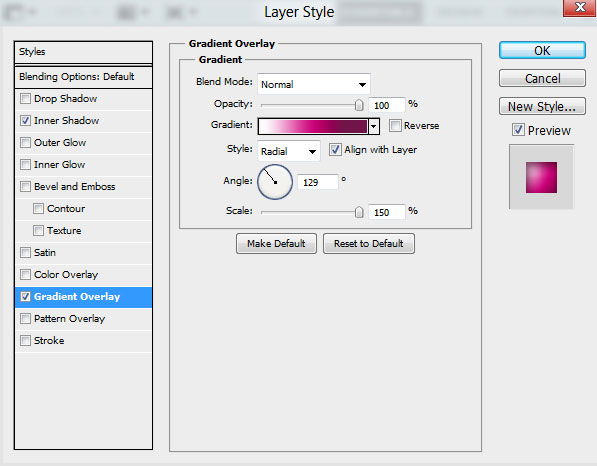
Apply Gradient Overlay:
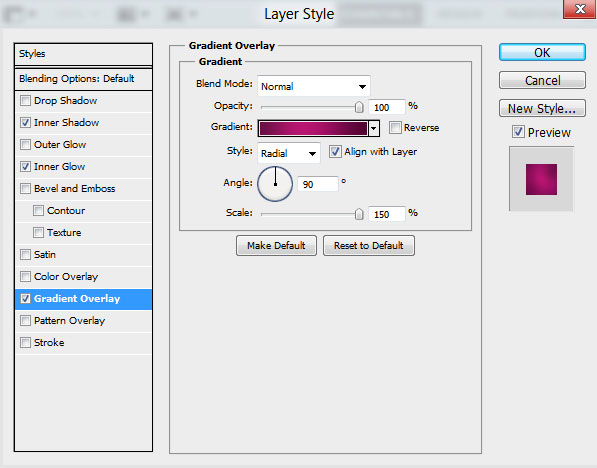
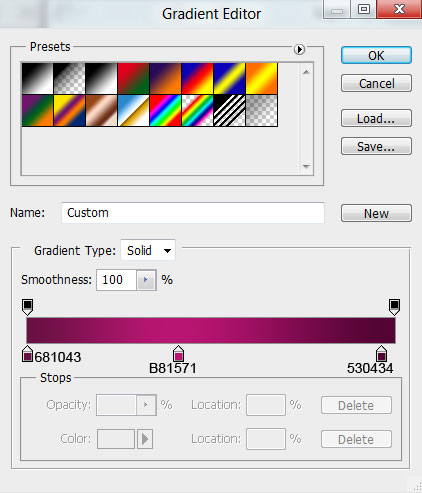
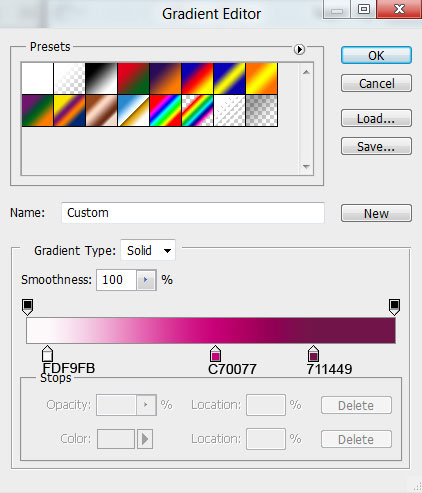
Click in the color bar to open the Gradient Editor and set the color stops as shown. Click OK to close the Gradient Editor dialog box.
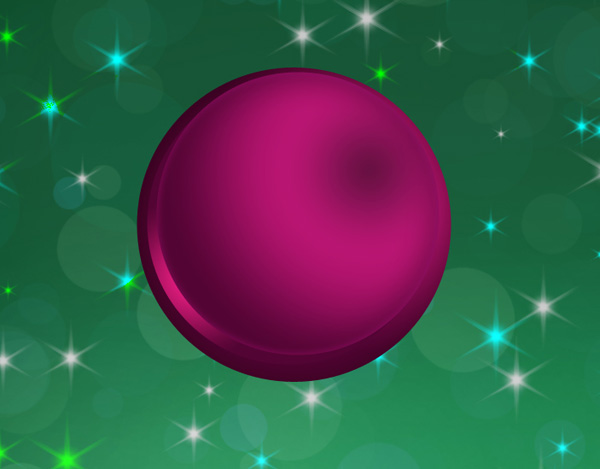
We’ve got the next result:
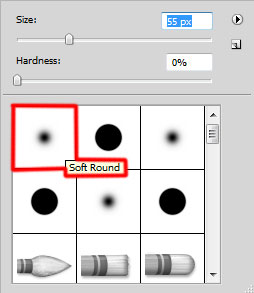
Create a new layer and select the Soft Round brush of white color.
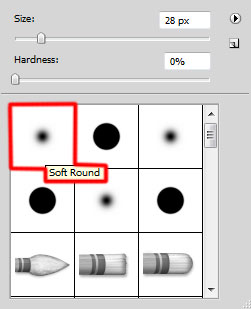
Use this brush to represent a highlight on the Christmas bauble.
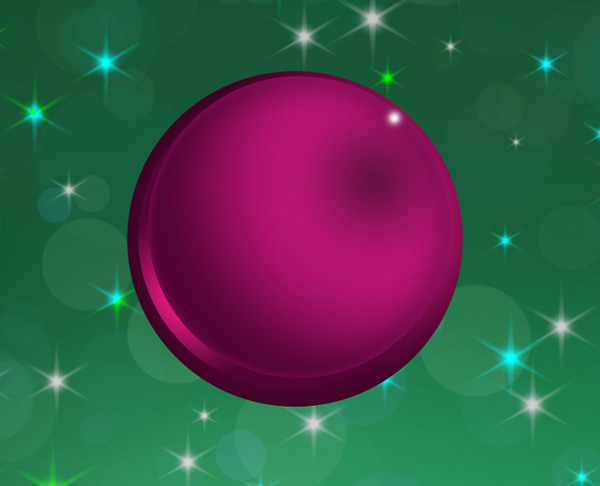
Select the Smudge Tool, drag in the image to smudge the highlight.
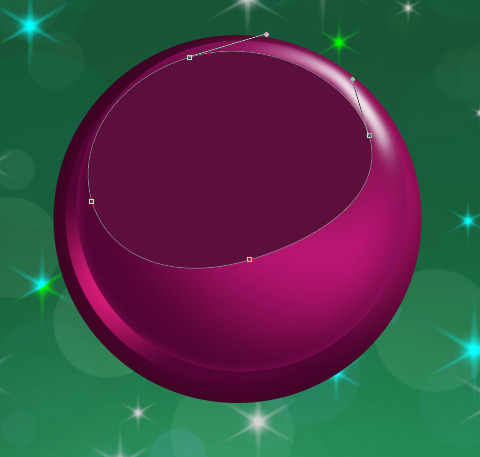
Using the Ellipse Tool (U) and the Convert Point Tool we can represent the next shape on the bauble.
Click on Add a layer style icon from bottom part of the Layers panel and select Inner Shadow.
Apply Gradient Overlay:
Click in the color bar to open the Gradient Editor and set the color stops as shown. Click OK to close the Gradient Editor dialog box.
We’ve got the next result:
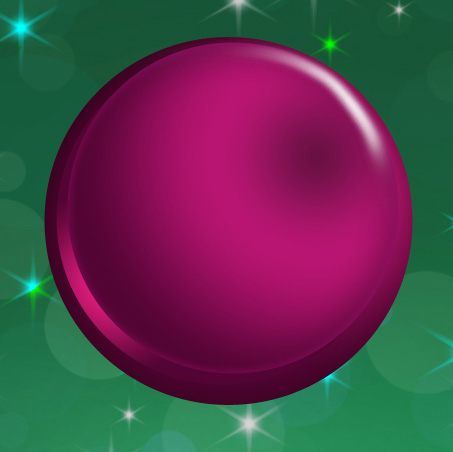
Create a new layer and select the Soft Round brush of white color.
Use this brush to draw three highlights which must be processed with the Blur Tool.

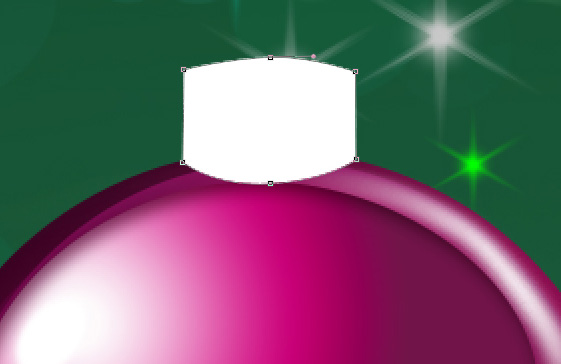
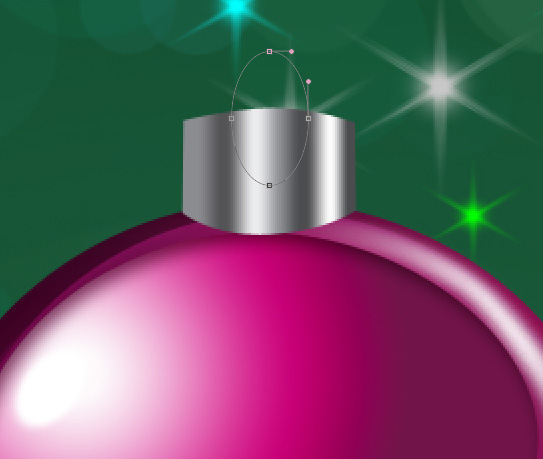
Now we have to draw the decoration’s support element, choose the Pen Tool (P), set the drawing mode on Shape Layers in Options bar and draw the next shape as shown.
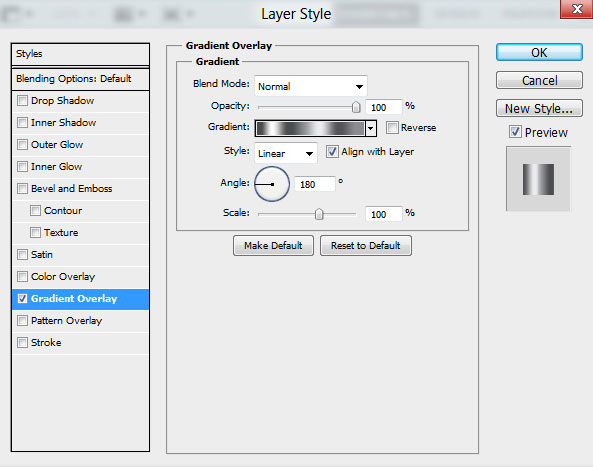
Click on Add a layer style icon from bottom part of the Layers panel and select Gradient Overlay.
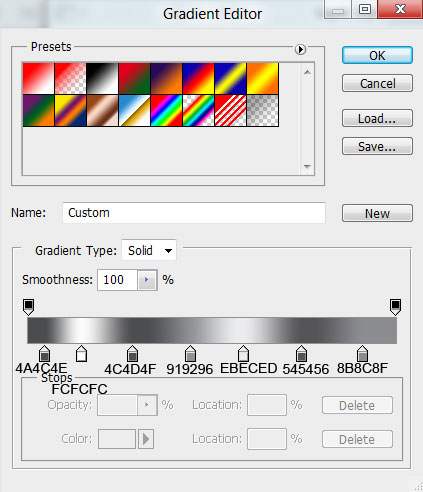
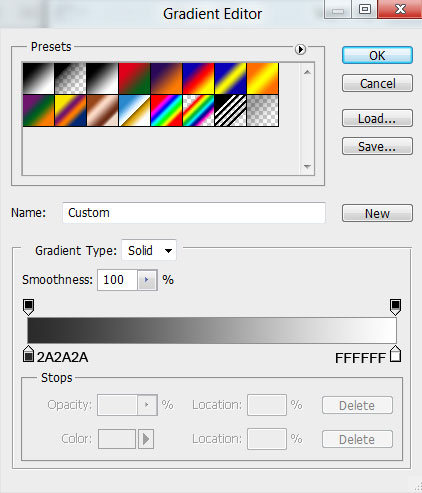
Click in the color bar to open the Gradient Editor and set the color stops as shown. Click OK to close the Gradient Editor dialog box.
We’ve got the next result:

Using the Ellipse Tool (U) we can draw the ring on the support element. Place the layer under the sphere’s layers.
Set Fill to 0% for this layer and click on Add a layer style icon from bottom part of the Layers panel to select Stroke.

Select Fill Type – Gradient and click in the color bar to open the Gradient Editor, set the color stops as shown. Click OK to close the Gradient Editor dialog box.
We’ve got the next result:


Comments