
Create a Christmas Card – Christmas tree on red background
In today’s quick tip tutorial, I will show you how to create a nice christmas card for your friend using Adobe Photoshop CS5 techniques. Let’s get started.
Final Image Preview

Start working by creating a new document (Ctrl+N) in Adobe Photoshop with the size 1280px by 1024px (RGB color mode) at a resolution of 300 pixels/inch. Use the Paint Bucket Tool (G) to fill with black color the new background layer.

Create the next new layer which must be filled with #872D2A color using the Paint Bucket Tool (G).


Insert the mask on the layer by choosing Add layer mask on the bottom part of the Layers panel and press CTRL+I to Inverse the color in the mask. Select Soft Round brush of white color from Brush Tool (B).
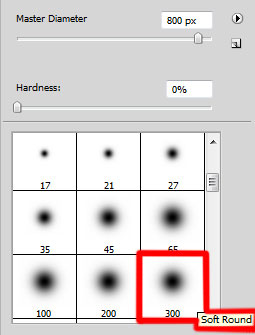
Using this brush add some brushstrokes on the central part of the canvas as shown.

Select the Rectangle tool (U) and draw the next rectangle on the bottom part of the canvas. The Foreground color it’s black.
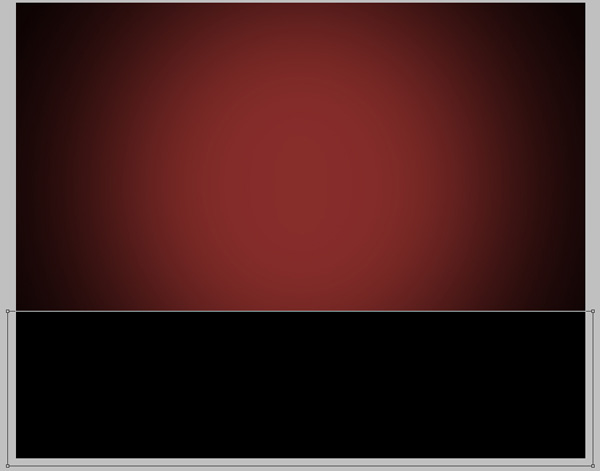
Set Fill to 40% for this layer.

Next we’ll try to make a snowflake. Firstly we’ll represent the basic rays. Use the Rounded Rectangle tool (U) (set Radius to 10px in Options bar) to draw a vertical ray of white color.

Make two copies of the last made layer and choose the Free Transform (Ctrl+T) command to place the copies as in the picture below.


Next we’ll combine in a group all the three rays (press CTRL button to select the corresponding layers and then hold on the left mouse’s button while dragging the selected layers on Create a new group icon from bottom part of the Layers panel). Make a copy of the last made group and select the Free Transform (Ctrl+T) command to make the copy smaller and place it exactly as in the picture below.

Make two more copies of the rays’ group and make smaller each group. Using the Free Transform (Ctrl+T) command and placing them as it is indicated below:

Select the Custom Shape Tool (U) in the Tools bar, in the Options bar click the Shape to open the selection menu. Find 5 Point Star at the bottom of the menu, and then double-click a shape thumbnail to select it.
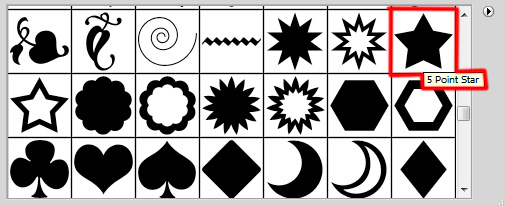
Click and drag to draw the shape.

Using the Convert Point Tool select the inside anchor points by holding SHIFT button.

Choose the Free Transform (Ctrl+T) command, click on the Link icon to maintain aspect ratio in Options bar and drag a corner handle to scale proportionately as shown.


Using the Free Transform (Ctrl+T) command, move the star on the central part of the snowflake and make the appropriate corrections on the sizes.

Make two copies of the star’s layer and apply again the Free Transform (Ctrl+T) command to turn over the copies as it is demonstrated below:

Create a new layer and choose the Hard Round brush from Brush Tool (B).

Use this brush to mark the contours of the Christmas tree to be on the card.

Put together all the snowflake’s layers in a single one. In this case press CTRL button, select the layers and then press CTRL+E to Merge Down. Using the Free Transform (Ctrl+T) command change the sizes of the rasterized snowflake’s layer, make a copy of it and place the copies as it is demonstrated below:

Make many copies of the snowflake’s layer and add the snowflakes on the tree, making them smaller. Place them with the Free Transform (Ctrl+T) command.

Now you can hide the contour layer in Layers panel by clicking on Indicates layer visibility icon:

Page: 1 2
Comments