
Create a Christmas Card – Christmas tree on red background
Combine in a group all the tree’s layers (press CTRL button and select the necessary layers. Then hold on the left mouse’ s button when dragging the layers on Create a new group icon from bottom part of the Layers panel). Make a copy of the new group, Merge Down all the layers in a single one and apply on this layer the next filter: Filter>Blur>Gaussian blur.
Place this blured layer under the tree’s layers:

Next we have to put together all the Christmas tree’s layers and the blured layer. Press in this case CTRL button, select the layers and press CTRL+E to Merge Down. Make a copy of this layer and apply the Free Transform (Ctrl+T) command to turn over the layer and place it the same way from below:
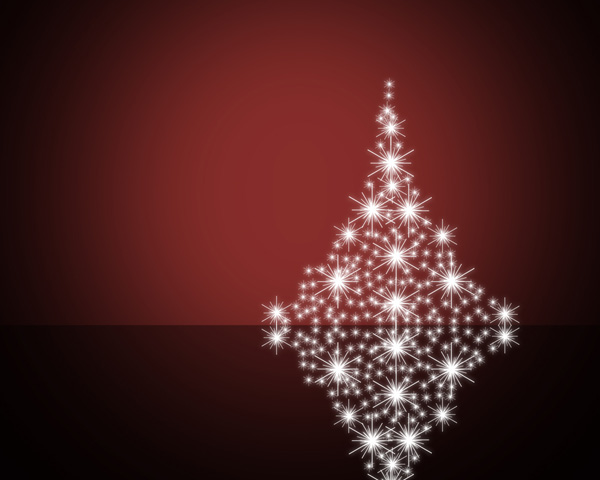

Insert the mask on the layer by choosing Add layer mask on the bottom part of the Layers panel and choose the Soft Round brush of black color (set Opacity to 15% in Options bar).
Use this brush to paint in the mask to hide the bottom part of the tree as shown. Now we have the reflection effect.

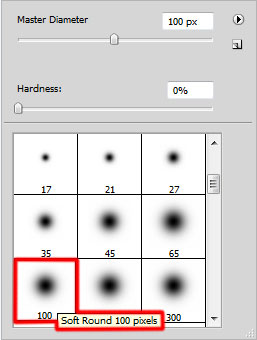
Create a new layer and choose the Hard Round brush and white color (set Opacity to 20% in Options bar).
Use this brush to represent several small circles. We must choose different diameter for brush.

Set Fill to 34% for this layer and change the Blending mode to Soft Light.

Make a copy of the circles’ layer, place the copy’s layer under the previous layer and set Fill to 100% for this layer and change the Blending mode to Overlay. Also apply the next filter: Filter>Blur>Gaussian blur.
We’ve got the next result:

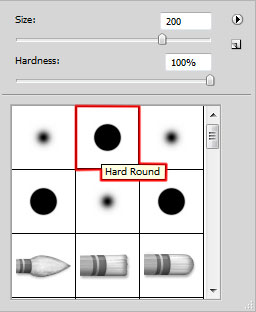
On the next new layer we’ll select the Hard Mechanical brush of white color.
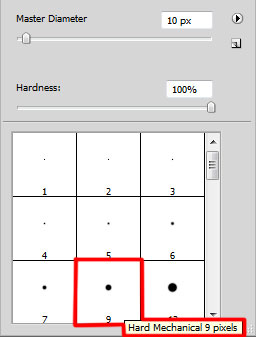
Use this brush to draw the snow as shown.

Make a copy of the snow layer and apply on the copy Filter>Blur>Motion blur with the next settings:
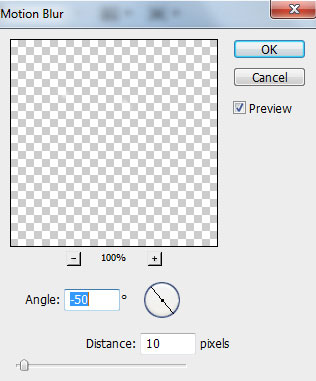
We’ve got the next result:

Create the next new layer and apply the Paint Bucket tool (G) to fill it with black color.

Insert the mask on the layer by choosing Add layer mask on the bottom part of the Layers paneland choose the Soft Round brush of black color.
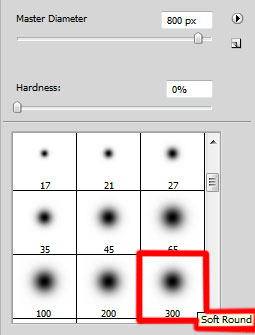
Use this brush to hide the central part of the black layer and leave darker the canvas edges.

Click Create new fill or adjustment layer from bottom part of the Layers panel and select Hue/Saturation.
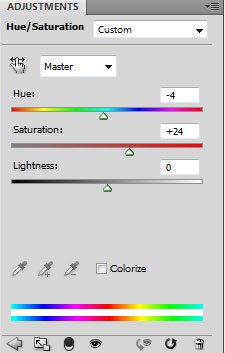
Drag the slider to the left to decrease the Hue and drag the slider to the right to increase the Saturation of the color range.

Click again Create new fill or adjustment layer from bottom part of the Layers panel and click to Curves to adjust the curve shape as shown to make a little color corrections.
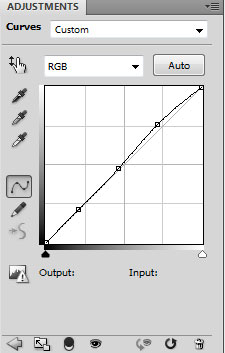
We’ve got the next result:

View full size here.
Page: 1 2
Comments