
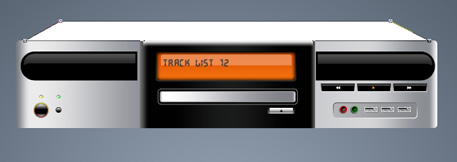
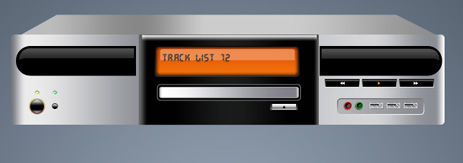
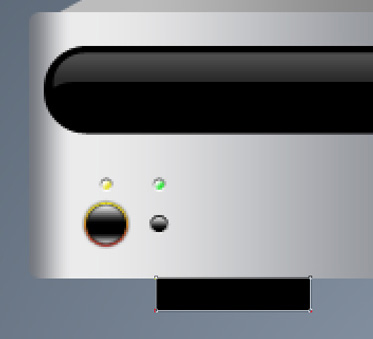
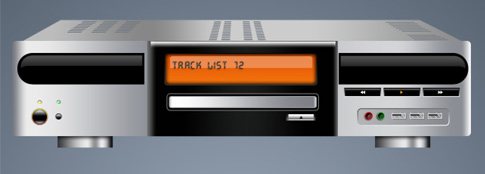
Audio Receiver Illustration
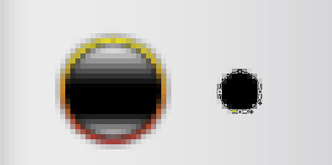
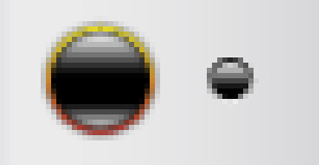
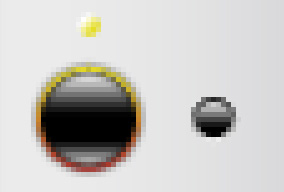
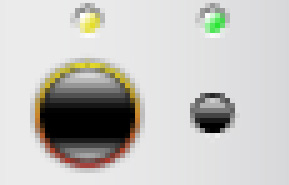
On the right side of the button we have to represent another circle:
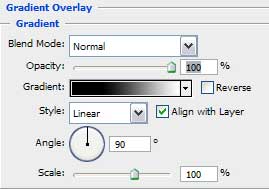
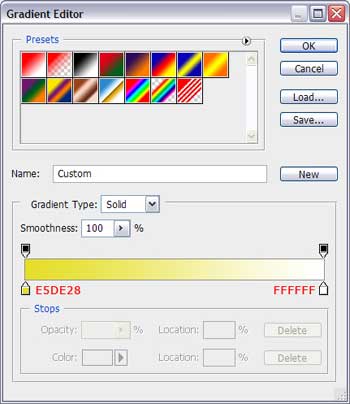
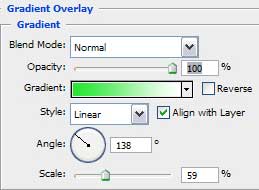
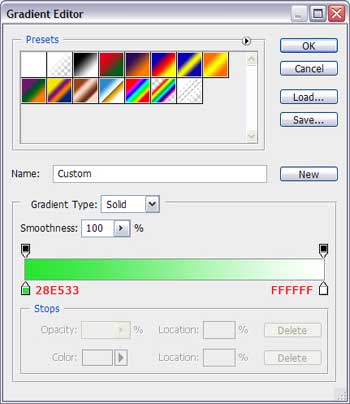
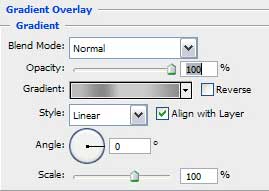
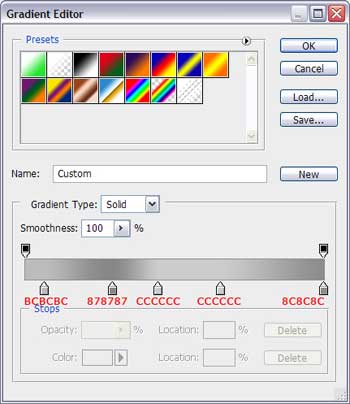
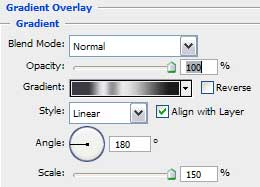
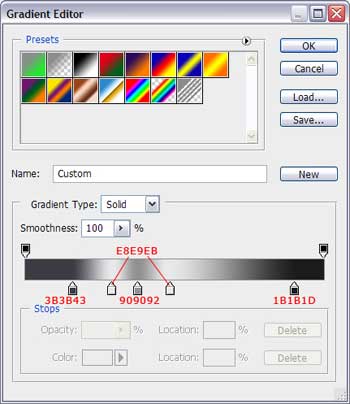
Blending Options>Gradient Overlay:
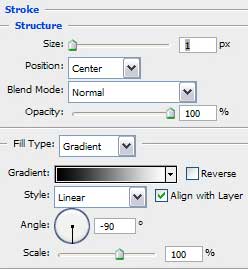
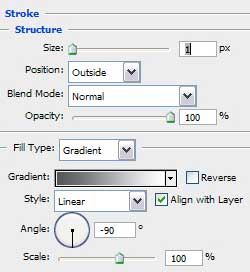
Blending Options>Stroke:


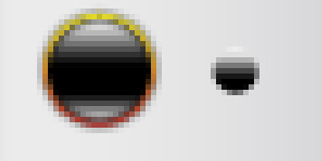
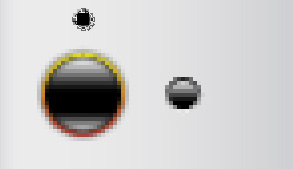
The next represented circle will compose our small light bulb.
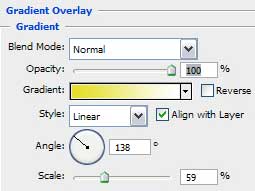
Blending Options>Gradient Overlay:
Blending Options>Stroke:

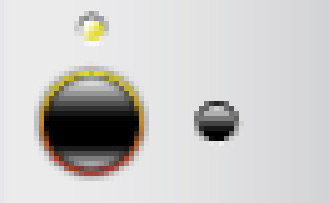
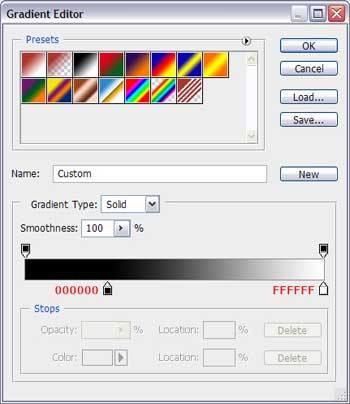
Make a copy of this layer and change on the copy the gradient’s parameters with those indicated next:
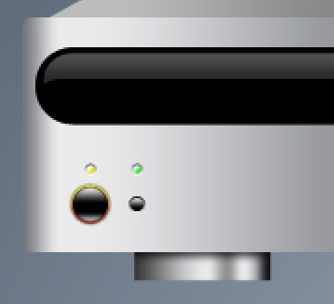
 Working with the front panel came to end. Now it’s time to represent the player’s lid. In this case we’ll select the Pen Tool (P) to represent a rectangle in perspective:
Blending Options>Gradient Overlay:
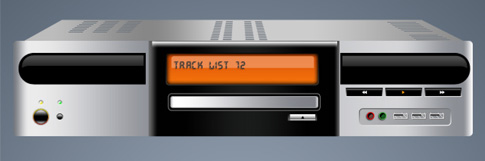
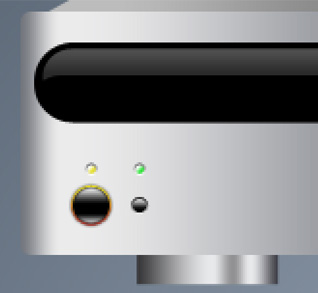
We also must insert on our picture an opening reserved for cooling operation, selecting previously the Rectangle Tool (U).
Next we have to represent the player’s support legs. Select the previous instrument and represent a rectangle.
Blending Options>Gradient Overlay:
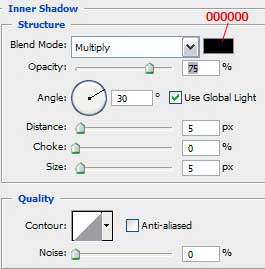
Blending Options>Inner Shadow:
The support leg is finished. Make a copy of it and place it on the right side, the way shown below:
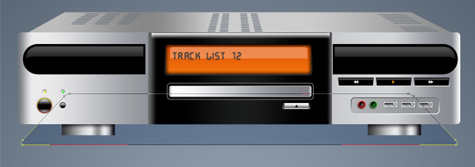
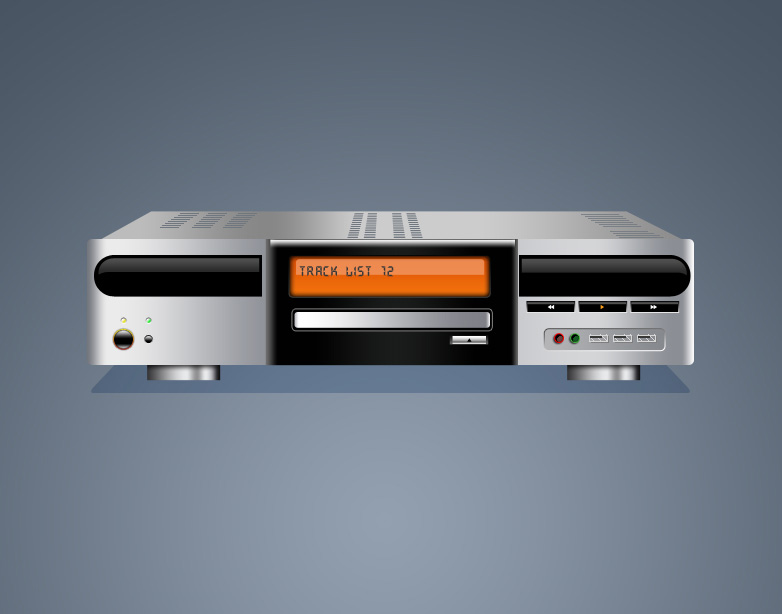
The last stage includes representing the player’s shadow. Choose for the beginning the Rounded Rectangle Tool (U) with 3 px radius, select also the Free Transform option and make a right click inside the marked object. Select after that Perspective function.
Our lesson came to end. Good luck and see you!
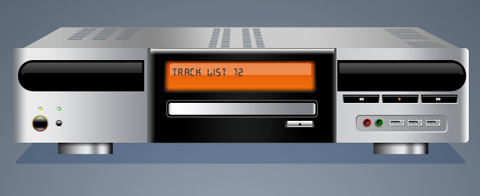
View full size here.
Comments