
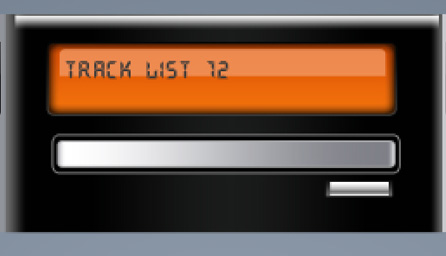
Audio Receiver Illustration
It’s necessary now to picture a flare on the screen, but for this operation we’ll need the last instrument and the color #F19762. Set the Fill option on 80% and represent the figure. After that keep pressed Alt button and erase the unnecessary part of the figure, the same way you may see below.
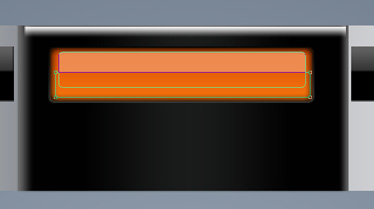
The flare is finished.
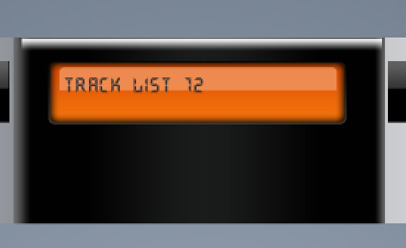
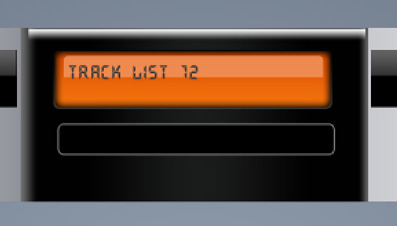
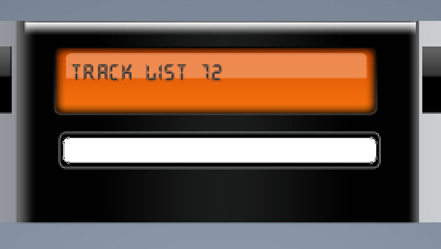
Insert now the corresponding inscription on the screen.

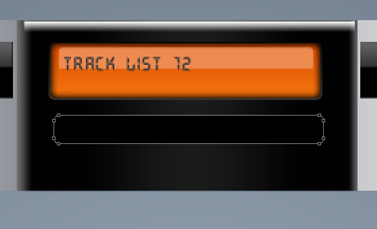
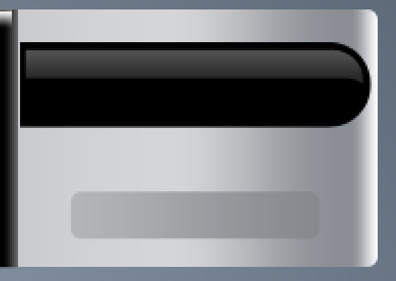
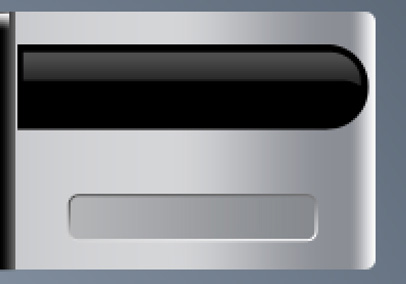
The next step we’ll try to represent the frame reserved for the disks. It’s necessary in this case to select the Rounded Rectangle Tool (U) with 3 px radius, black color and situate the element the way shown below.
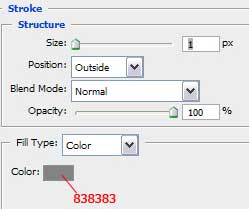
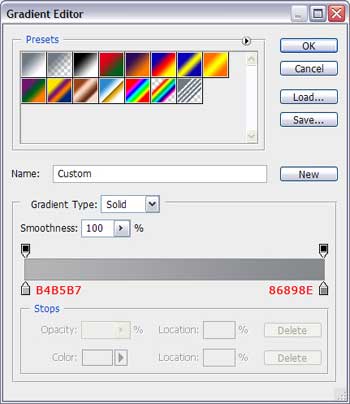
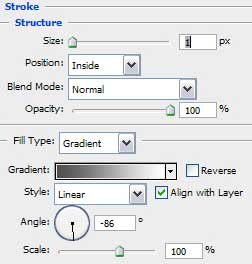
Select now Blending Options>Stroke:
Make a copy of the layer and minimize it. We also must cancel all the Blending options, because this layer will have different ones.
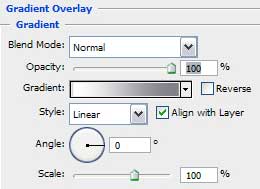
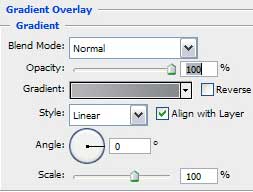
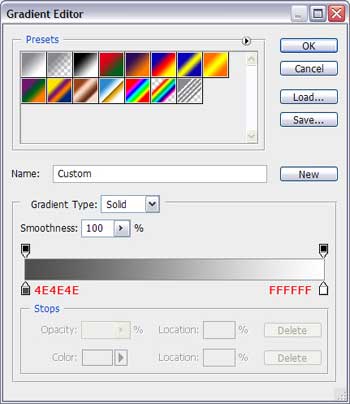
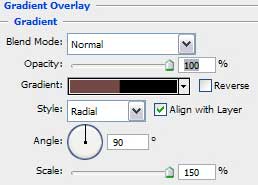
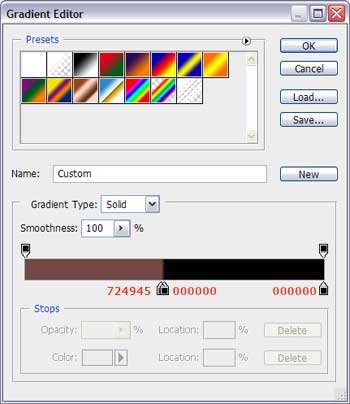
Blending Options>Gradient Overlay:
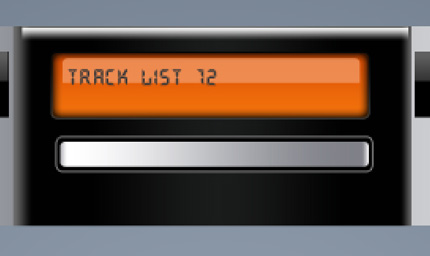
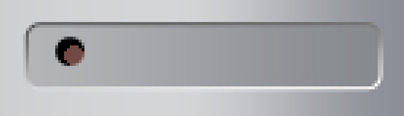
Next try to represent the button, reserved for opening the disks’ frame. Select for this operation the Rectangle Tool (U) and represent a rectangle, like in the picture:
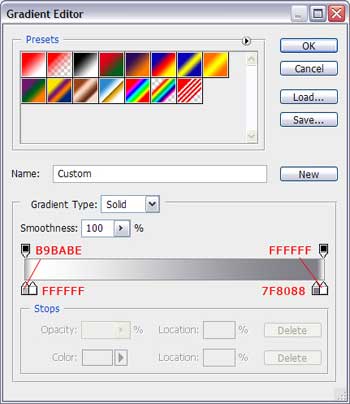
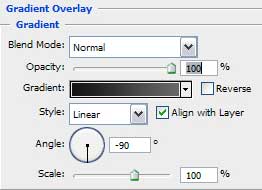
Blending Options>Gradient Overlay:
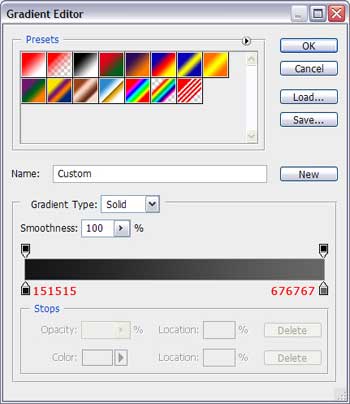
Make a copy of this layer and place it inside, the same way shown next image:
Blending Options>Gradient Overlay:

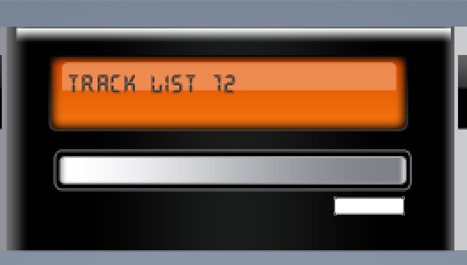
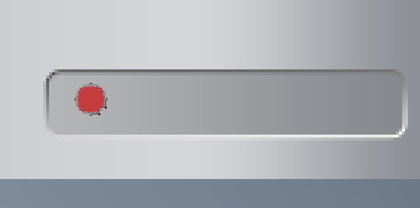
The Pen Tool (P) will be helpful in adding an indicator of black color on the button the way it is shown next picture.
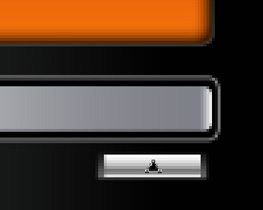
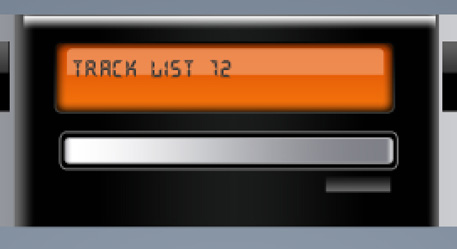
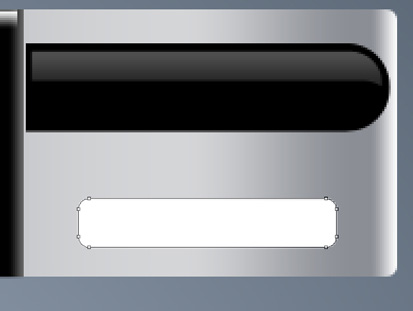
The opening disk’s frame button is finished. Next we have to choose again the Rounded Rectangle Tool (U) with 5 px radius to represent a small panel.
Blending Options>Gradient Overlay:
Blending Options>Stroke:
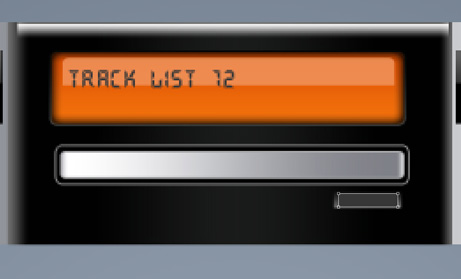
The Ellipse Tool (U) may be helpful when representing the ellipse we want to introduce on the picture.
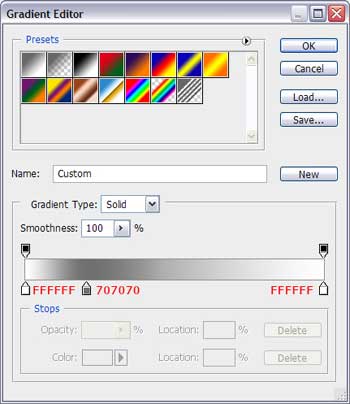
Blending Options>Gradient Overlay:
Comments