
A chinese floral design
December 4, 2006 | 0 comments
Create a new file with 250×470 px and 300dpi.

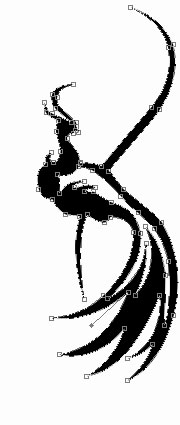
Apply the next tool  to picture the outside contour of black color reminding a bird’s silhouette. The inside part must be created with the indicated instrument.

Apply then the next instrument


As a result we’ll have the next image.

Take the next tool and represent a figure of black color.
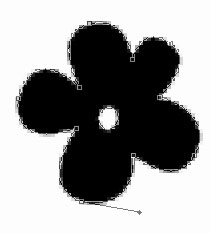
The inside circle is possible to picture with . It must be of white color.

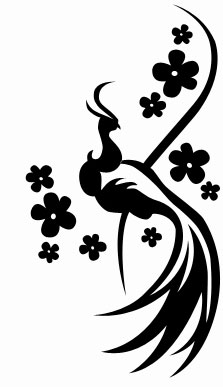
Merge all the layers now, forming the black flower in a group. Copy the recently made group 9 times and apply Free Transform selection where it is necessary. Place everything out the way it is indicated below.
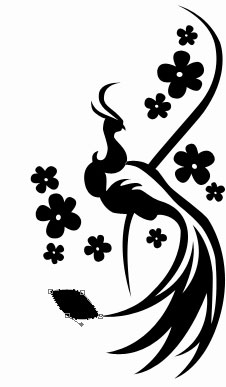
Apply now the next instrument to represent a figure of black color, like it is shown below.
Page: 1 2
Comments