
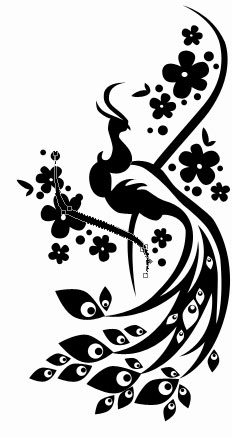
A chinese floral design
Take now the following instrument  and picture a circle of white color.

Using the last instrument, picture one more circle, but of black color now.
For your convenience unite all the layers, forming


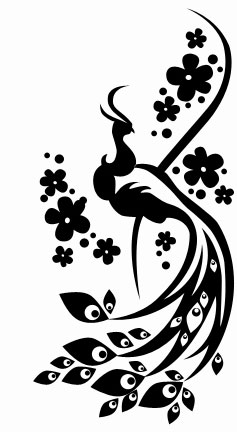
in a group. Copy that group 21 times and apply Free Transform selection where it is necessary to turn it around and to minimize it. Place everything out the same way it is indicated next image.

To get white samll figures inside the bird’s tail, apply the inversion, corresponding to the layers’ colors (change the white color in black and the black one in the white color)
Apply now the following tool to represent several small circles of black color, of different dimensions, like in the next picture.
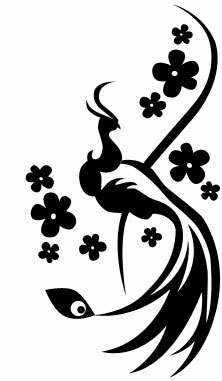
Take this instrument  to draw the next:

and make it look exactly like in the next image.
Copy the recently made layer two times and make use of the Free Transform option to turn it around if it is necessary. Place everything out like in the picture below.
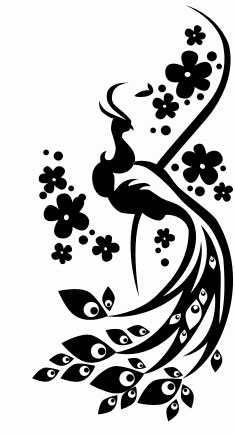
Choose the next tool to picture a figure of black color, like it is demonstrated below.
Get to representing the bird’s eyes now, applying the known instrument . They must be of white color.

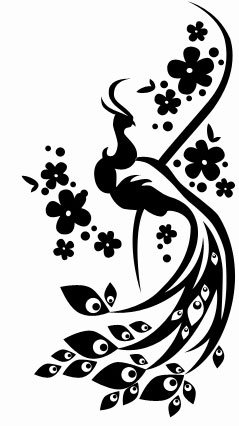
The final result!
Page: 1 2
Comments