
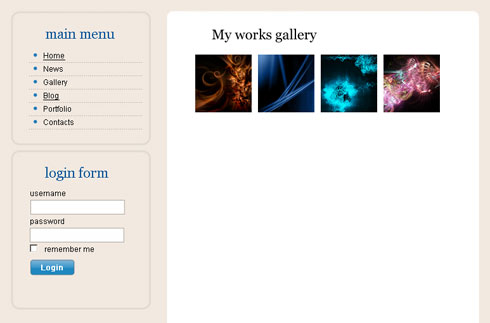
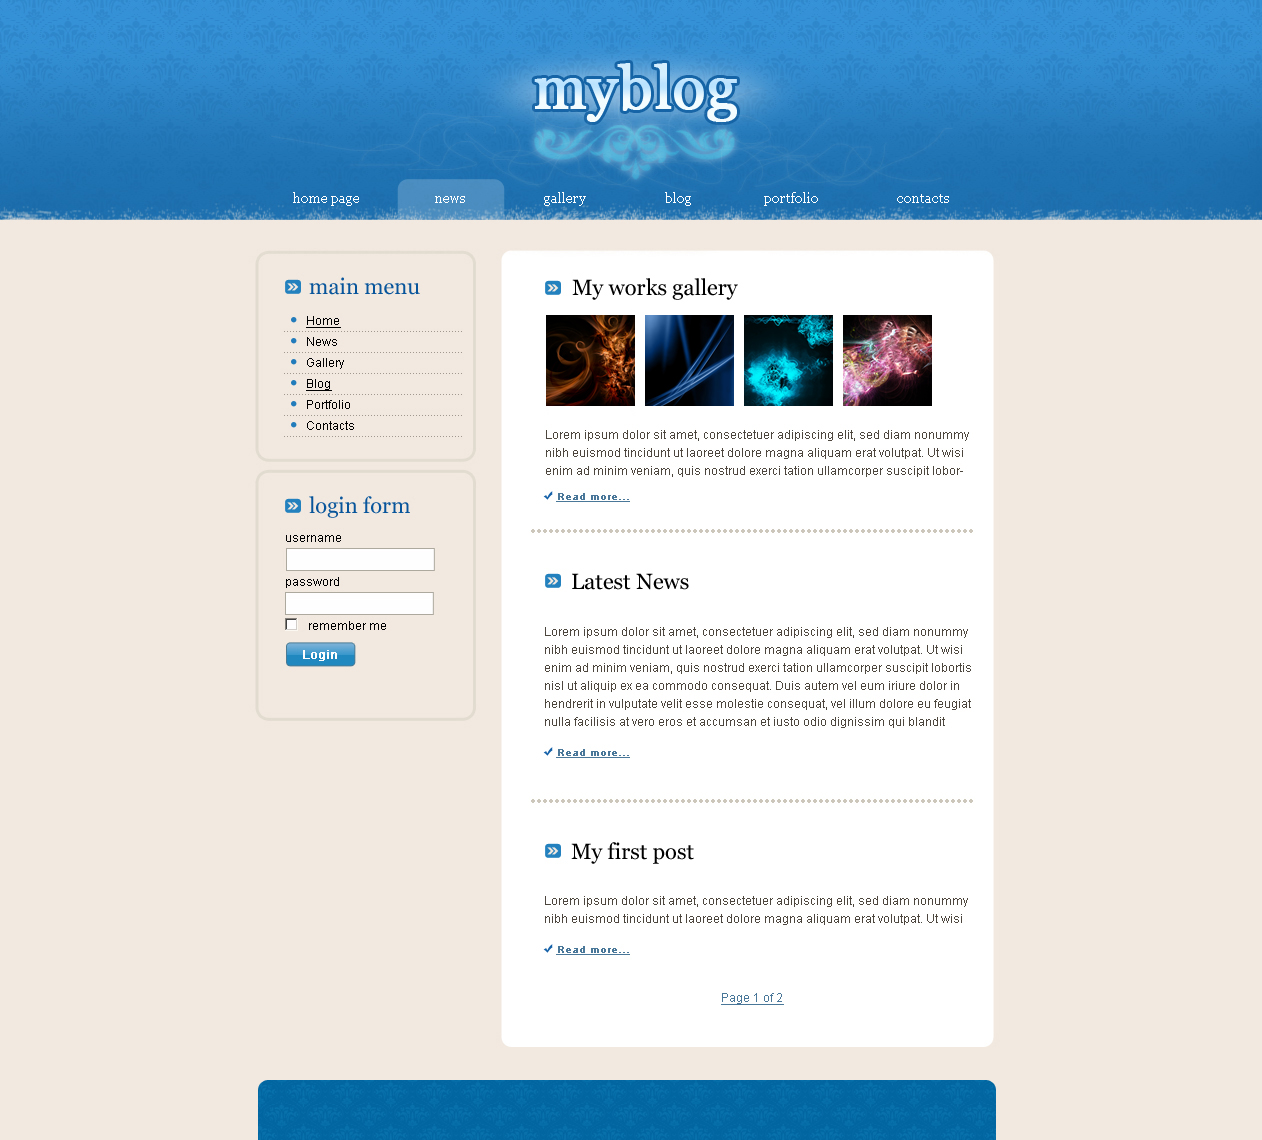
WordPress theme web design
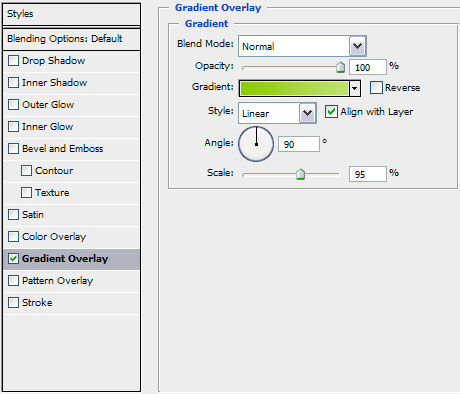
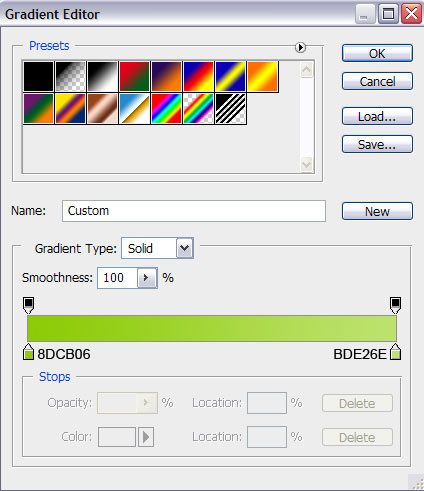
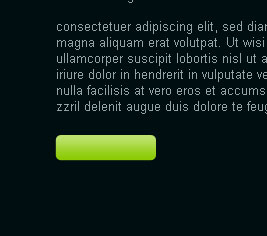
Insert next the appropriate text on the drawn element:

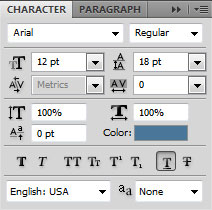
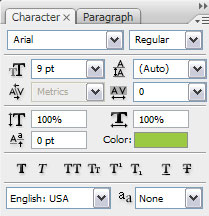
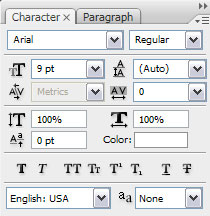
Write the button’s title:


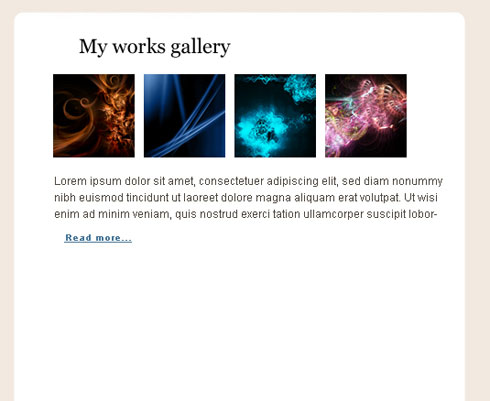
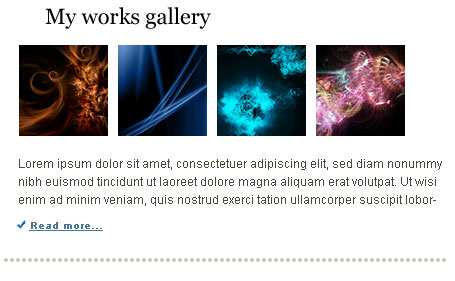
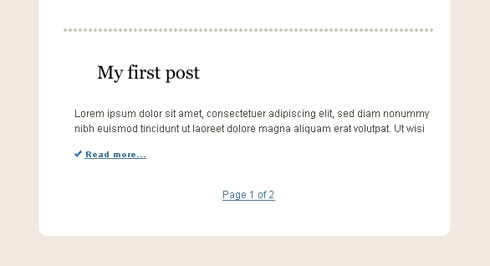
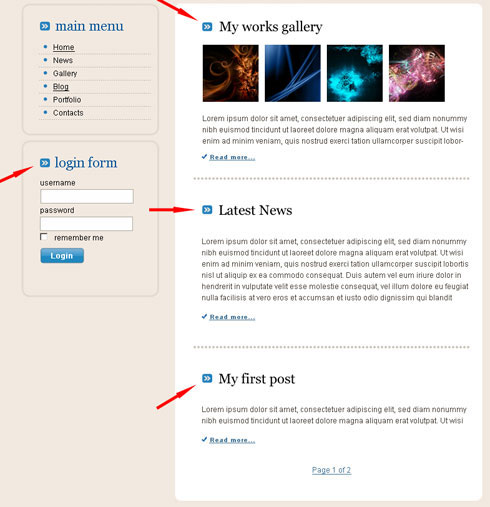
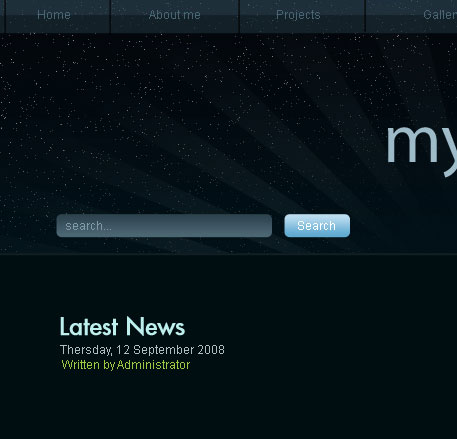
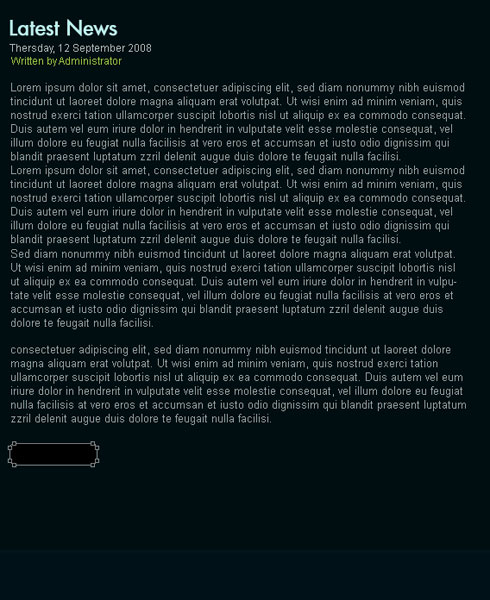
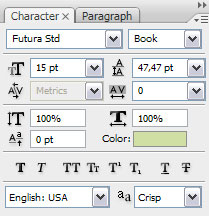
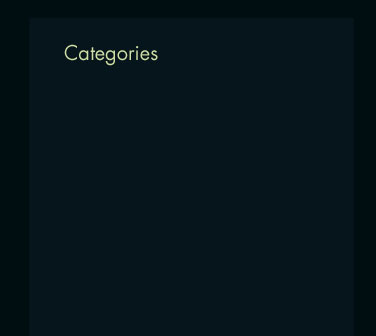
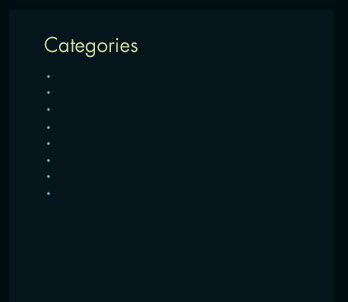
Insert the section’s title on the central part of the panel, the same way you may see below:
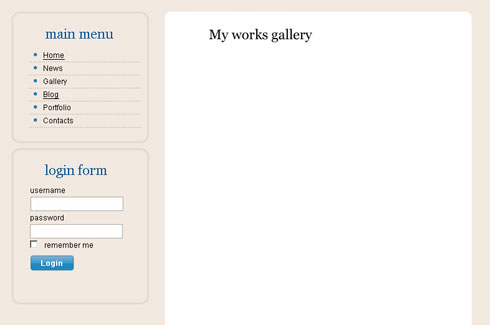
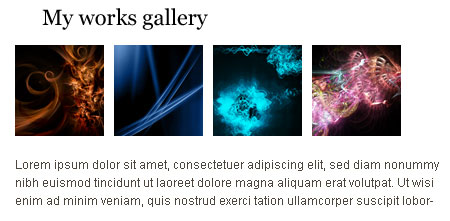
Insert the earlier edited pictures we want to have on the site.
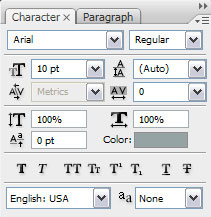
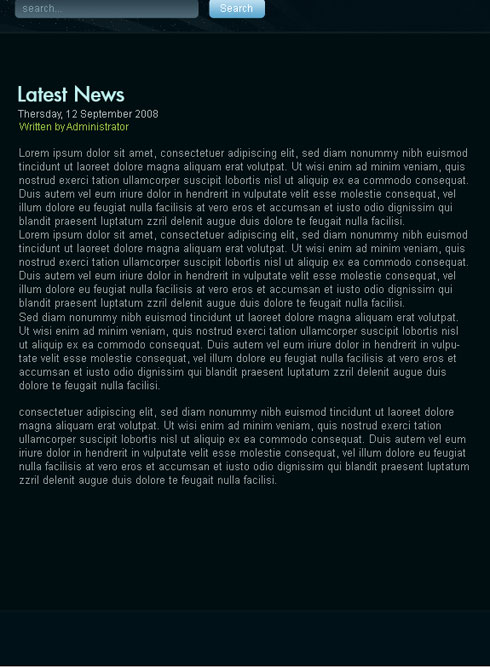
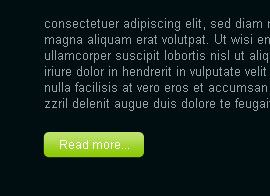
Fill the section with the appropriate text:
Let’s represent a link under everything we did till now:
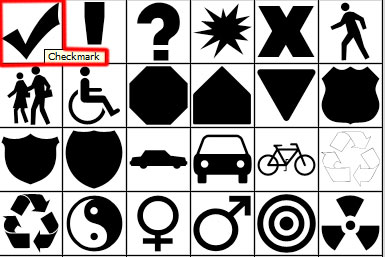
Using the Custom Shape Tool (U), it’s possible to represent an indicator near the made link:

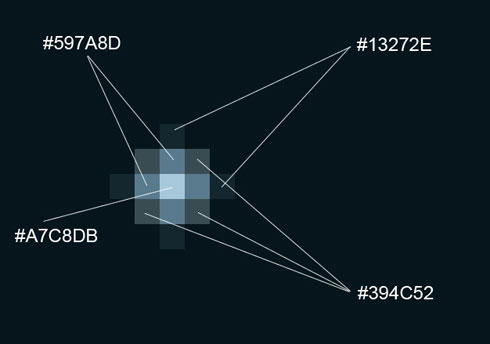
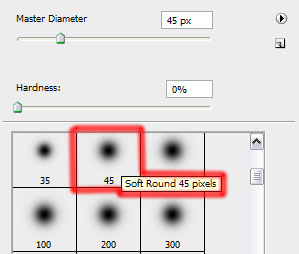
Next we’ll represent again a pattern, creating firstly a new file of 6×6 px and 72 dpi. The applied instrument in this case is the Pencil Tool (B) (brush of 1 px) and the color #CDC7BB.
Save it!
Edit>Define Pattern
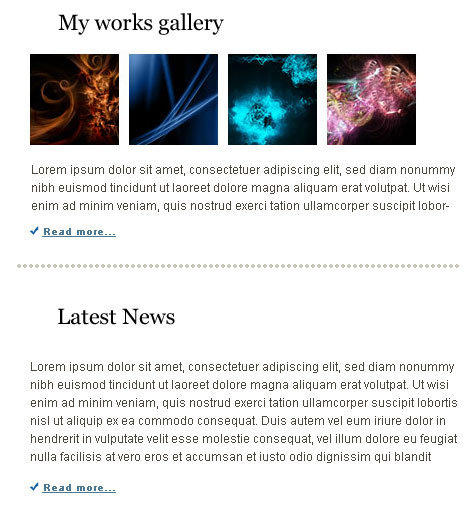
Select on this stage the Rectangle Tool (U) to draw a dividing line:
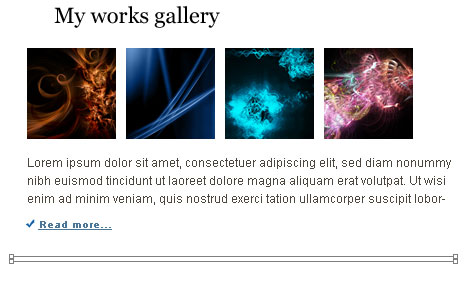
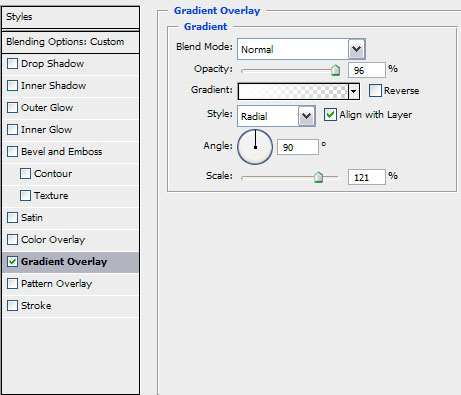
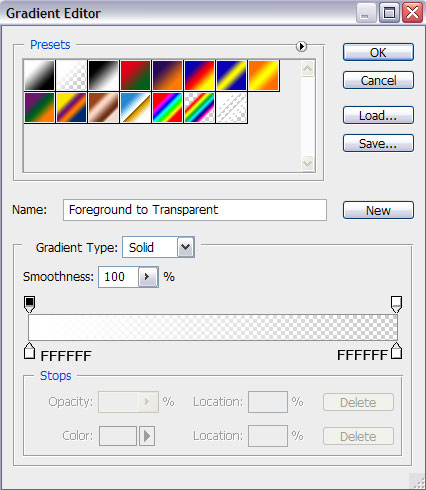
The layer’s parameters: Fill 0%, Blending Options>Pattern Overlay 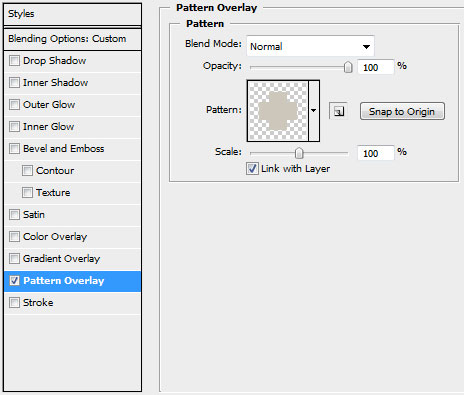
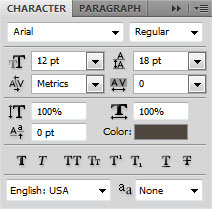
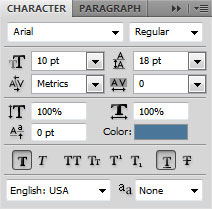
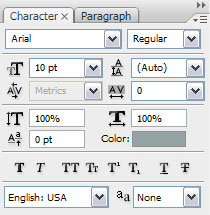
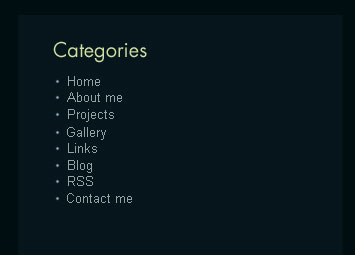
Represent next the content of the second section under the dividing line, leaving a small space. The title of the section, the basic text and the link should be represented with the same writing type we did for the first section on the central panel:
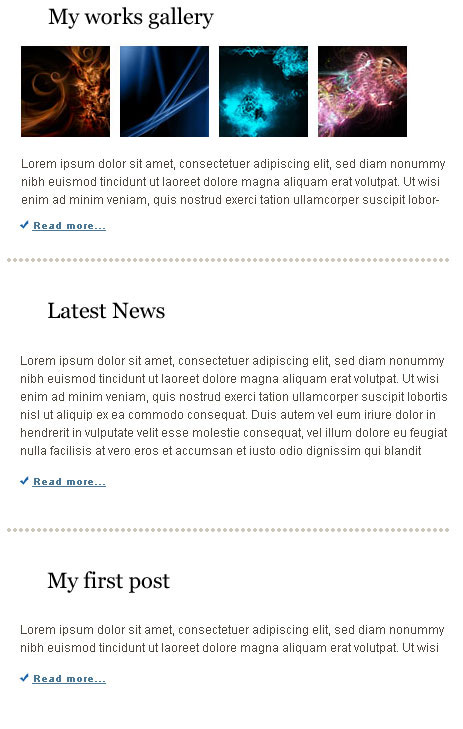
Make a copy of the layer containing the dividing line and then apply the Free Transform option to situate the copy in a way as to divide the central panel on three smaller sections: Insert the title and the appropriate text on the third section:
Under the third section’s link we’ll place the page’s marking:
Represent an icon on the left side of the sections’ titles. Begin working by creating the primary layer and then select the Rounded Rectangle Tool (U) with a radius of 3 px and the color #2381BE 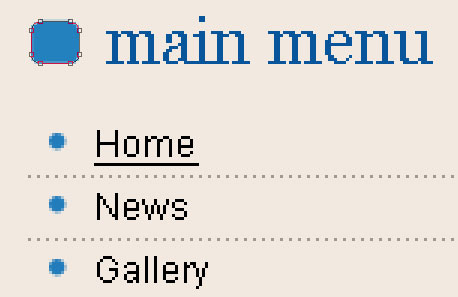
Using the Custom Shape Tool (U), we’ll represent several pointers, applying the color #F2E9E0


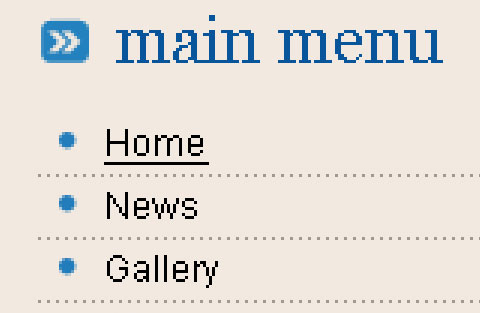
Getting the necessary result is possible if combine in a group all the layers composing the section’s indicator (press Ctrl button to mark out all the layers we need and then hold on the left mouse’s button while taking down the marked layers on Create a new group option). Make four copies of the group and select after that the Free Transform option to situate the copies as it is indicated below:
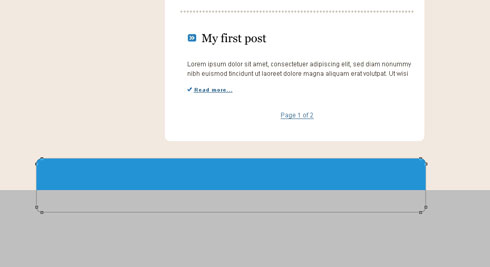
On the bottom part of the site’s page we’ll represent a site’s footer, choosing for this operation the Rounded Rectangle Tool (U) with a radius of 10 px and the color #2393D5.

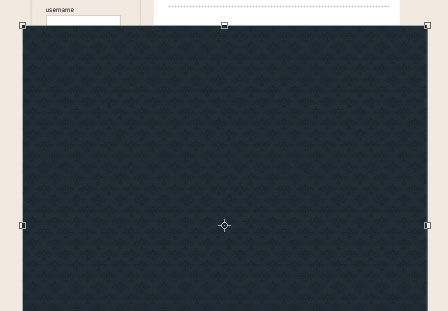
Make a copy of that layer we’ve used it on the very beginning as a pattern for the site’s header. Select after that the Free Transform option to minimize the copy and place it above the layer on the bottom part of the site.
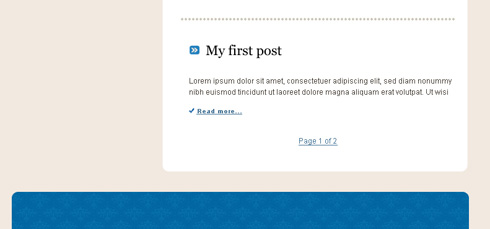
Press Alt button and make a mouse click between the texture’s layer and the layer on the bottom part of the site’s page. Select the next shown parameters for the layer: Blending mode-Difference
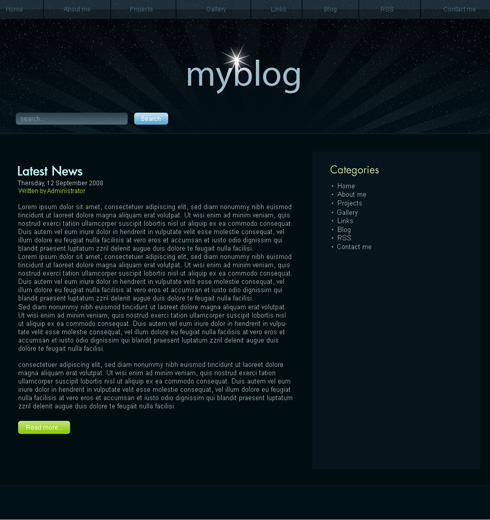
Finished!
View full size here.


Comments