
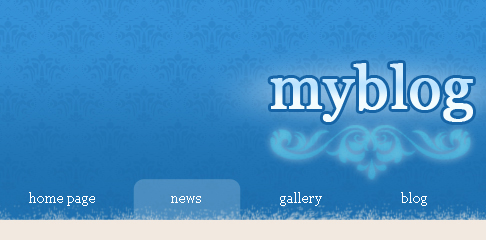
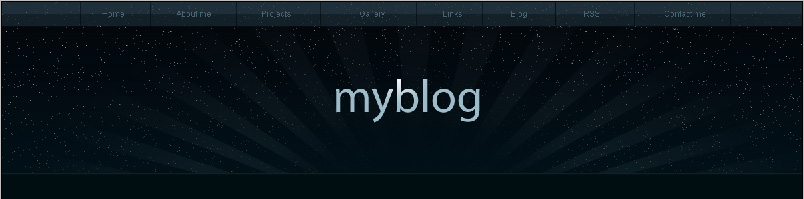
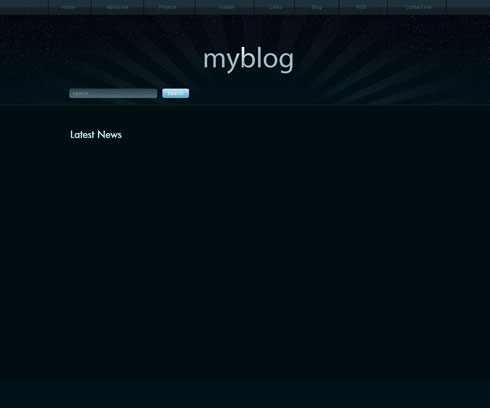
WordPress theme web design
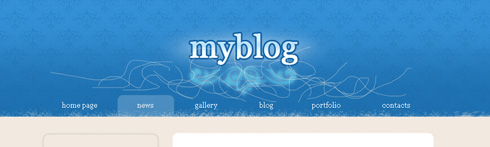
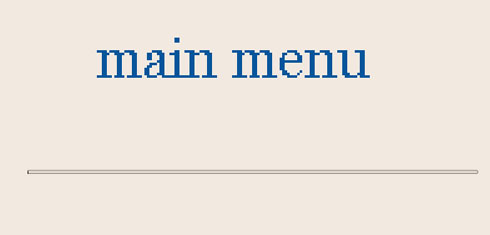
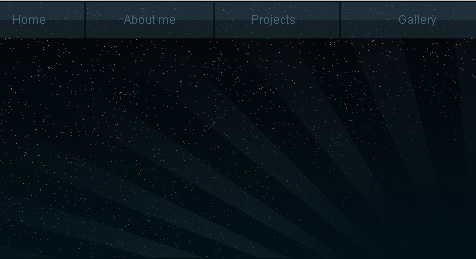
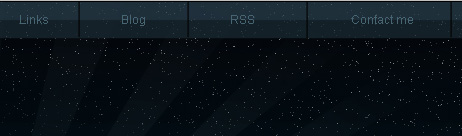
Insert on the site’s header the titles for the menu’s buttons:

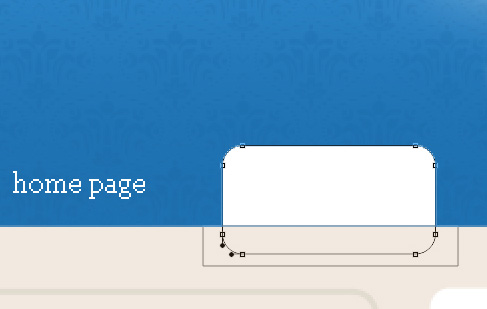
Next we’ll mark out the active menu’s button, applying the rounded Rectangle Tool (U) with a radius of 10 px. Press Alt button, applying the Rectangle Tool (U) to cut out the unnecessary elements on the bottom part, choosing for this operation the white color.
The layer’s parameters: Fill 20% 

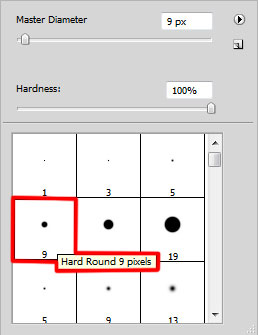
Create a new layer and choose for it the standard brush, used for cleaning out the bottom part of the menu on the site’s header. The brush’s color is #F2E9E0
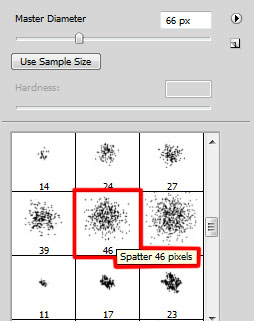
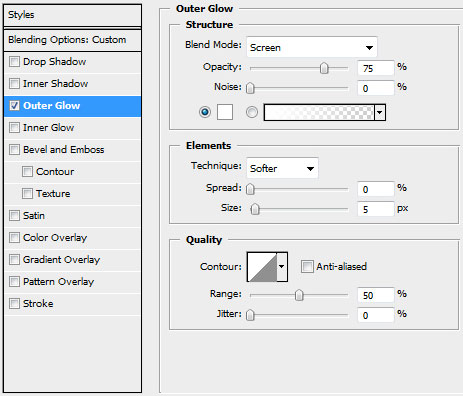
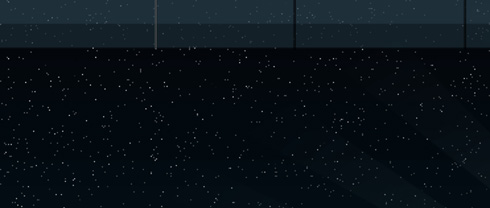
On the next new layer (Create new layer) we’ll use one more time the standard brush for representing the texture of scratches situated on the site’s header zone. The color chosen for this operation is white.
The layer’s parameters: Opacity 13%, Blending Options>Outer Glow

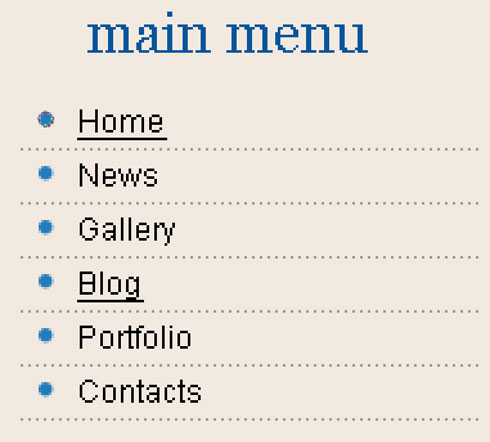
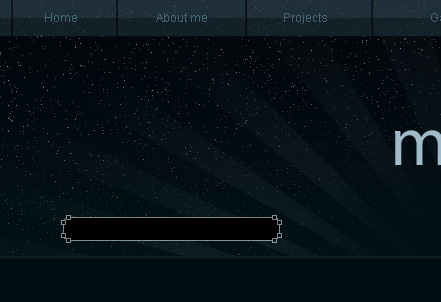
Insert the titles for the sections on the lateral menu:

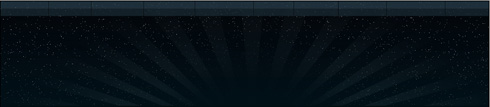
Now we need to represent a pattern, creating a new file of 3×1 px and 72 dpi. In this case we need to apply the Pen Tool (P) and a brush of 1 px, #A0998F color.

Save it!
Edit>Define Pattern
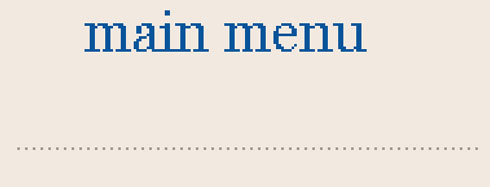
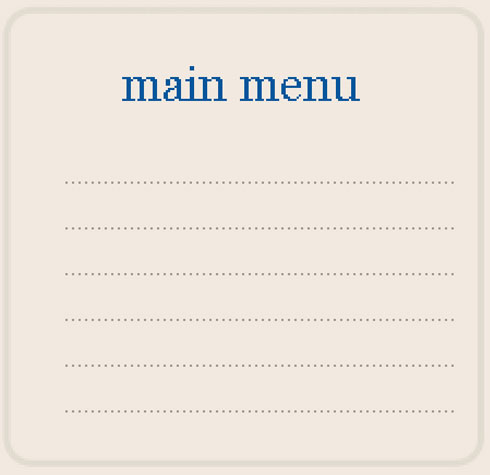
Next we’ll represent the dividing lines on the lateral menu, selecting the Line Tool (U).
The layer’s parameters: Fill 0%, Blending Options>Pattern Overlay 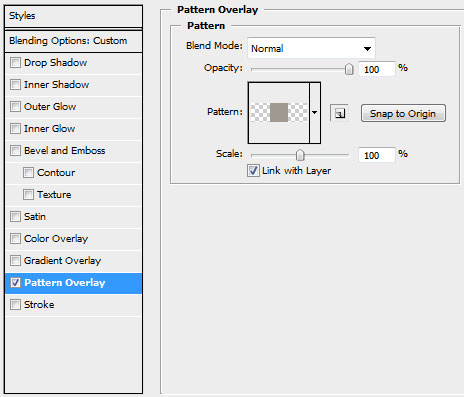
Make five copies of the last made layer and choose Free Transform option to place the copies the same way demonstrated below:
Fill the menu with the inscriptions of the basic options and links.

Applying the Ellipse Tool (U), we need to draw dots near each menu’s option, using the color #227CBB
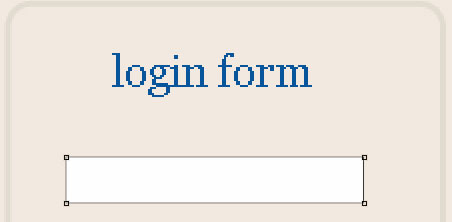
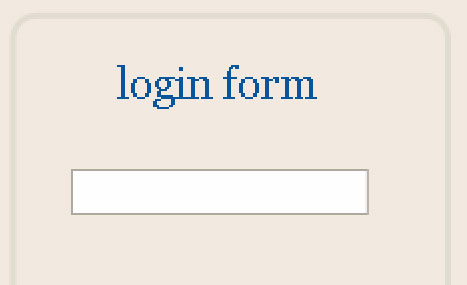
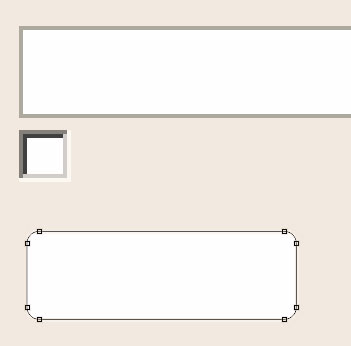
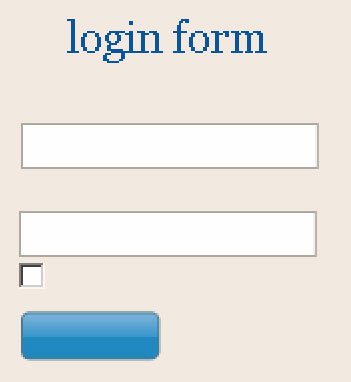
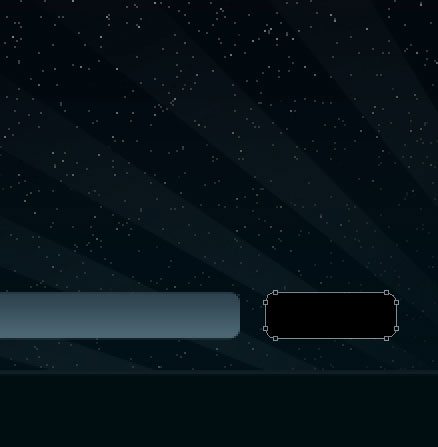
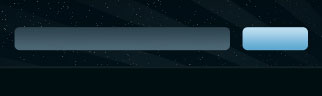
Next we’ll create a window reserved for the login form, applying the Rectangle Tool (U) and white color.
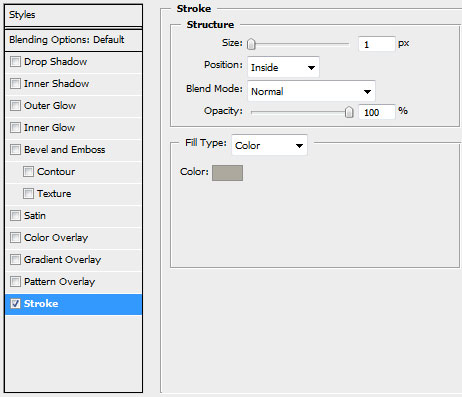
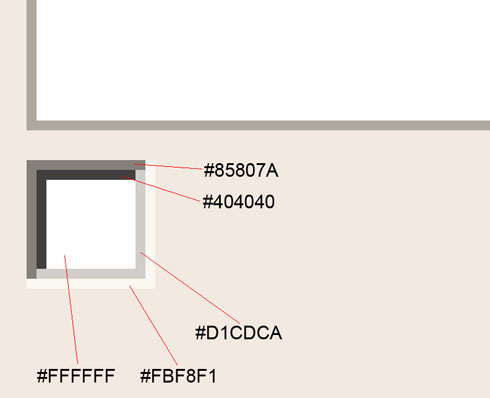
The layer’s parameters: Blending Options>Stroke
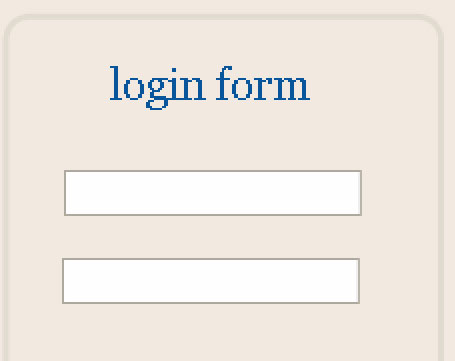
Make a copy of the layer containing the window and then use the Free Transform option to place the copy as it is demonstrated below:
Create a new layer under the previous made one to represent a checkbox, choosing for this operation the Pencil Tool (B) and a brush of 1 px.
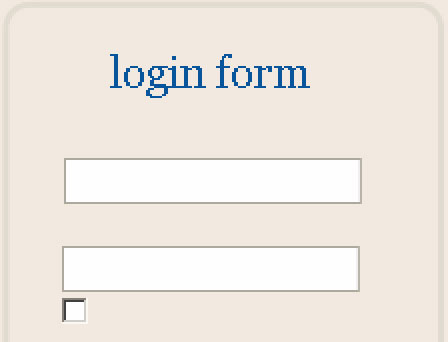
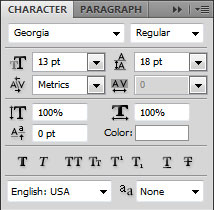
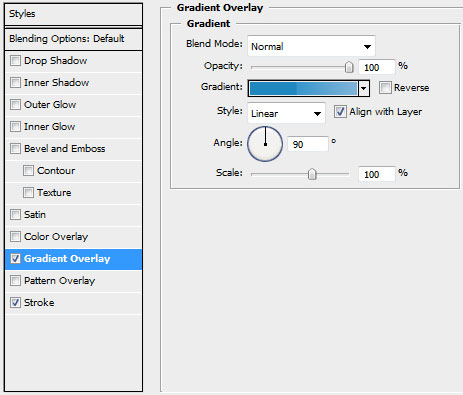
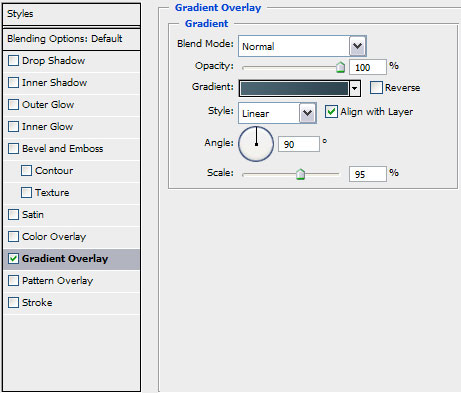
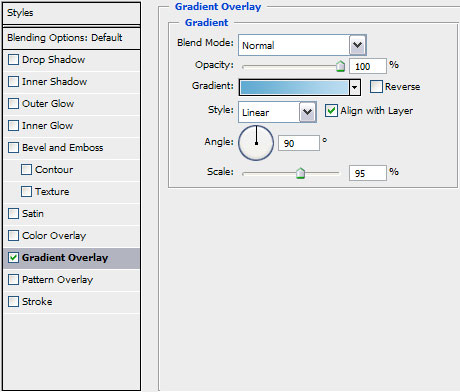
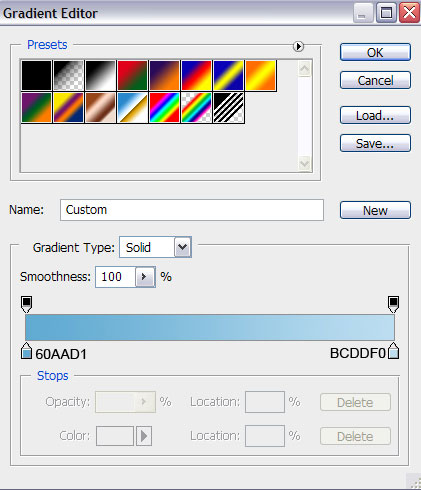
Under the checkbox’s space we’ll draw an element reserved for a button, using the Rounded Rectangle Tool (U) (radius of 3 px).
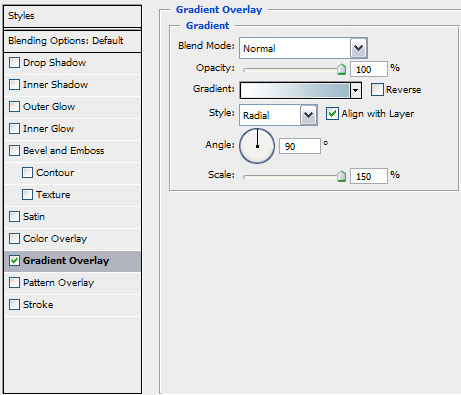
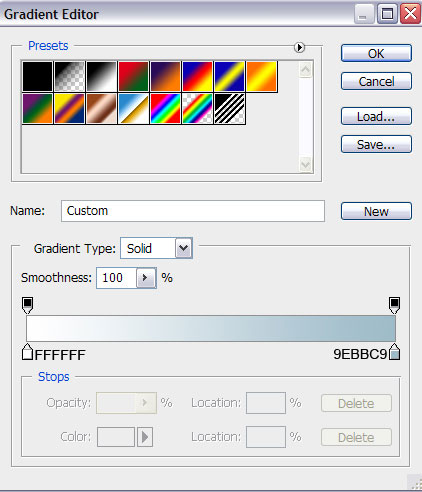
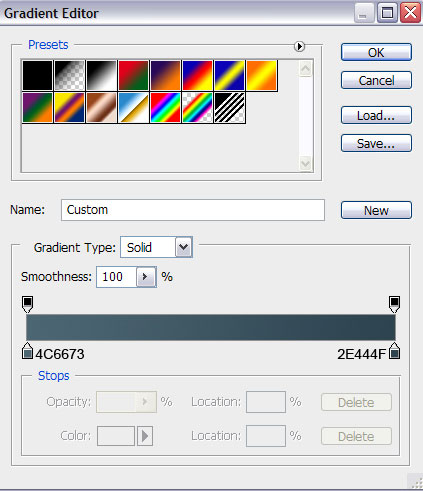
The layer’s parameters: Blending Options>Gradient Overlay
Gradient’s parameters: 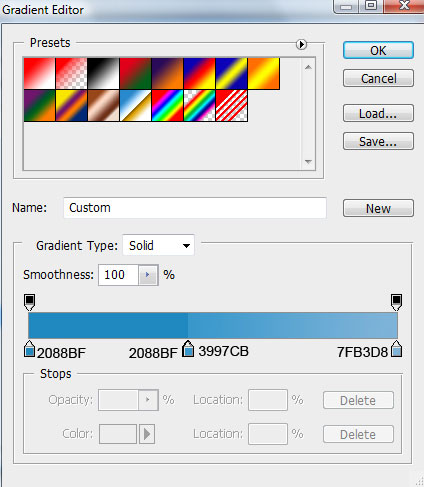
Blending Options>Stroke


Comments