
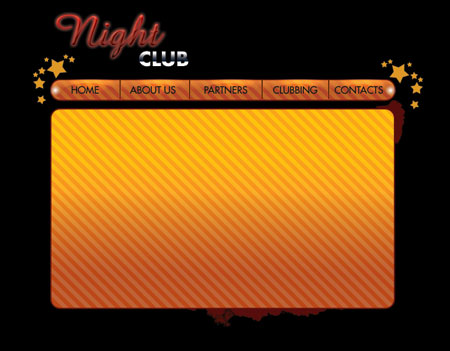
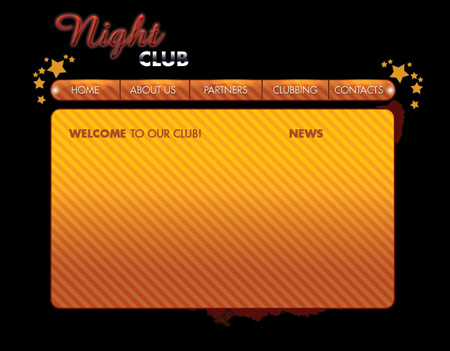
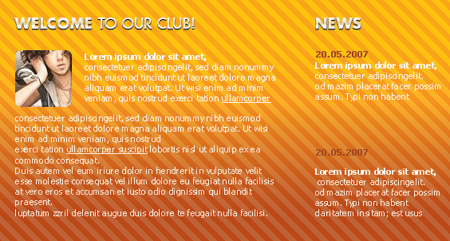
Web layout for Night Club
Make three copies of the last made layer and choose the Free Transform option to place the copies exactly like on the picture shown below.

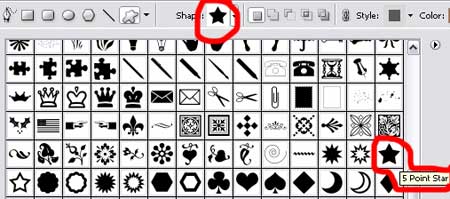
Using the Custom Shape Tool (U), create several small stars on the left side of the menu buttons’ palette, situated on the site’s header.

Te stars are of different sizes, colored all of them in a single color – #DE9826. Turn over the stars, using the Free Transform option.


For our convenience we should combine in a group all the stars from the left side (press on the Ctrl button to mark out the necessary layers and press on the left mouse’s button to take them downside on Create a new group option).
Make a copy of the last made group and choose again the Free Transform option to turn over the copies the way you may see below.

Next we’ll add the site’s logotype, keeping the details from the next tables.
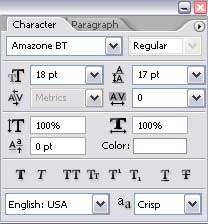
(Night)
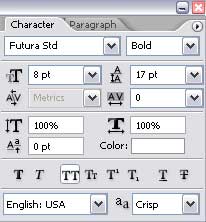
(club)

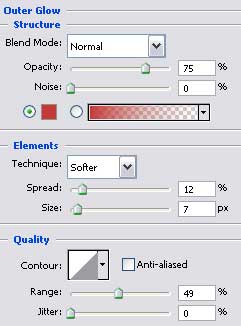
The Night layer’s parameters:
Blending Options>Outer Glow
 Blending Options>Bevel and Emboss

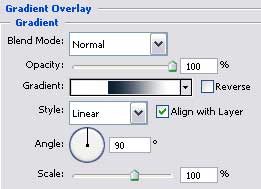
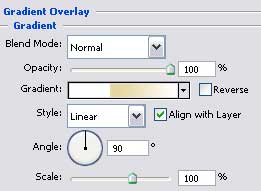
Blending Options>Gradient Overlay
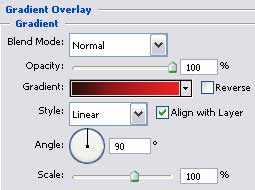
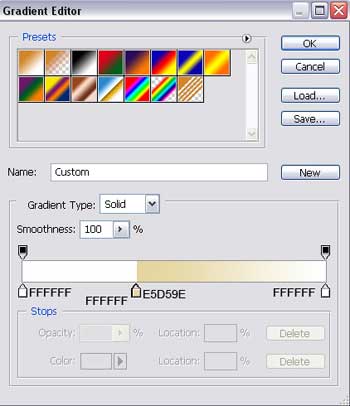
Gradient’s parameters:
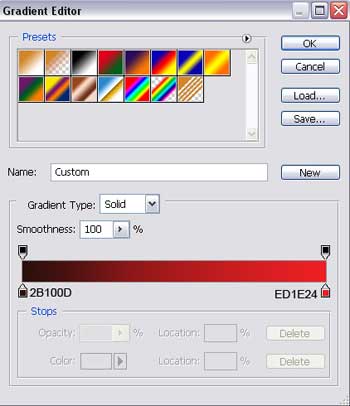
The Club layer’s parameters:
Blending Options>Gradient Overlay
Gradient’s parameters:


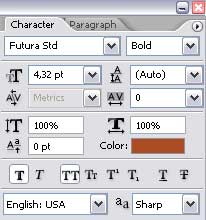
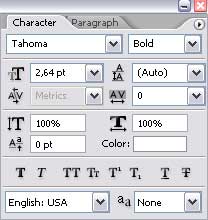
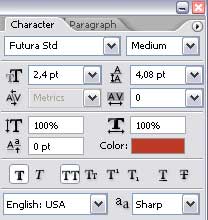
We’ll write also the titles for the menu’s buttons, keeping the demands from the table demonstrated next:
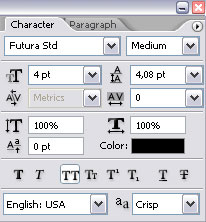
 The layer’s parameters:
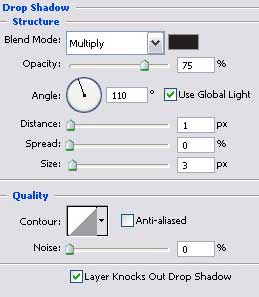
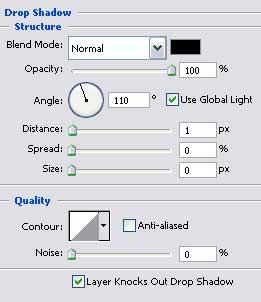
Blending Options>Drop Shadow
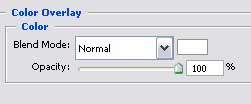
Blending Options>Color Overlay

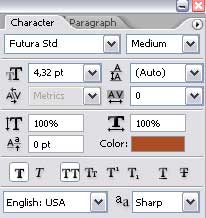
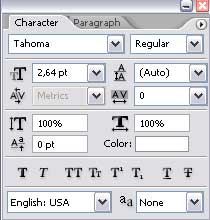
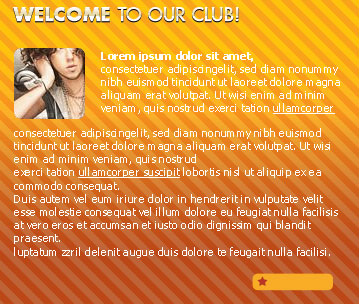
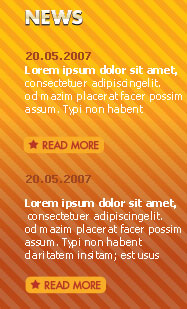
Introduce also the sections’ titles:
(welcome, news)
(to our club!)
The layer’s parameters are the same in all cases.
Blending Options>Drop Shadow
Blending Options>Gradient Overlay
 Gradient’s parameters:

Insert the picture also:

Fill the sections with the necessary text:
(the bold text)
(the basic text)
(the underlined text)
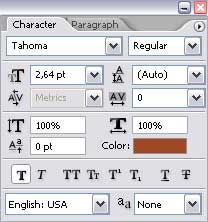
(20.05.2007)
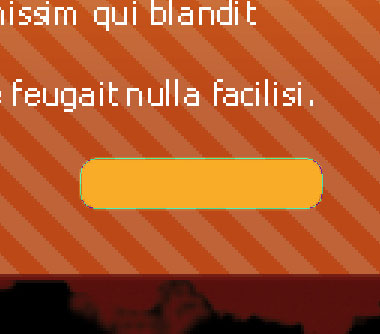
 Select now the Rounded Rectangle Tool (U) and represent a button colored in #F8AC27.


Create on the right side of the button a small star, colored in # BA3526. We’ll need the Custom Shape Tool (U) for this operation.
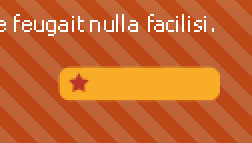
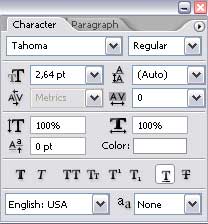
Insert the button’s title:
 For our convenience, we’ll combine in a group all the layers composing the recently made button (Press on the Ctrl button to mark out the necessary layers and keeping pressed the left mouse’s button we’ll take them down on Create a new group option).
Make two copies of the last made group and choose again Free Transform option to place all the copies the same way it is indicated next picture:
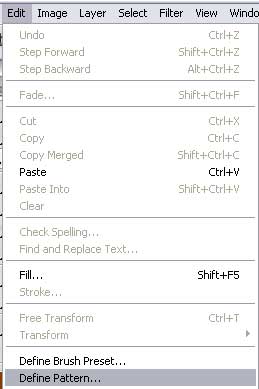
Create a new layer and then try to represent a texture’s pattern of 1×4 px and 72 dpi. The operation needs the Pencil Tool (B) and the color #8A3B00


Save the texture!
Using the Line Tool (U), try to make now a vertical, dividing stripe.
The layer’s parameters:
Fill 0% on the layers.
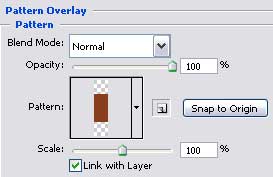
Blending Options>Pattern Overlay
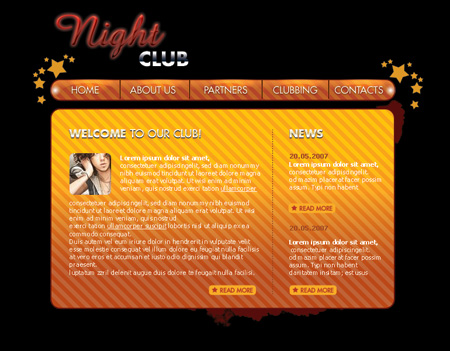
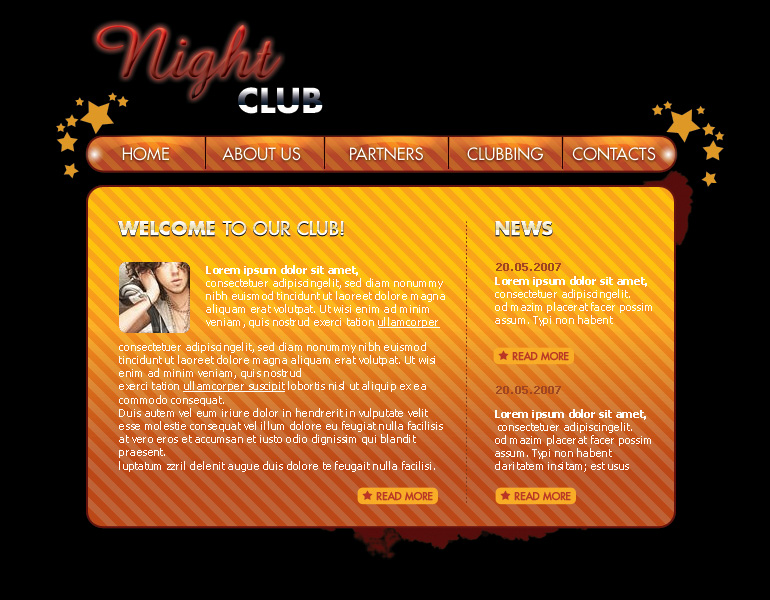
The site is finished!
View full size here.
Page: 1 2
Comments