
Web layout for Night Club
This tutorial will show you how to create a modern night club web layout.
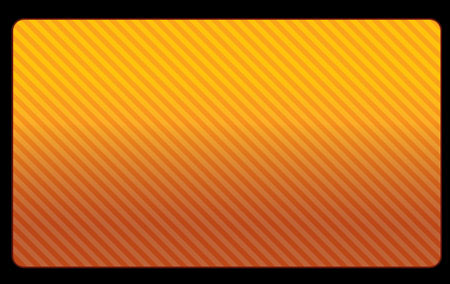
Final Image Preview

Create a new file (File>New) that would have 770×600 px and 72 dpi. Select after that the Paint Bucket Tool (G) to paint the file in black color.

Create a new layer of 20×20 px and 72 dpi to represent a Pattern. We’ll use in this case the Pencil Tool (B) and the color #D28528.
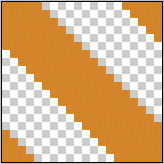

Save the texture!

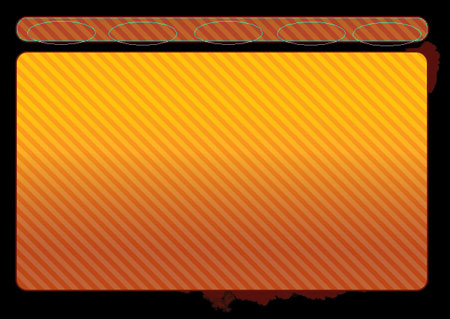
Using the Rounded Rectangle Tool (U), represent the primary layer reserved for the site’s sections.


The layer’s parameters:
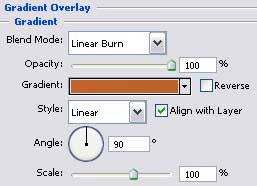
Blending Options>Gradient Overlay
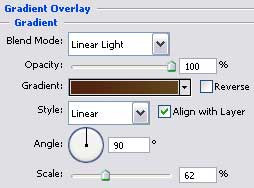
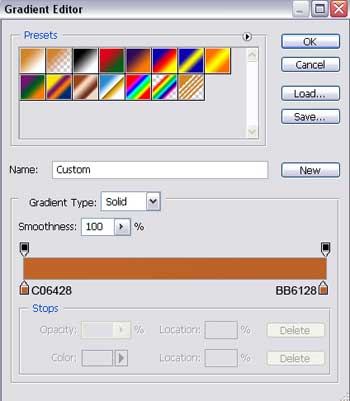
Gradient’s parameters:
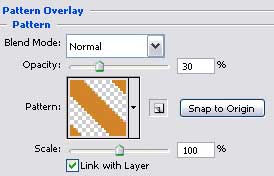
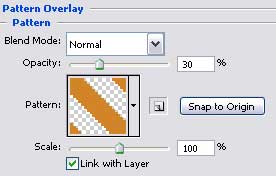
 Blending Options>Pattern Overlay
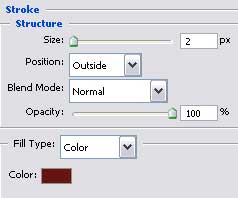
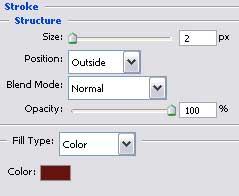
Blending Options>Stroke
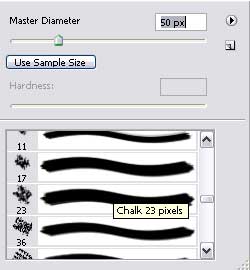
Create a new layer and select then the Brush Tool (B), colored in #57100E to represent several patches downside, on the right side of the previous layer’s edge. We need also to place this layer lower than the layer reserved for the sections, on the layers’ palette.

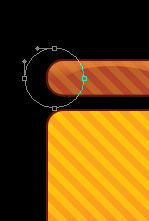
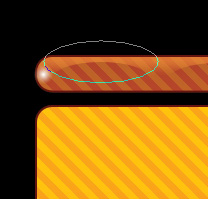
Choosing the Rounded Rectangle Tool (U), try to make now the primary layer reserved for the menu of the buttons situated on the site’s header.


The layer’s parameters:
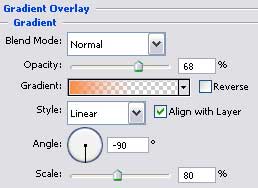
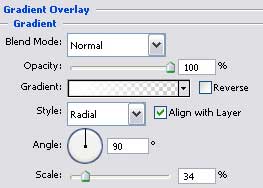
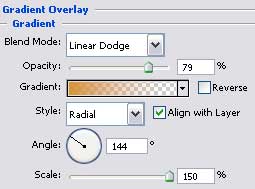
Blending Options>Gradient Overlay
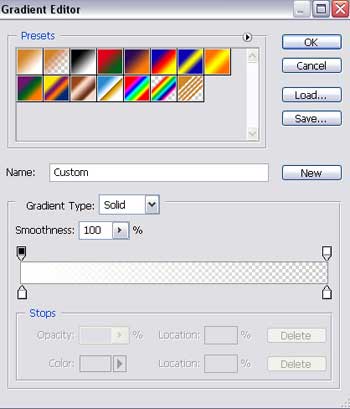
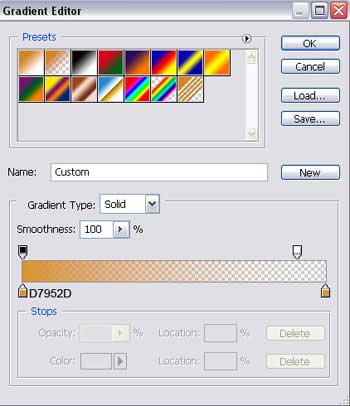
 Gradient’s parameters:
Blending Options>Pattern Overlay
Blending Options>Stroke

Make a copy of the last made layer and press on the Alt button to cut out five ellipses with the Ellipse Tool (U).
The layer’s parameters:
Fill 0% on the layers.
Blending Options>Gradient Overlay
Gradient’s parameters:

 Using the Ellipse Tool (U), make a flare on the left side of the menu’s palette.
The layer’s parameters:
Fill 0% on the layers.
Blending Options>Gradient Overlay
Gradient’s parameters:

Make a copy of the last made layer and choose the Free Transform option to place the copy exactly like in the picture below.

Using the same instrument, try to picture out a flare on the upper part of the buttons’ palette.
The layer’s parameters:
Fill 0% on the layers.
Blending Options>Gradient Overlay
Gradient’s parameters:

Make four copies of the last made layer and select the Free Transform option to place the copies exactly like on the next picture.

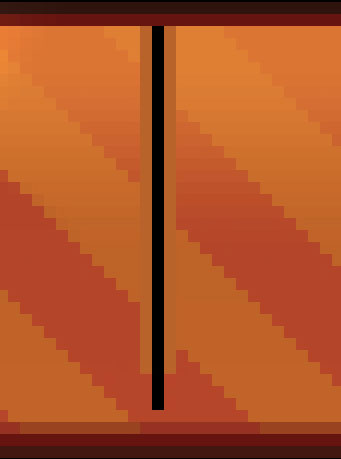
Using the Rectangle Tool (U), we have to represent the stripe of black color.


Create a new layer. Select after that the Pencil Tool (B) to create a vertical, dividing stripe of black color and near it – on the right and on the left side – by one stripe, colored in #B9622A


The layer’s parameters:
Blending Mode-Luminosity
Page: 1 2
Comments