
Wave texture background
May 29, 2008 | 0 comments
I was asked how to create wave texture background that I
made for one of my wallpapers. I wrote this tutorial from my answer because it
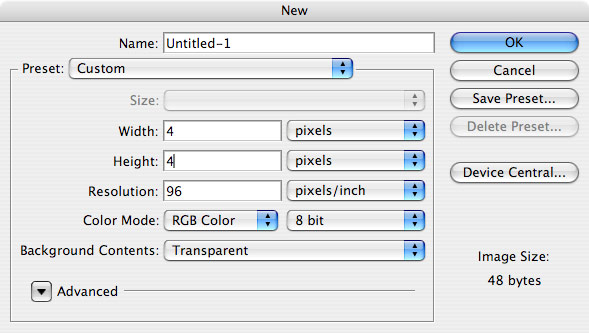
might be useful for someone else. So, to start, we need horizontal stripes
background. For that, we need a stripe pattern. Create new document with 4
pixels height (you can also try different size).
made for one of my wallpapers. I wrote this tutorial from my answer because it
might be useful for someone else. So, to start, we need horizontal stripes
background. For that, we need a stripe pattern. Create new document with 4
pixels height (you can also try different size).
Select Pencil tool, 1px size, and draw line on bottom of
image.
image.
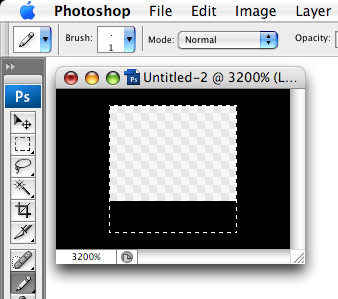
Go to Edit menu – Define Pattern. Click OK to create new
pattern.
pattern.

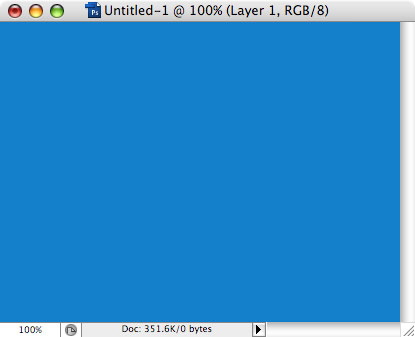
You can close this document now. Create new document,
with width and height that you need. Fill with solid color (blue in this
example).
with width and height that you need. Fill with solid color (blue in this
example).
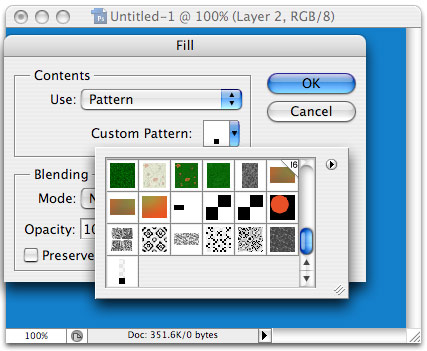
Create new layer (Layer menu – New – Layer). Go to Edit
menu – Fill… From Use list, select Pattern, then open Custom pattern list, and
select last one (the one that you just saved). Click OK.
menu – Fill… From Use list, select Pattern, then open Custom pattern list, and
select last one (the one that you just saved). Click OK.
The layer will be filled with stripes.
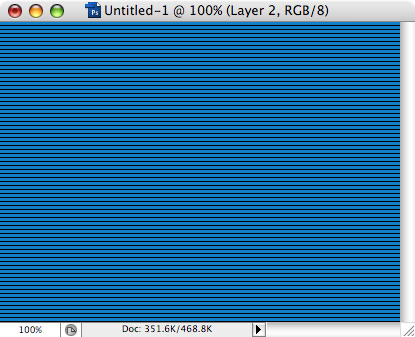
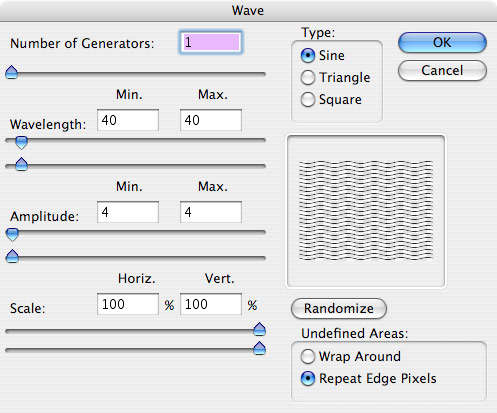
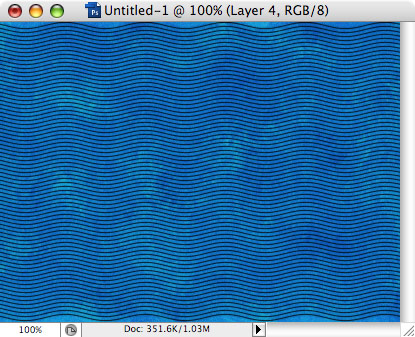
Go to Filter menu – Distort – Wave. Tweak settings until
you like the result. In this example, I set number of generators = 1, wavelength
= 40 (min and max), amplitude = 4 (min and max).
you like the result. In this example, I set number of generators = 1, wavelength
= 40 (min and max), amplitude = 4 (min and max).
Our stripes are now waves!

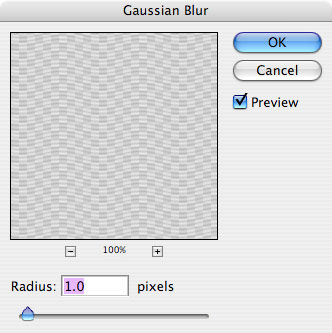
The wave pattern is too sharp now, we need to soften it a
bit. Go to Filter menu – Blur – Gaussian Blur, set Radius to 1px.
bit. Go to Filter menu – Blur – Gaussian Blur, set Radius to 1px.
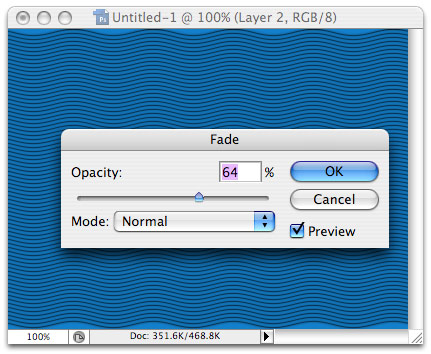
If the pattern looks too blurred now, go to Edit menu –
Fade and adjust the blur effect. I found 60% looks good.
Fade and adjust the blur effect. I found 60% looks good.
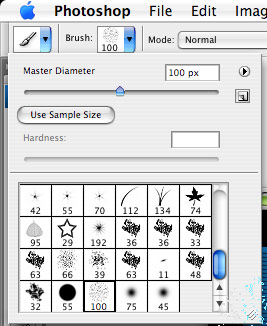
To make the background more interesting, let’s add some
rust look to it. Create new layer, then switch to Brush tool, select the brush
shown in this screenshot.
rust look to it. Create new layer, then switch to Brush tool, select the brush
shown in this screenshot.
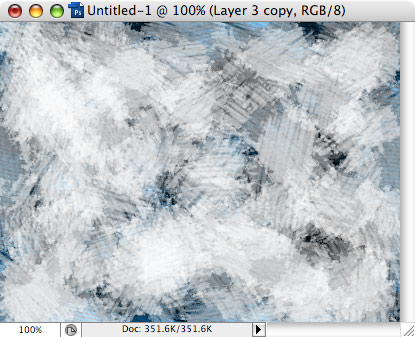
Fill entire layer with short chaotic strokes (black
color).
color).
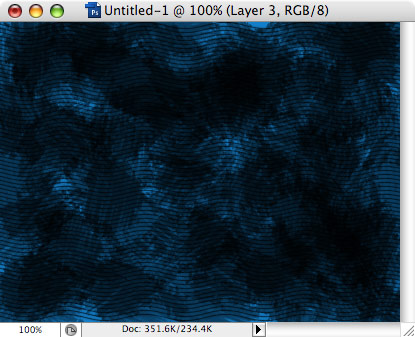
Create another new layer, set color to white, and
repeat.
repeat.
Finally, set these 2 layers blend mode = Overlay and
opacity = 20-30%. That’s all!
opacity = 20-30%. That’s all!
Author: Vlad Gerasimov
URL: http://www.vladstudio.com
LusterForever.com – Cool silver charms and leather bracelets design! Totally awesome sterling silver bracelets.
Comments