
Vectorise People
Vectorise People
This is a hard tutorial that may take some time, but it really worth it! This will teach you how to get those real vectorised people! And not by using filters…
This is an editted tutorial on how to vectorise people…
For this tutorial, you need to understand the pen-tool!
-
Step 1 This will be a large tutorial, so make sure you got plenty of time on your schedule!
First of all, you need to find a suitable picture of a random person;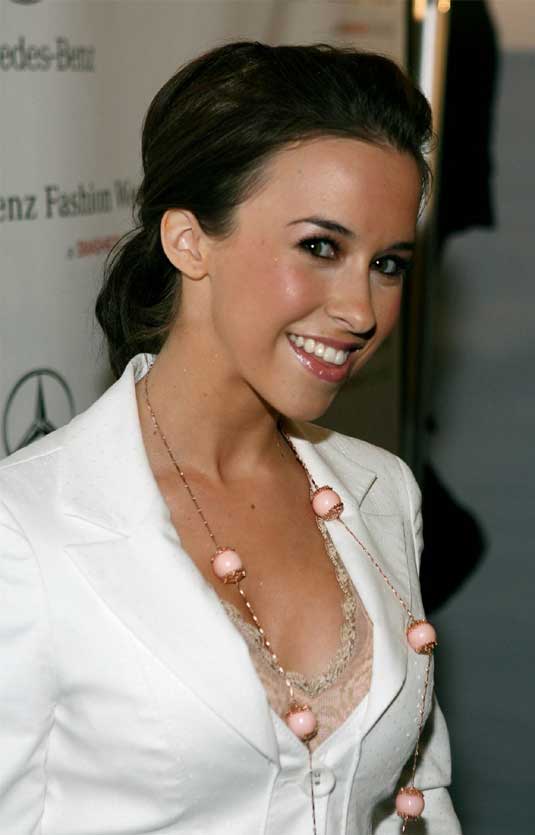
-
Step 2 When you have the right photo, duplicate it and go to Image>Adjustments>Posterize and choose the amount of levels for the vector.
The higher the amount, the more detailed your vector will be and the more it will look like a vexel.

-
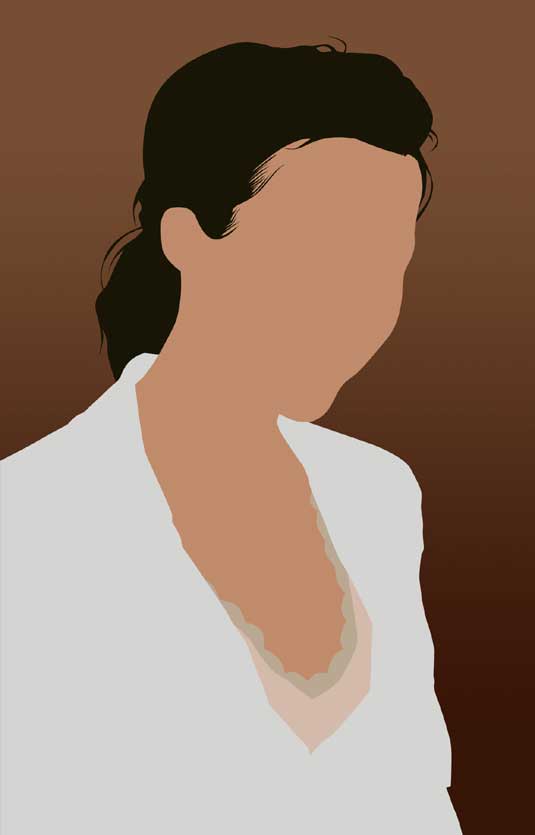
Step 3 Use the Eyedropper to pick a color from the skin and use that color to fill the selection of the traced skin.
You must trace the skin with the pen-tool!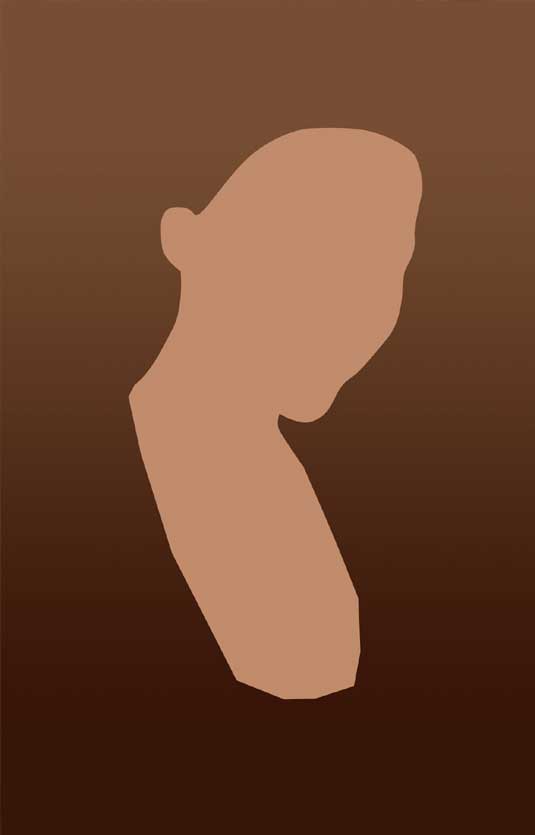
-
Step 4 With that same pen-tool, trace the hair and place it BEHIND the skin;
-
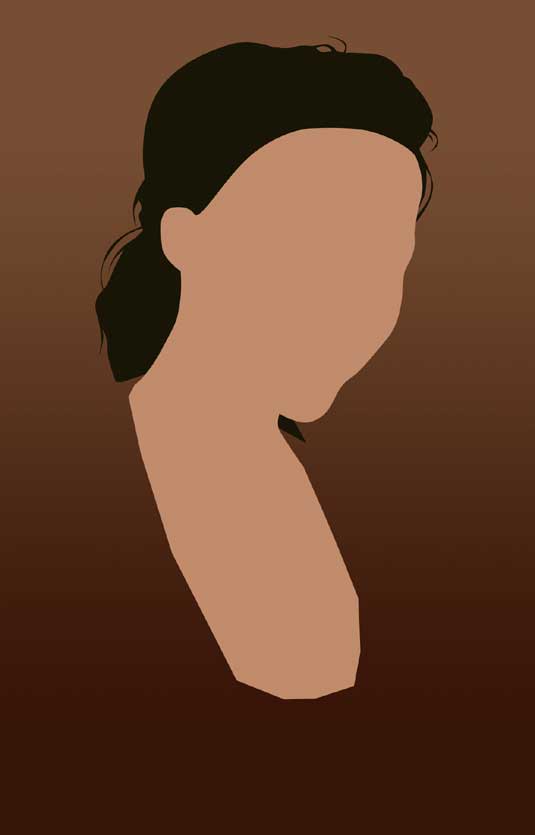
Step 5 Because of the fact we would lose some hair, we draw the hair that is ON the face on a new layer on top of the face!
-
Step 6 Draw the bases of the clothes. Remember that everything has to be in one color. The shading will come next…
-
Step 7 Then WHILE LOOKING AT THE POSTERISED image, switch between the posterised photo and the original to (each time) select a color, from the level you are going to trace.
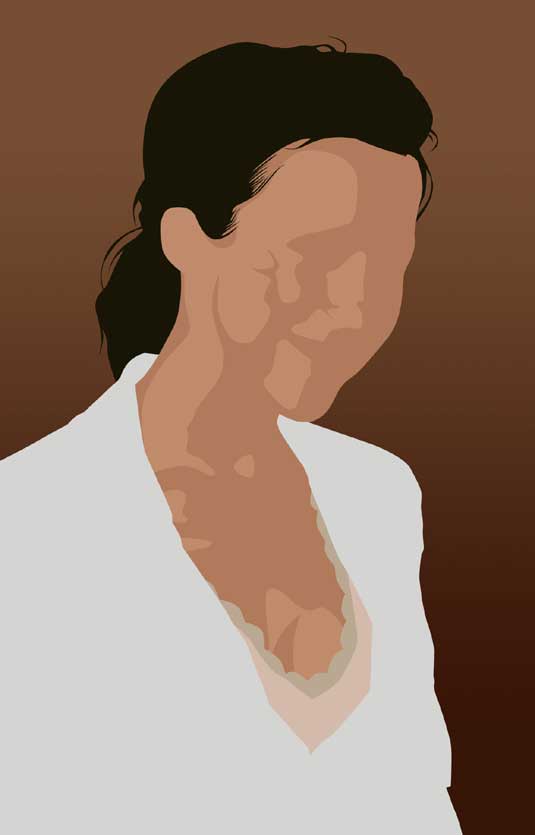
Step 8 DO NOT TAKE A COLOR FROM THE POSTERISED LAYER. IT DOES NOT LOOK GOOD AND IT DOESN’T HAVE THE RIGHT COLORS!
-
Step 8 Continue along the path and trace all levels and arrange them from light at the bottom, to dark at the top.
When you are done with that, GROUP them with the skin-layer, so that any edges outside the skin won’t be seen!
-
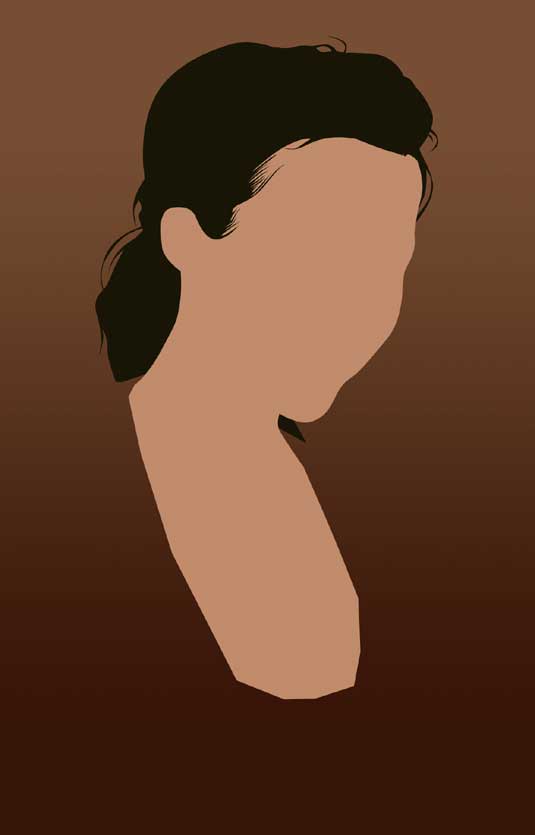
Step 9 Because we have 2 layers of hair, make a new layer on top of the highest layer and DO NOT GROUP IT! Then trace the light hairs.
If you have dark hair like my photo, it will be really easy. If you take blonde hair or lighter, you will have to vectorise more.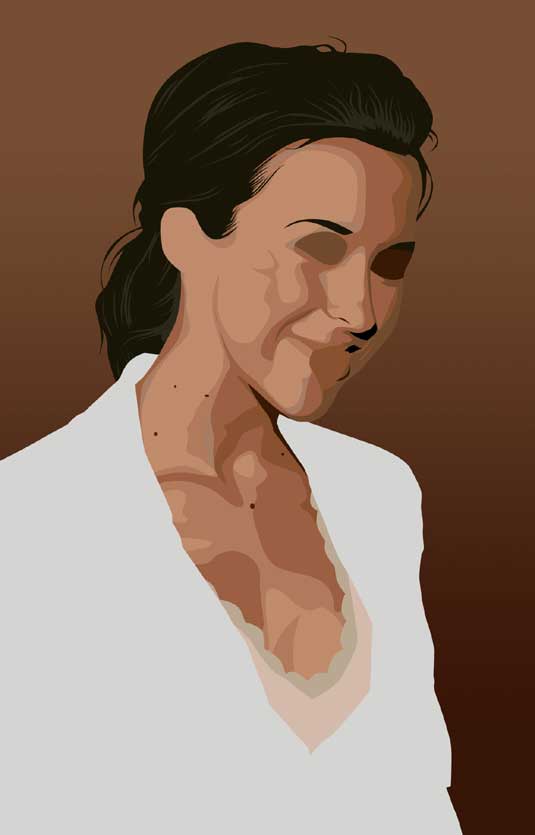
-
Step 10 Do the same with the clothing.
If you look at the origianl and my version, you see I left out the necklace and the silly buttons. That is because it’s my vector and I can choose what I keep and leave out. You can do that too.
If the person in the photo is a bit too fat or has something on that you don’t like, just change it!
-
Step 11 Finish up all fine details…
-
Step 12 Now for the eyes. Create with black the shape of the eye on a new layer and on a layer above that, the lashes. When you’re done, merge the 2 together;

-
Step 13 Then inside the blackness, add a white eye-shape with in there a few circles to represent the eye.
-
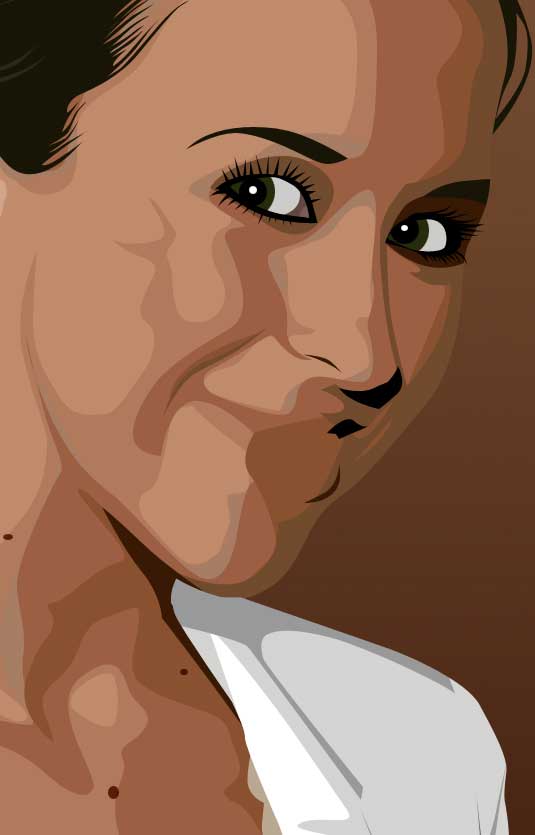
Step 14 On to the hardest part – the lips! First of all, create the shape of the lips and fill it with the base-color;
-
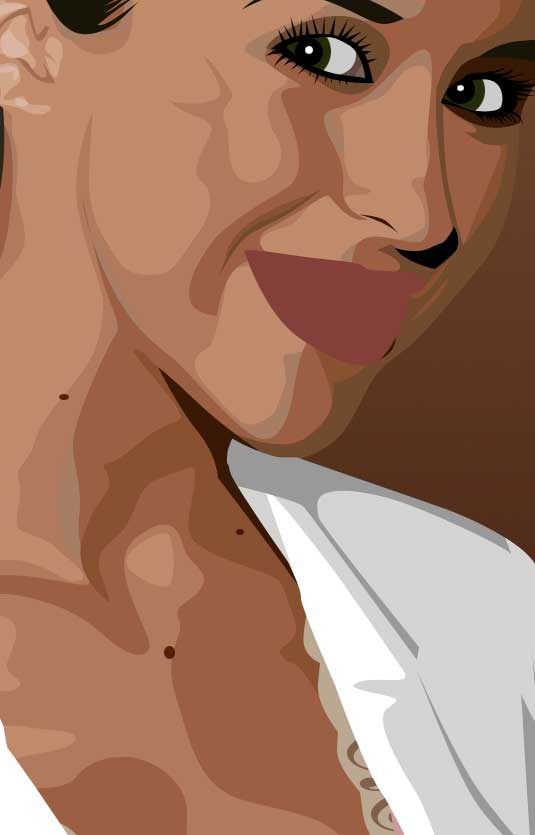
Step 15 Draw the shade and shine of the lips and the inside of the mouth (IF NEEDED).
I also drew the shade of the teeth already, so the girl doesn’t look weird 😉
-
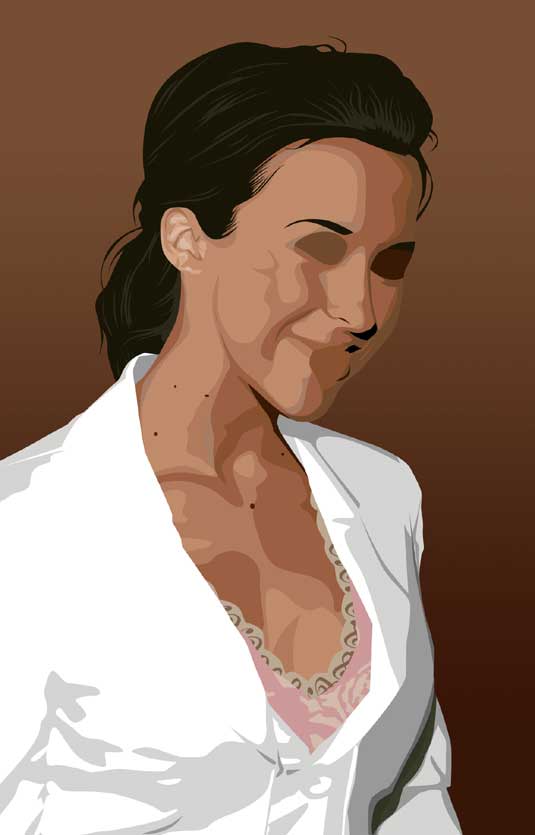
Step 16 Then finally add the teeth and the shine on them.
Remember to group all the shadows and shines with the base-colors. That way, you will keep your .psd in good shape and the vector will look better!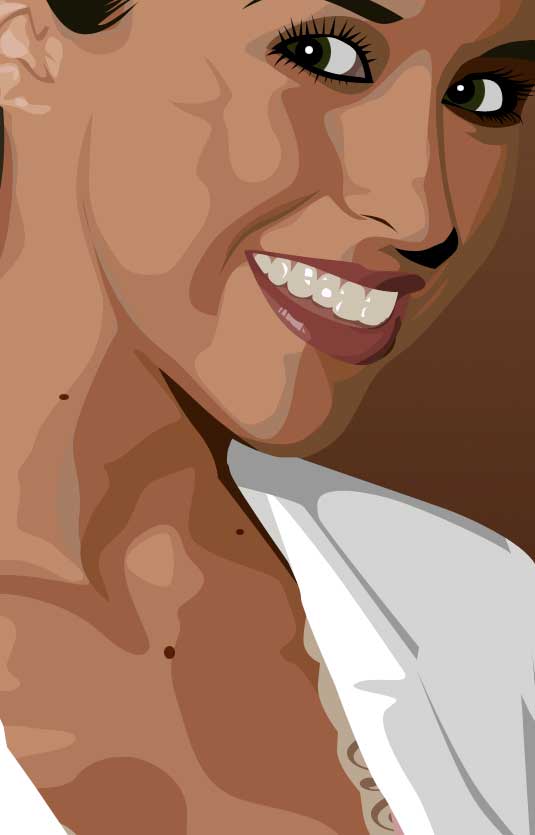
-
Step 17 And after some hours of work, you are finally done! I really hope your result looks nice 😉
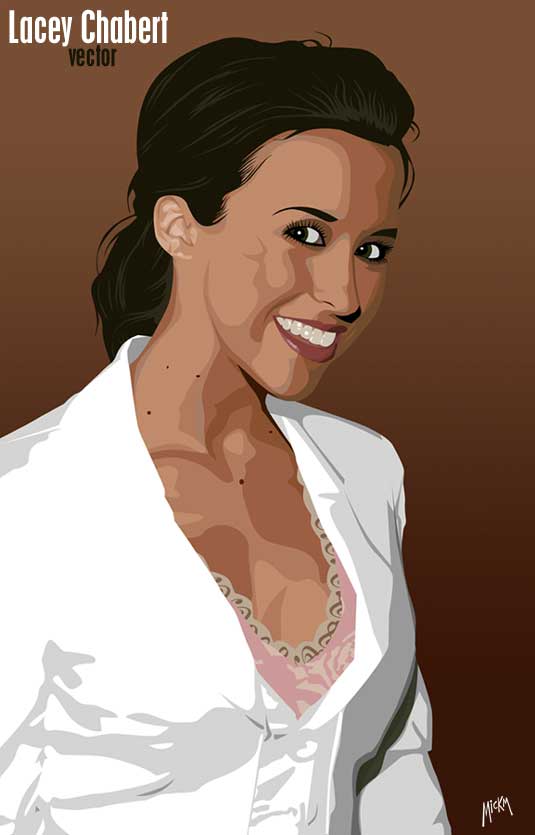
Author : MICK MOOLHUIJSEN
HomePage : http://www.mickm.com
Comments