
Vector Wallpaper
Gradient’s parameters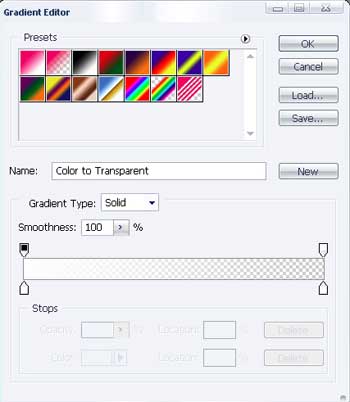
Blending Options-Stroke
Represent a highlight now on this heart, applying the next tool  of the white color.

Copy the recently created layer using Free Transform option and minimize it (pressing on Shift button), turn it around and place it exactly like it is demonstrated in the picture.


Don’t forget to place correctly the layers.
For your convenience, merge all the hearts’ layers in a group. Hide for a while the hearts’ group.

Continue. Take the instrument  of the white color with unclear edges and Opacity of 20%.
create the next.

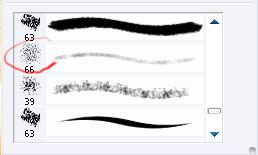
Take the instrument  and choose the brush’s style with the right mouse’s button
Opacity – 10%, above the design left by the brush. Make sharply moving and we’ll get.

Now choose  and represent a patch.Apply then the next instrument
  to paint the marked zone. Inside the marked zone, choose Transform selection with the right button.

Move a little the marked place so many times as we need
We’ll get the next:

Use the following instrument to represent a picture with ED1C7A with the parameters below.


Blending Options-Inner Glow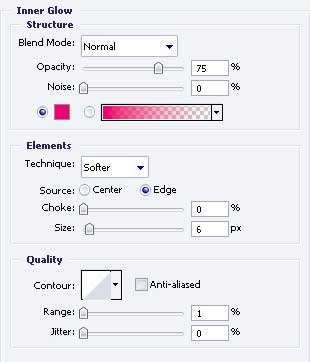
Comments