
Tunning Text Effects
This tutorial will teach you how to design a tunning logo using basic techniques in Photoshop.
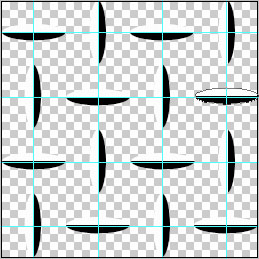
Start by representing the texture’s cliché. Take the next instrument  and represent on a new layer, 255×255 px and 72 dpi, 16 ellipses (firstly create a single ellipse and then make use of the Free Transform option to turn the drawn element on 90 degrees.
Combine the elements in a group and copy strictly the way it is shown on the picture below).
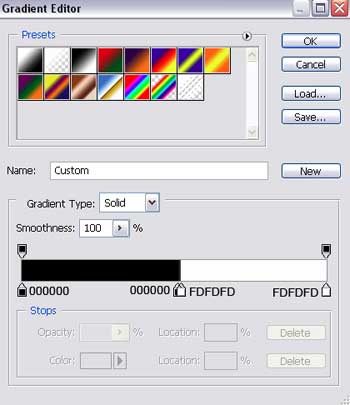
Blending Options-Gradient Overlay
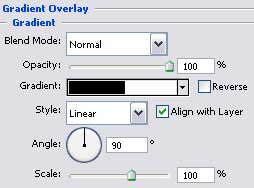
Gradient’s parameters:

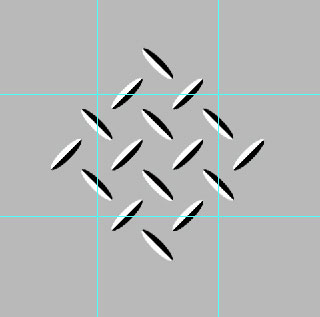
Merge all the layers Ctrl+Shift+E. Select Free Transform option to turn the represented elements on 45 degrees.
Create a new layer and paint it in C6C6C6. Place it under the layer with the earlier represented elements and close it in the net, like in the next picture.
We have to separate now the prepared basic elements along the edges of the inside markings, using  . Choose also
Comments