The Pop Art Comic Effect
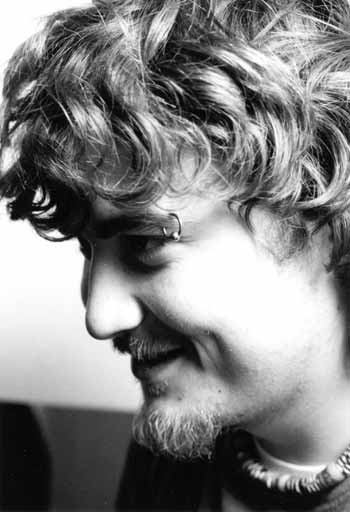
1. Open your images:
![The Pop Art Comic Effect](/content_images/AdobePhotoshop/PhotoEditing/comic/1.jpg)
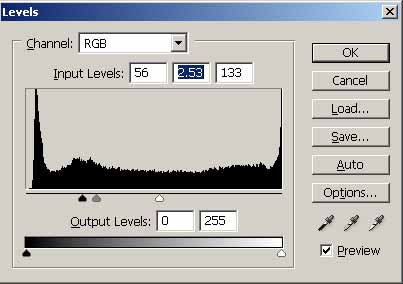
2. Go to Images>Adjustments>Level and adjust it in a way that it loks inked
![Add Levels](/content_images/AdobePhotoshop/PhotoEditing/comic/2_levels.jpg)
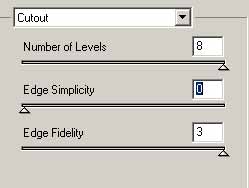
3. Now use the Cutout Filter, Filter>Artistic>Cutout:
![Cutout Filter](/content_images/AdobePhotoshop/PhotoEditing/comic/3_filter_cutout.jpg)
4. Create a new layer and Edit>Fill with 50% grey.
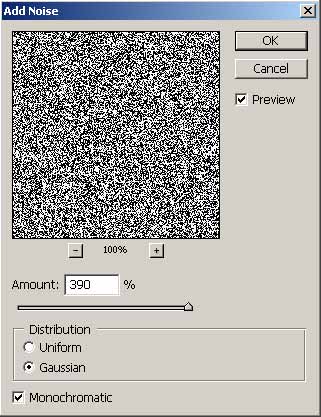
5. Now go to Filter>Noise>Add Noise:
![Add Noise](/content_images/AdobePhotoshop/PhotoEditing/comic/4_add_noise.jpg)
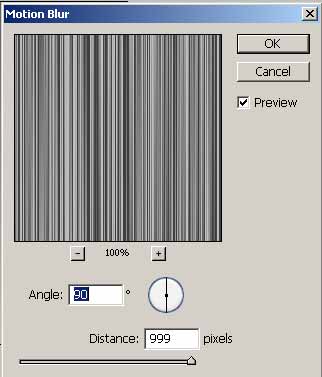
6. Filter>Blur>Motion Blur:
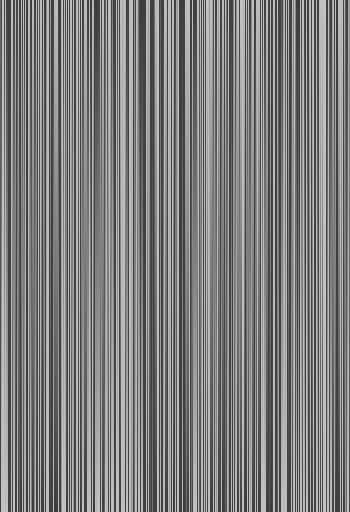
![Motion Blur](/content_images/AdobePhotoshop/PhotoEditing/comic/5_motion_blur.jpg)
Results:
![Motion Blur](/content_images/AdobePhotoshop/PhotoEditing/comic/6_motion_blur.jpg)
7. Edit>Transform>Skew:
![Transform with Skew](/content_images/AdobePhotoshop/PhotoEditing/comic/7_add_skew.jpg)
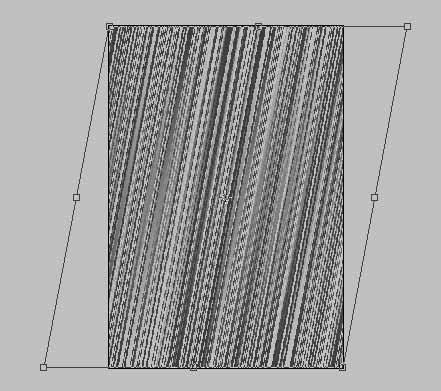
and set the Blending Mode to Linear Light with Opacity 20%
![Linear Light](/content_images/AdobePhotoshop/PhotoEditing/comic/9.jpg)
8. Repeat the step 4-7 with another layer but transform skew a little less.
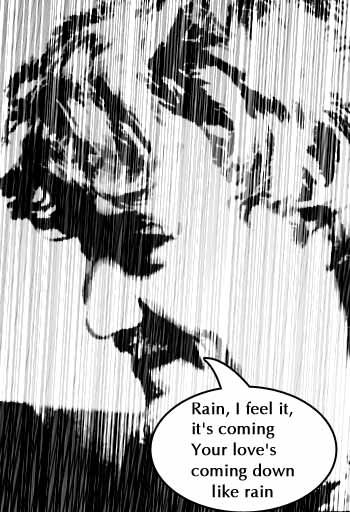
9. Create a new layer and Fill with the background in Black, set the Layer Mask and use the Gradient to show the rain in the image
![The Pop Art Comic Effect](/content_images/AdobePhotoshop/PhotoEditing/comic/10.jpg)
10. In the final add the dialog to your personage from comics:
![The Pop Art Comic Effect](/content_images/AdobePhotoshop/PhotoEditing/comic/11.jpg)
Comments