
The Hunting Club
Next we’ll use the very first texture for the club’s name too. But the texture’s size shall be processed with the Free Transform option.
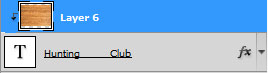
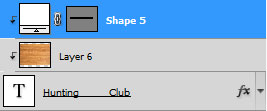
Press Alt button and make a mouse click between the texture’s layers and the club’s name (on the layers’ palette).

Next select the Rectangle Tool (U) to represent a white stripe above the club’s name:

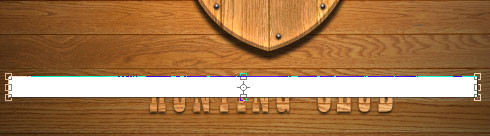
The layer’s parameters: Fill 39%, Blending mode-Overlay 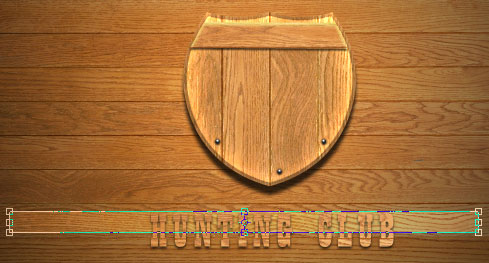
Press Alt button and make a mouse click between the layers.

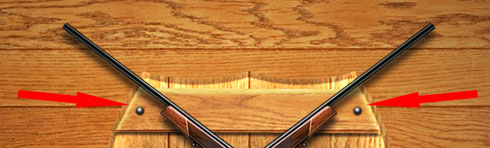
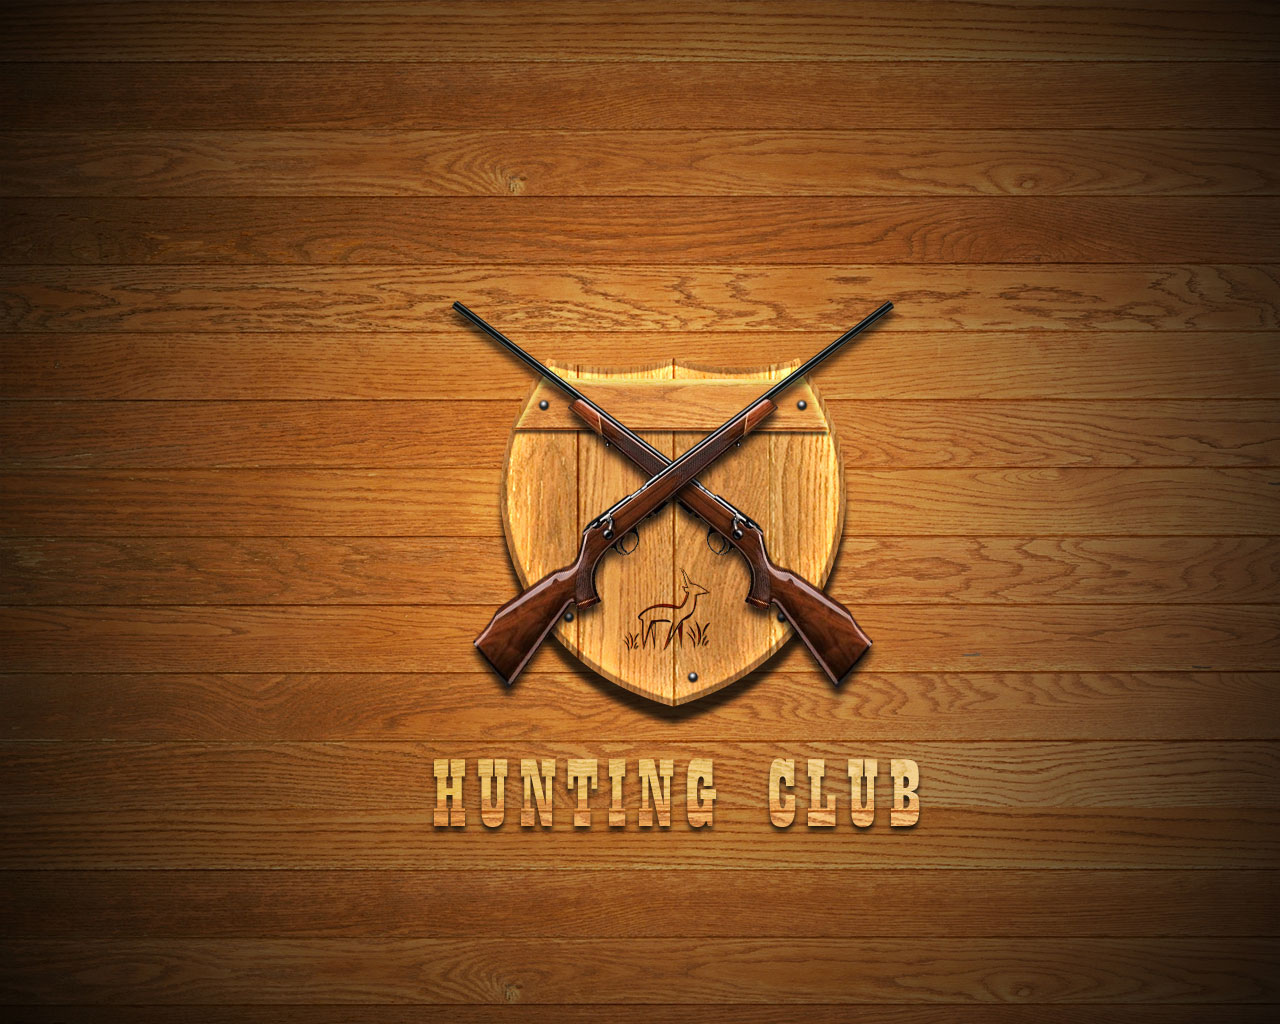
Find a picture having a rifle on it.
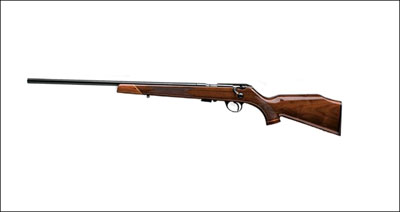
Cut it out and situate it on our basic picture:
Using the Free Transform option, turn over the rifle, applying the next indicated parameters:
Blending Options>Drop Shadow 

Make a copy of the layer with the rifle and then apply the Free Transform option to turn over the copy and place it the same way shown below:

Next we’ll make a click on the bottom part of the layers’ palette on the next selection:
Create new fill or adjustment layer>Curves 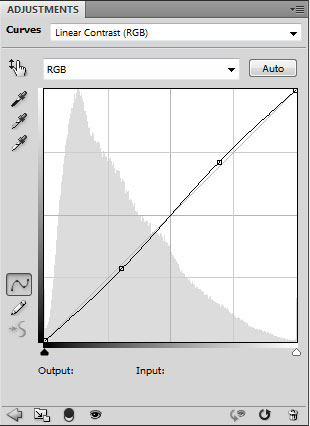

Make two copies of the layer containing the rivet and select the Free Transform option to place the copies the same way indicated below:
Find a shape of a deer, cutting the background it is situated on:
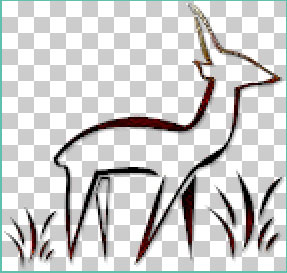
Place it on our shield, but make some corrections on its sizes, applying the Free Transform option.
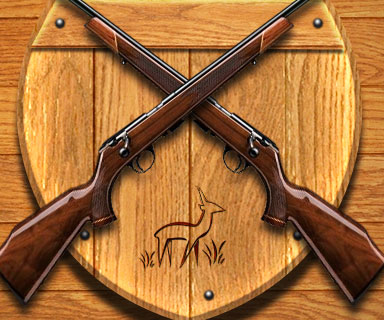
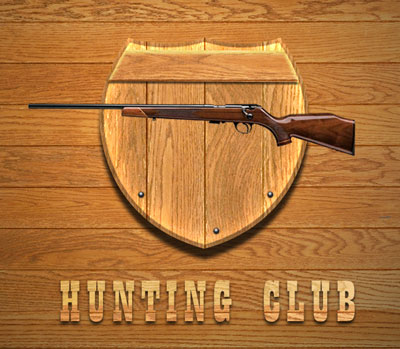
The layer’s parameters: Blending mode-Multiply 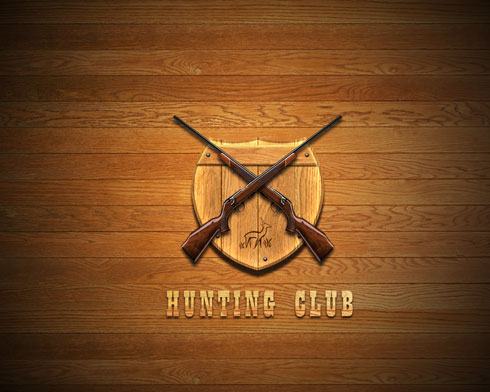
Finished!
View full size here.
Comments