
The Hunting Club
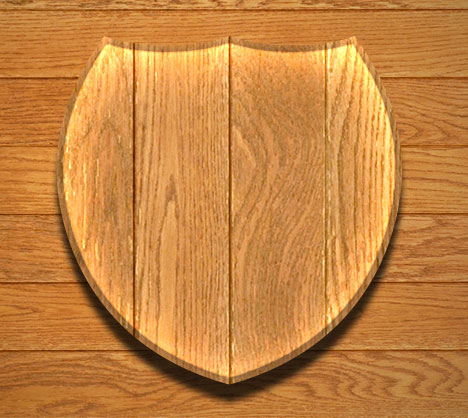
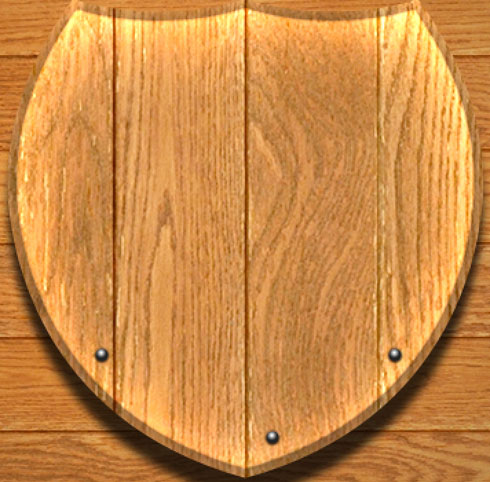
Using the Free Transform option and the Move Tool (V) on the layer made of the wooden texture; displace them the way as for them to be situated symmetrically on the shield.
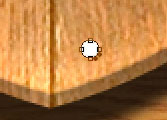
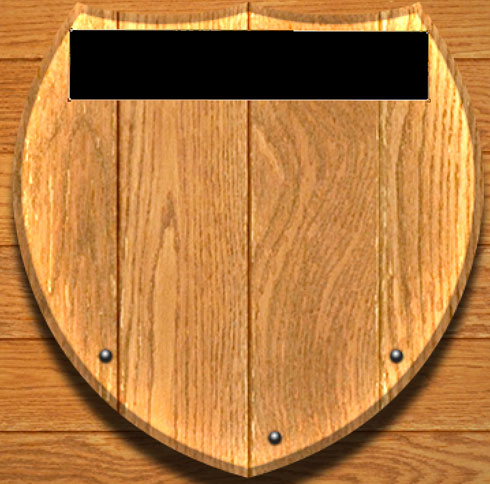
Select the Ellipse Tool (U) to represent a kind of rivet.
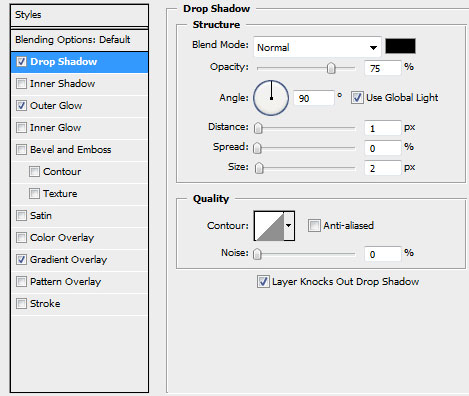
The layer’s parameters: Blending Options>Drop Shadow

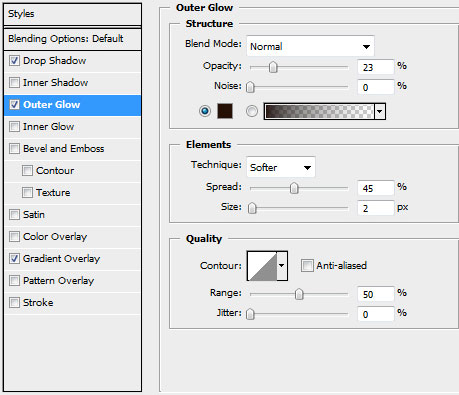
Blending Options>Outer Glow
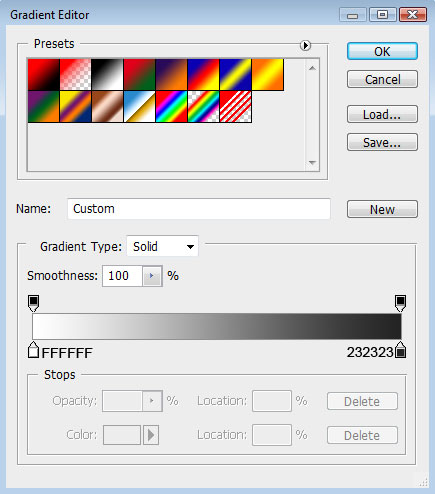
Blending Options>Gradient Overlay
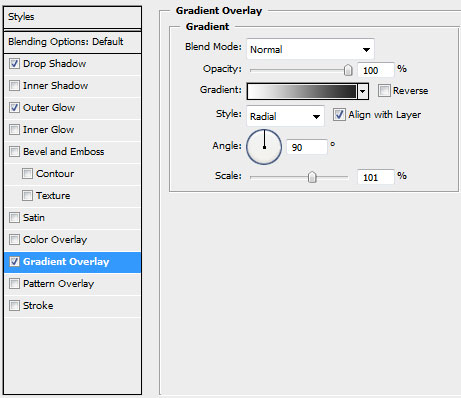
Gradient’s parameters:
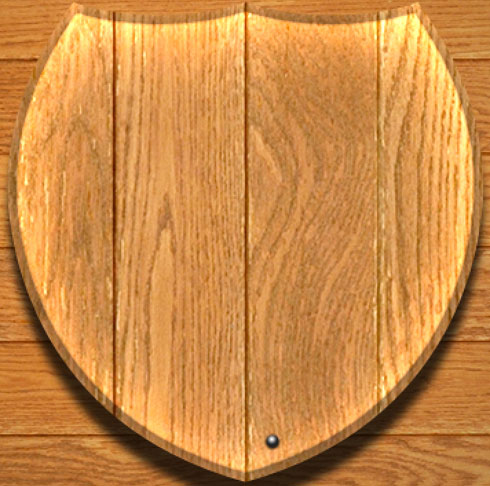
Make two copies of the layer containing the rivet and select the Free Transform option to place the copies the way shown below.
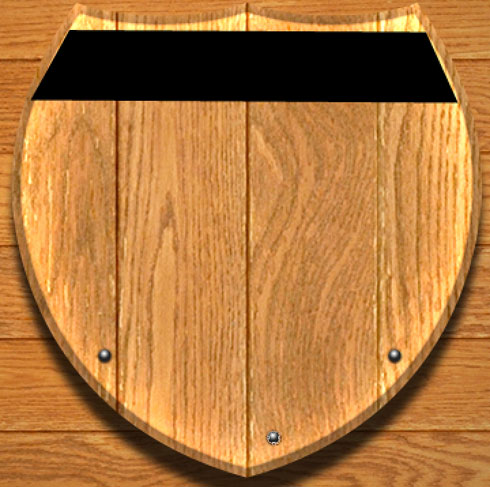
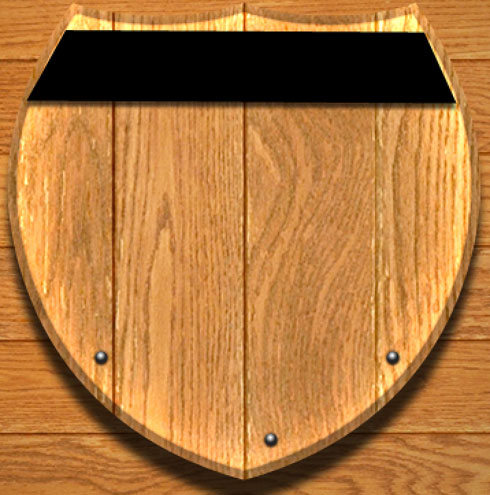
Using the Rectangle Tool (U), try to represent the top part of the emblem shield.
Next we’ll use the Convert Point Tool to displace the lowest tops laterally.
The layer’s parameters: Blending Options>Drop Shadow 
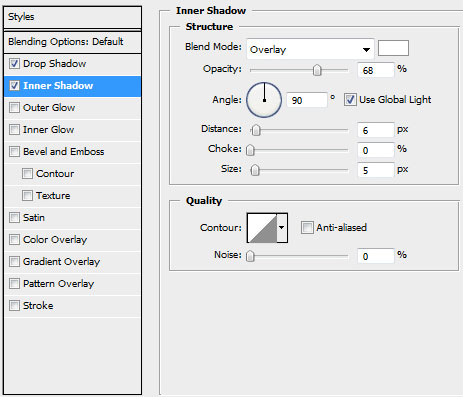
Blending Options>Inner Shadow
Next we’ll use the very first texture of the wood boards, but applying the Free Transform option, we’ll minimize it as for the dimension of the board to fill the prepared layer. The texture should be processed with the same operations we did when placing the texture on the shield.
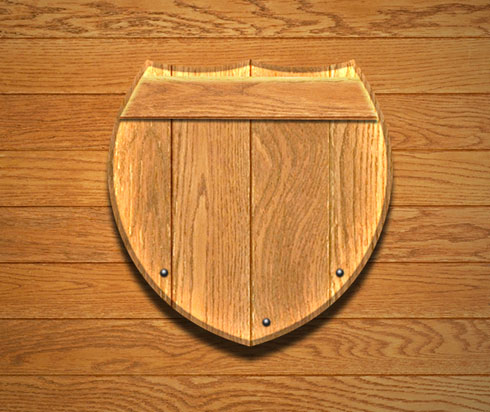
Insert now the club’s name. Its name should be written by line, filling the empty space on that place where the shield is situated. (I used this font).

The layer’s parameters: Blending Options>Drop Shadow 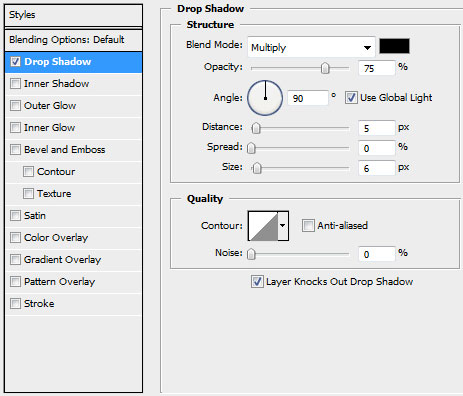

Comments