
The creation of fine art illustration
Hey, today our subject is – the creation of fine art illustration. This illustration will represent somebody’s style (some company maybe) and will be done in Photoshop. I will also use my tablet but not much.
So let’s start with this one, shall we.
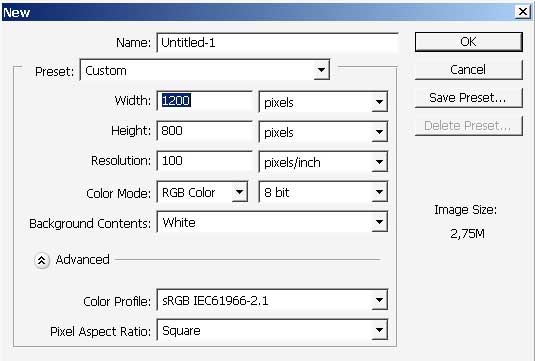
First create a document.
Then, on a new layer, overlay the area with this gradient, which I’ve created.
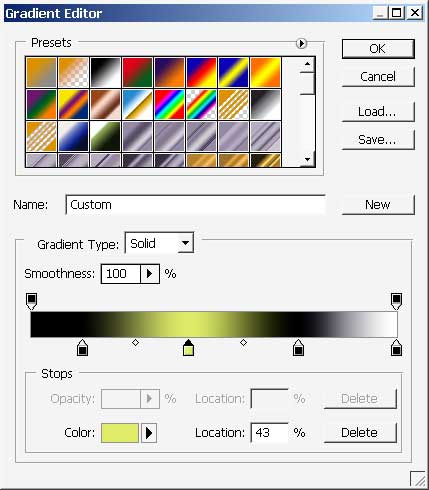

As my opacity on this one is near 70%, overlay the area several times.
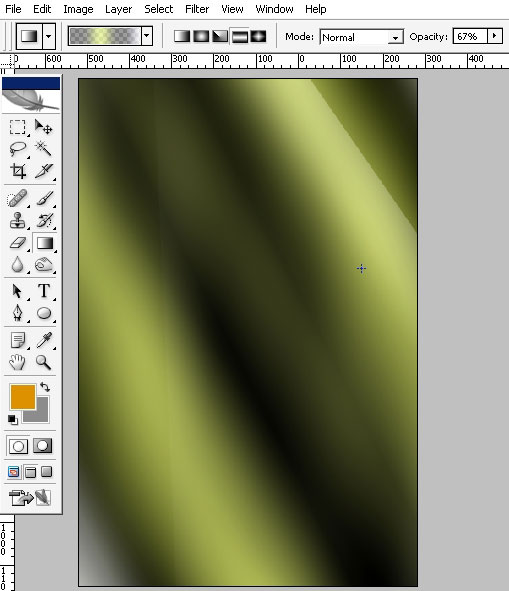
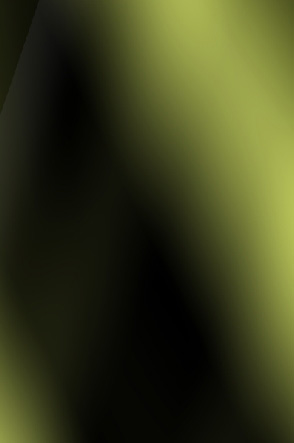
Here is my result. Maybe not the best one, but I want to stop on this one.
Then step N2.
Change the gradient blending mode from normal to multiply. Change the gradient Form to Round.

And here what we’ve got by overlaying Multiply Round gradient

Now do some styling.
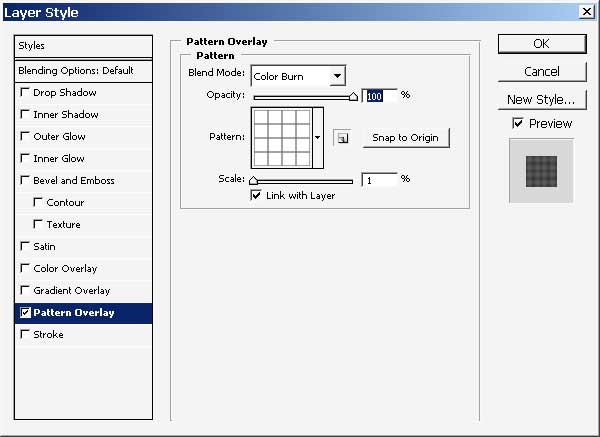
I’ve used only one layer style. Pattern overlay. It is scaled to 1 % and the mode is color burn.
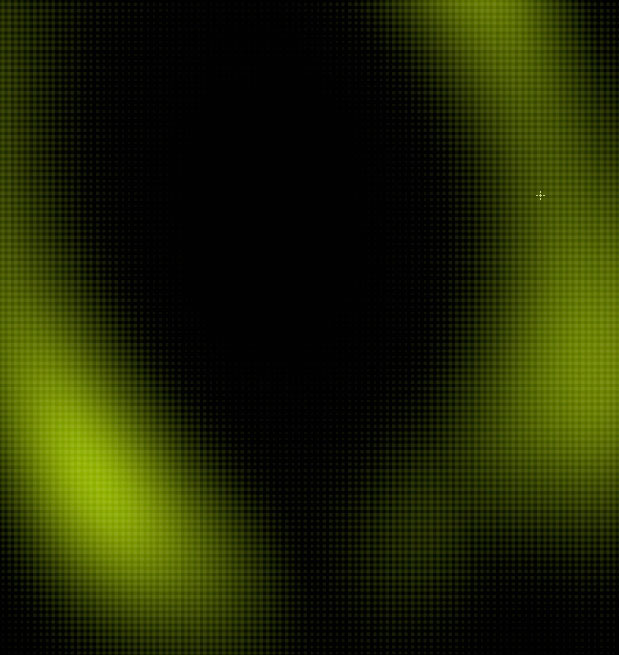
And here is my result zoomed in.
Now I will create a copy of my layer and transform and also warp it to create this kind of effect.
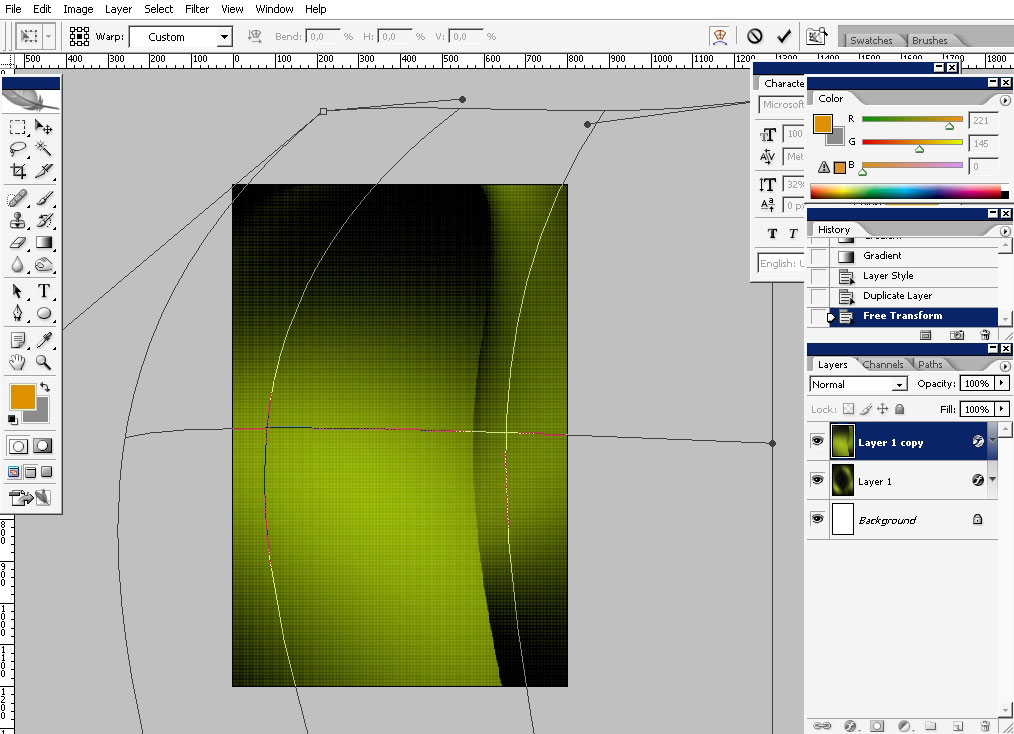
… little more.
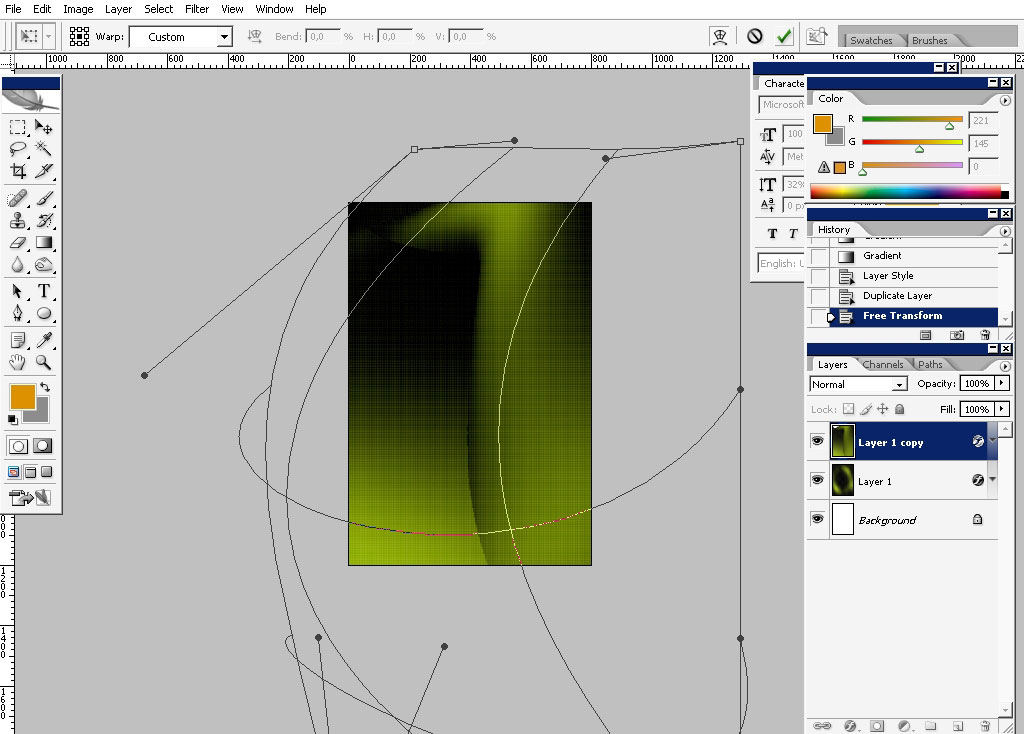
And I think I like this one.
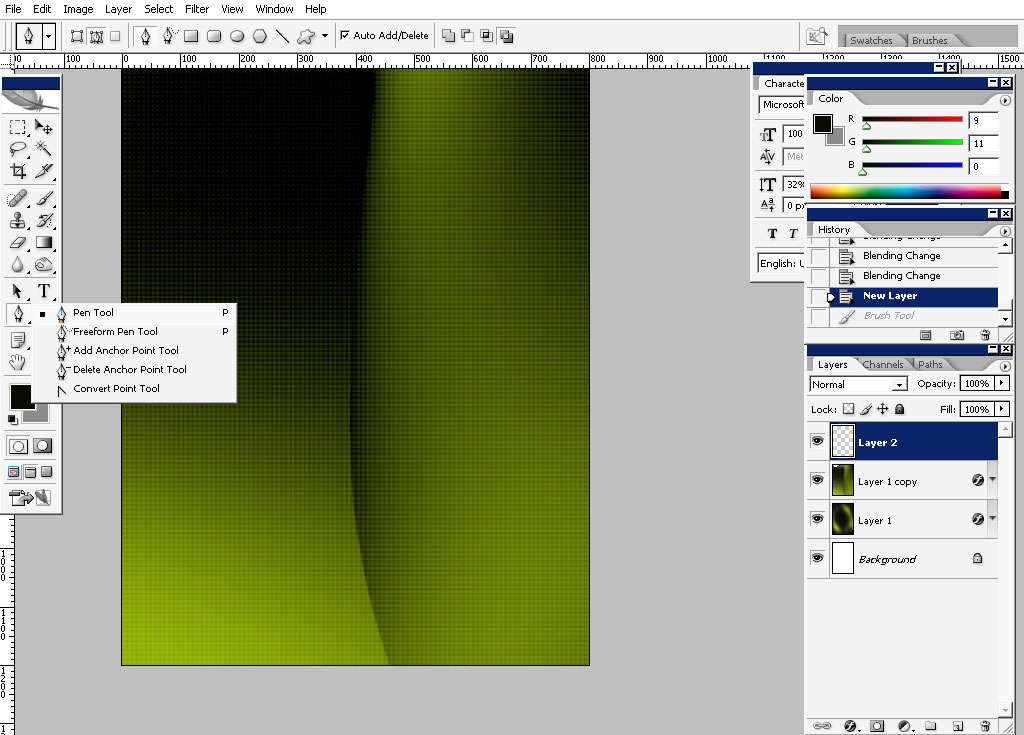
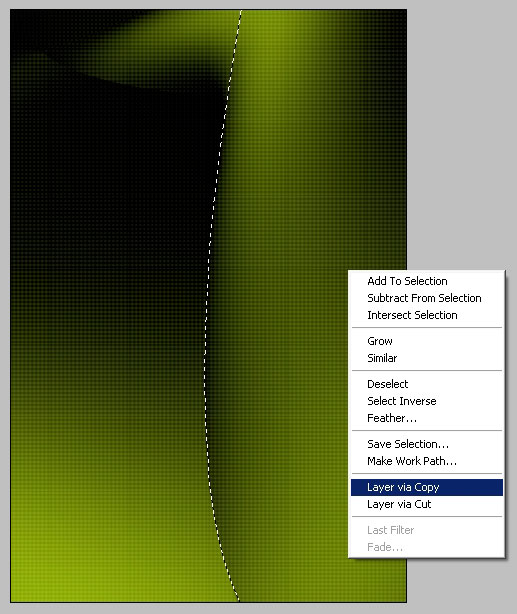
Switch to pen tool and make a curve.
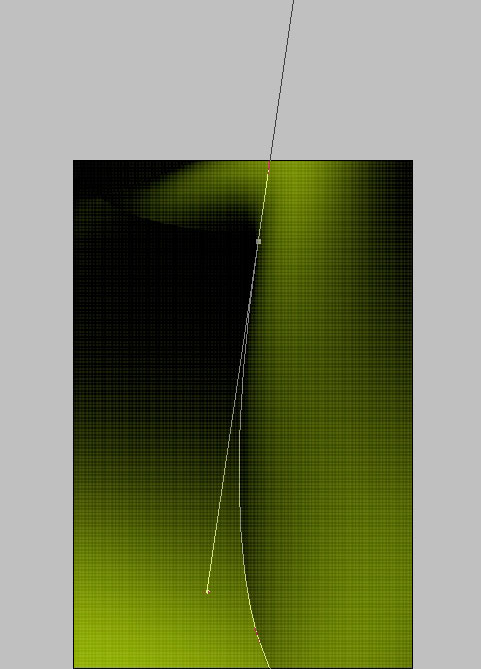
The thing here is to create a smooth curve the rest of the path that is
on the right is not so important to make it smooth so just create a
self- contained path area.
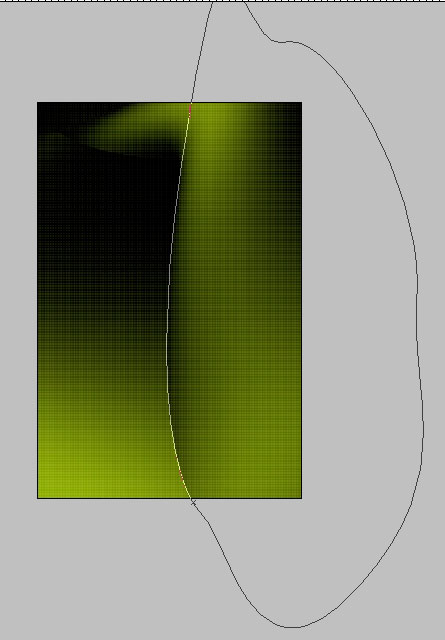
Select it – 2 x clicks on the path in the path box.
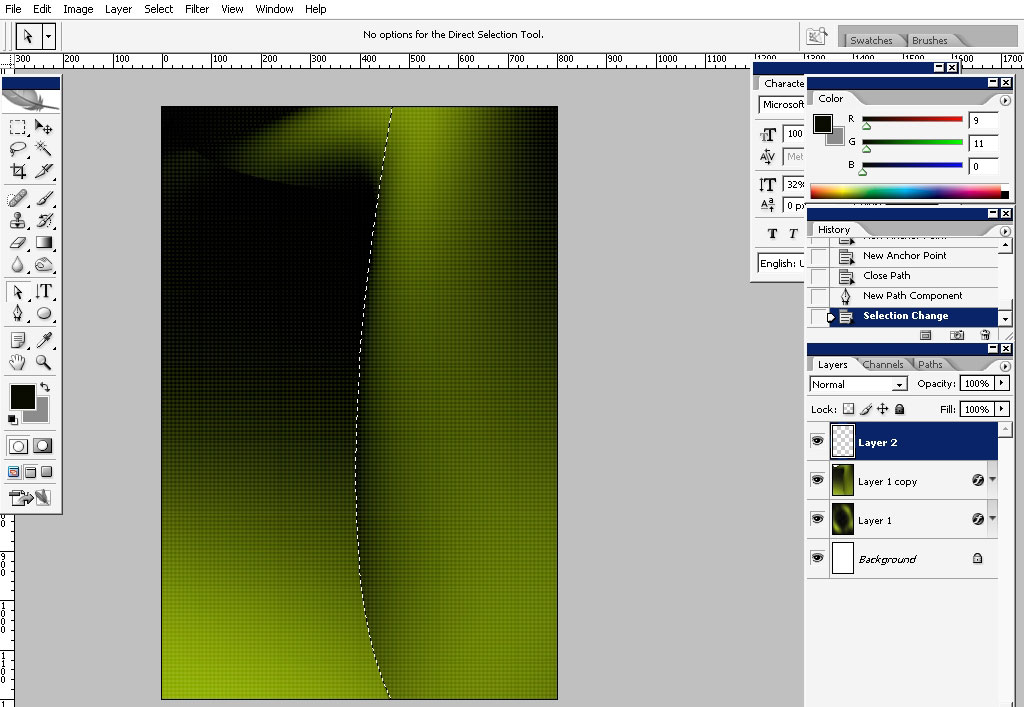
And copy it to a separate layer using Layer via Copy Command.
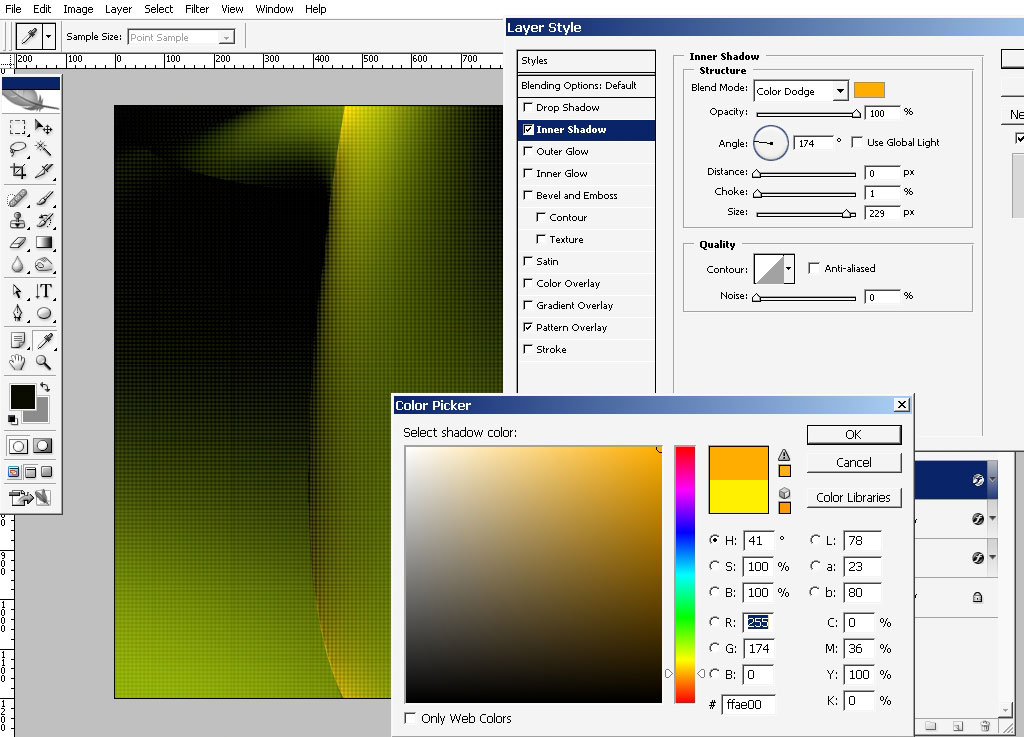
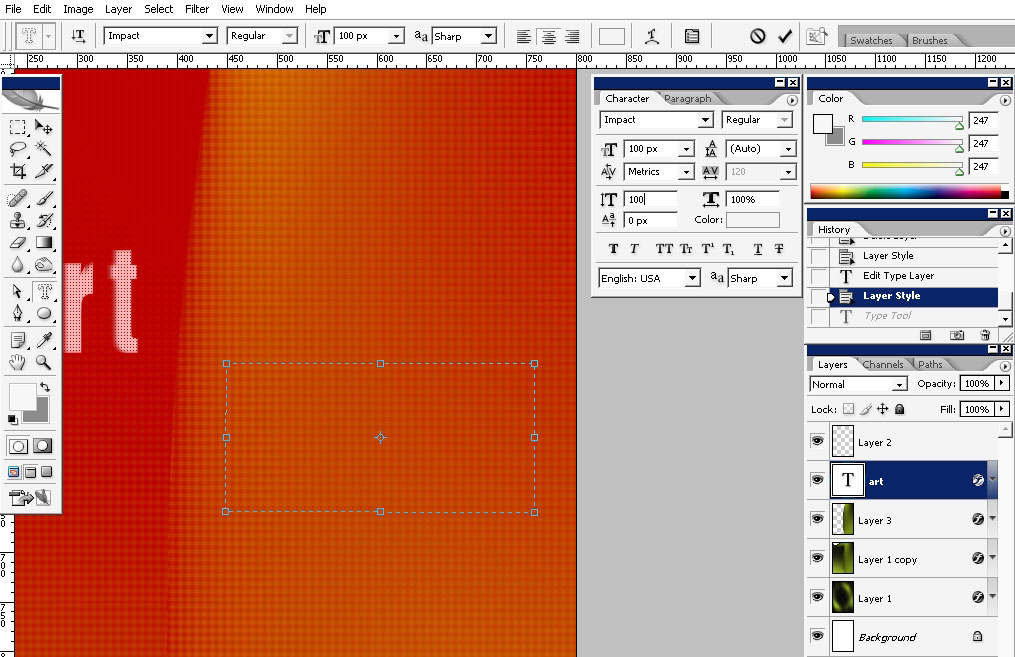
Use some styling on our newly created layer.
1st – color burned, big size, orange inner shadow.
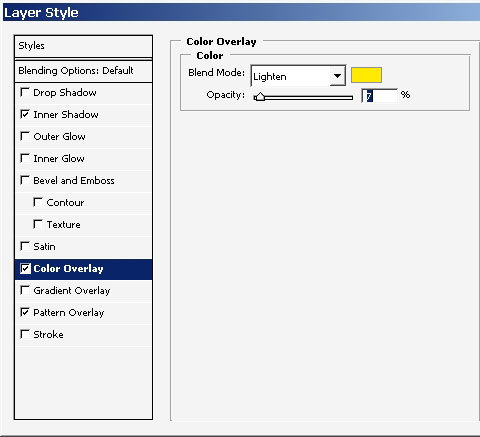
2nd: pure, yellow (lighten) color fill.
The pattern overlay remained from other layer, but leave it there without any changes.
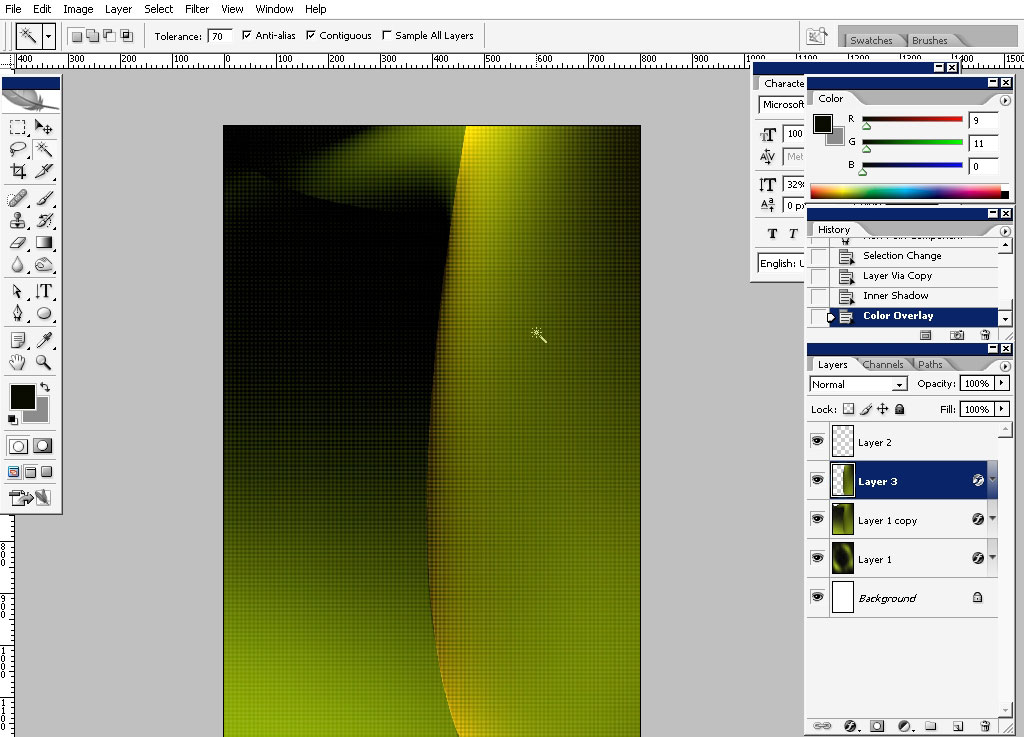
And we have a beautiful effect here.
See the light is coming from underneath- gives a little 3d feeling.
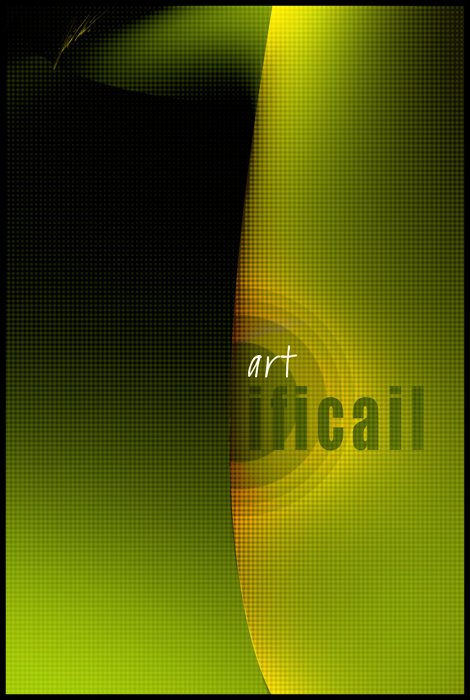
So basically our art piece is finished here, but we have to do some text ass well.
You can paste any text you want, actually. It can be the name and logo of the company of just beautifully shaped phrase.
I choose the 2nd way.
My
word will be Artificial. In shame on me – I’ve made a mistake
in the final variant. So just know that it is artificial a not
artificial.
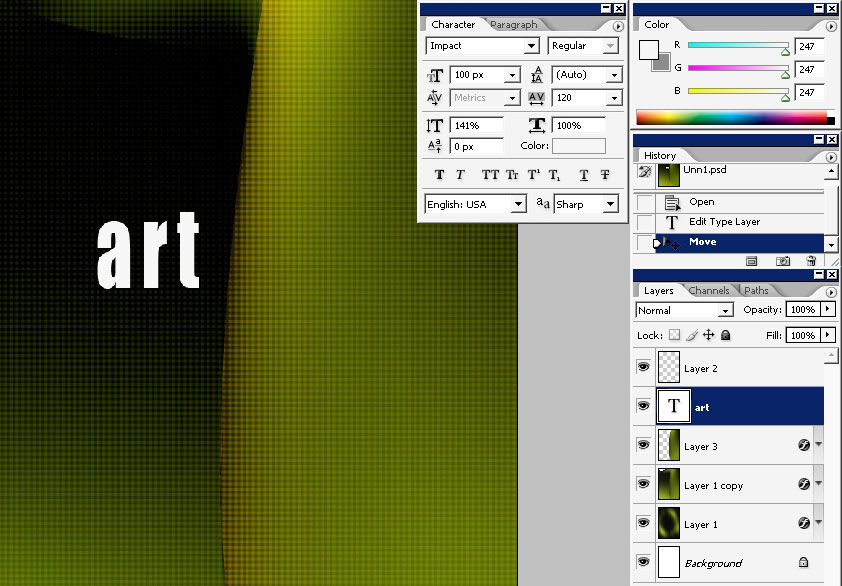
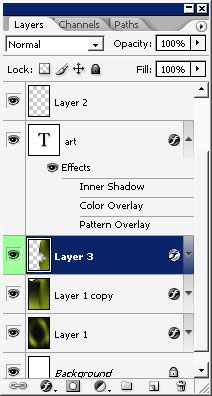
I’ll do the ART on the separate layer. The Font will be changed in the process.

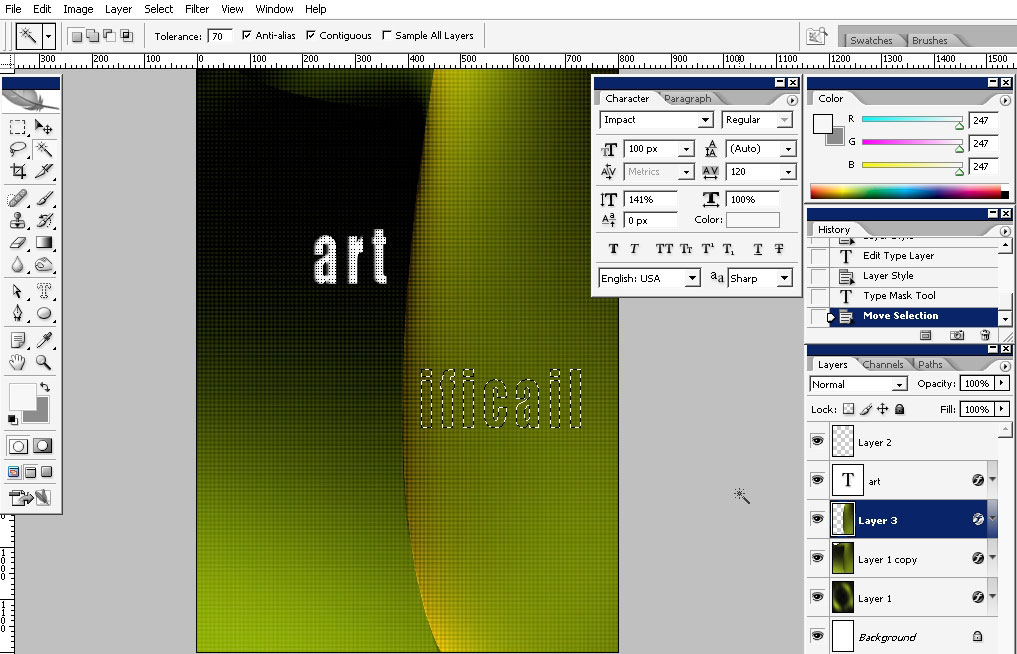
But our EFICIAL will be dome using Type Mask tool on the Layer 3.
When
you have the selection just tap delete button. Note to be on the layer
3 (the one that was created with Pen tool curved chape).
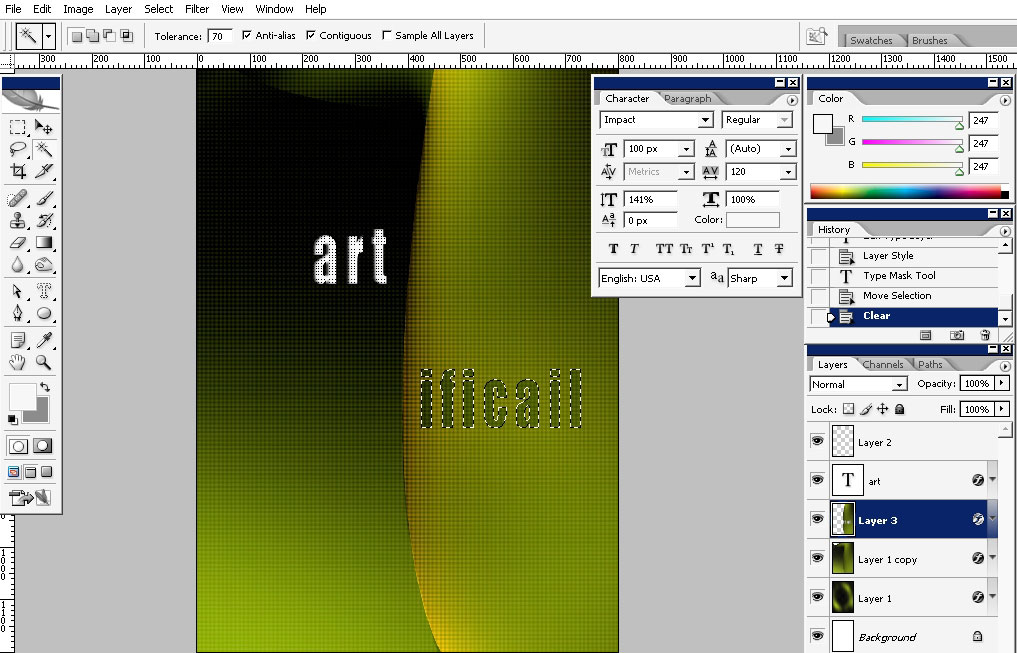

And the final step. Switch to eraser and, chose this brush – #245, and just tap once.
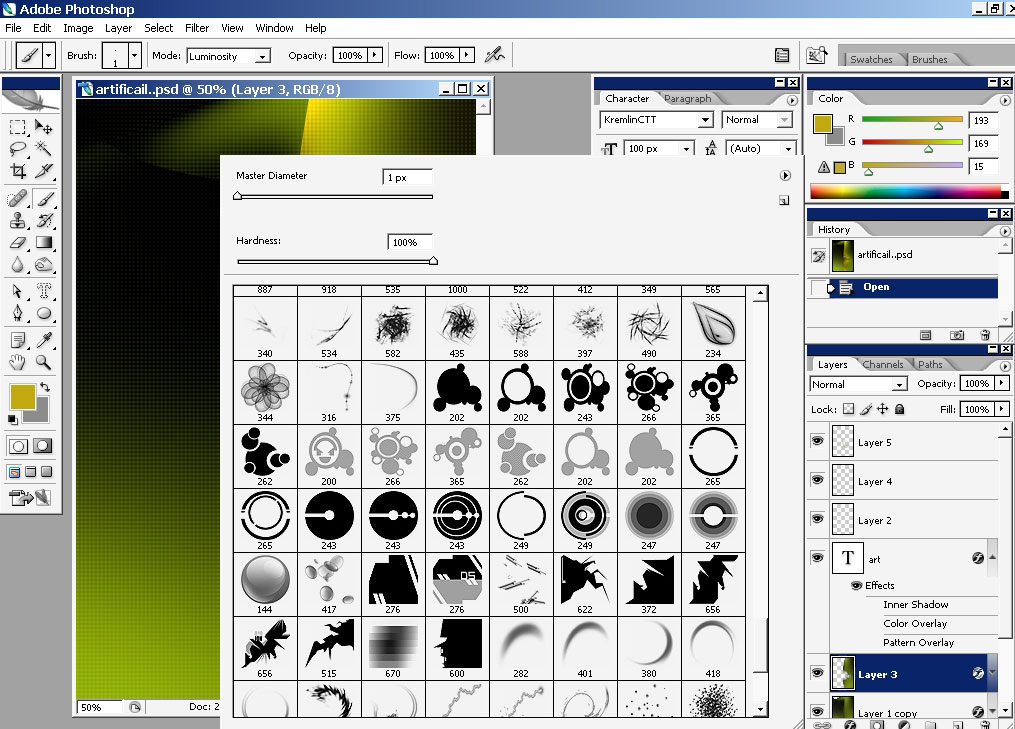
Note be on this very layer.
So we are finished with this. Enjoy and practice your skills.
Comments