
The 'Pan Behind' Tool – Keyframing the pan behind
Keyframing the pan behind
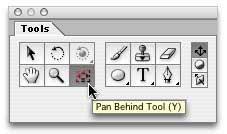
So now everything should be set up in your project, and it’s time to perform the pan behind. So, to begin, select the Pan Behind tool in the After Effects Tool palette.
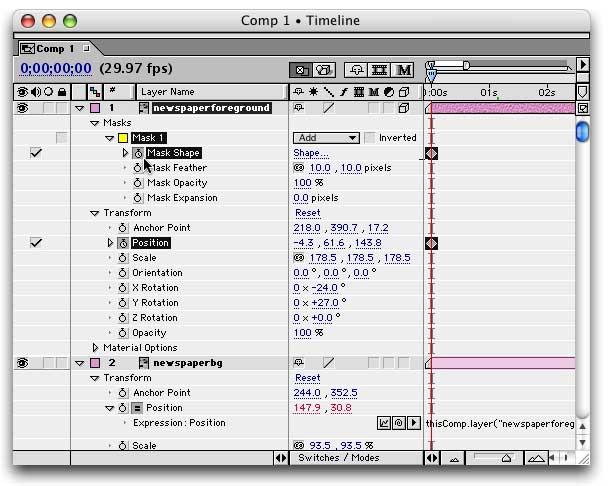
Now, on your foreground layer, click the Stop Watch for the layer’s “Position” parameter and the mask’s “Mask Shape” parameter.
You now have a keyframe for these two parameters at the first frame. So move your timeline ahead to the time that coincides with the final position of the pan. Then click and drag on the masked layer in the Comp window to the final position of the pan. See how the mask stays in place while the layer content moves?
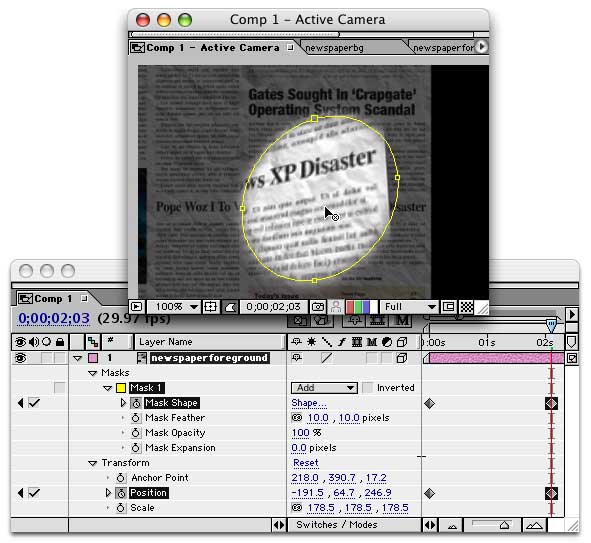

Well, there you have it. The keyframes for the new position of the layer content have been added automatically, and your pan-behind effect is complete.
Comments