
The 'Pan Behind' Tool – Adding an expression to the background
Adding an expression to the background
That’s the basic setup. But I’m going to be panning the foreground layer while leaving the “magnified zone” (the mask) in place. So I’ll also want to pan the background. To save myself a little headache, I’ll use a simple Expression to make the background pan along with the foreground. (This will also help me visualize the final effect interactively as I manually keyframe the foreground.) For those of you inexperienced with Expressions (and, no, I’m no expert myself), here’s how that process works. (Note that this step is not integral to the pan-behind effect; it’s simply here to show you how I did it in my sample project.)
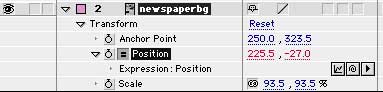
1. In the timeline, expand the Transform” parameters for the two newspaper layers so that both Position parameters are visible.
2. Option-click (Macintosh) or Alt-click (WIndows) on the stop watch next to the background layer’s Position parameter. This adds a blank Expression to this parameter.
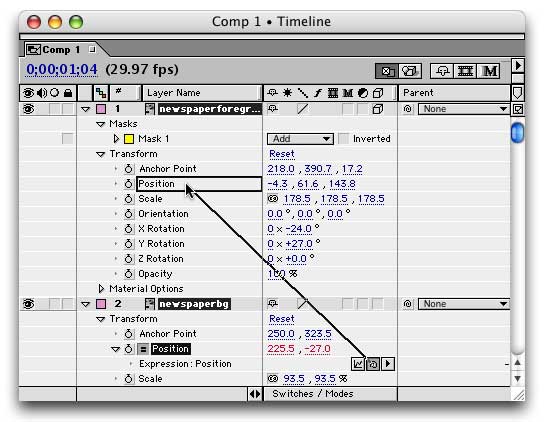
3. You’ll also see a little “Pick Whip” button appear.

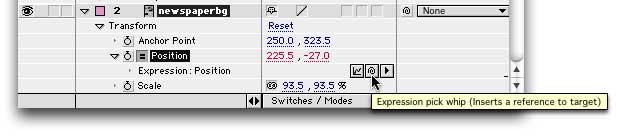
Click and drag this onto the Position parameter of the foreground layer.
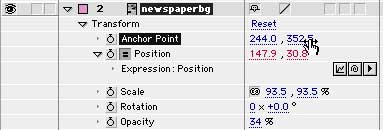
4. Then you’ll see this expression (or something like this) show up in your timeline.

Select the text in the Expression so that it reads, “thisComp.layer(“newspaperforeground”).position/2+150.”

Comments