
Texting surfaces
In this tutorial you will learn some technical stuff about texting surfaces. We will use only Photoshop in this one, but if you decide to take it further, let’s say in 3d max or some other application, this will be very helpful.
So let’s begin this one.

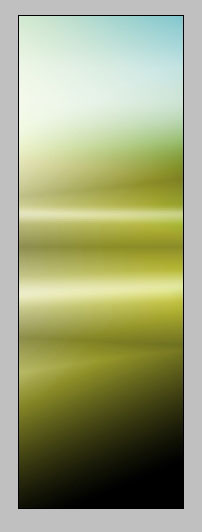
I’m using a very wide format in this one.
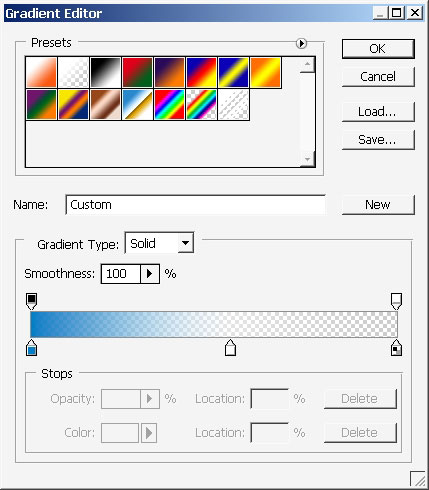
Create first gradient and choose black to white gradient. Blending mode is Pin light. I’ve did this pattern by filling the area with in light gradient several times.


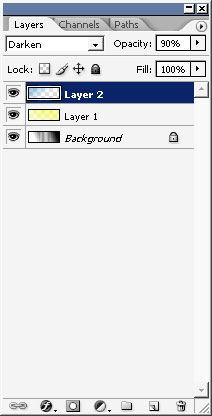
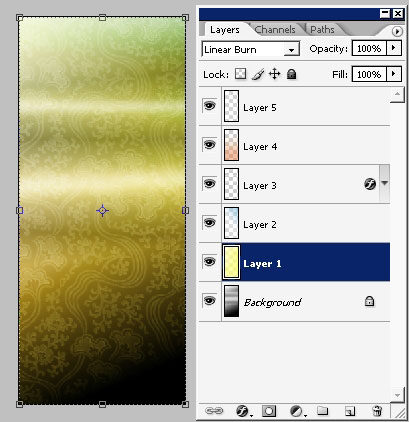
Next step: Create another layer. Chose yellow to transparency layer and overlay the layer with this gradient.
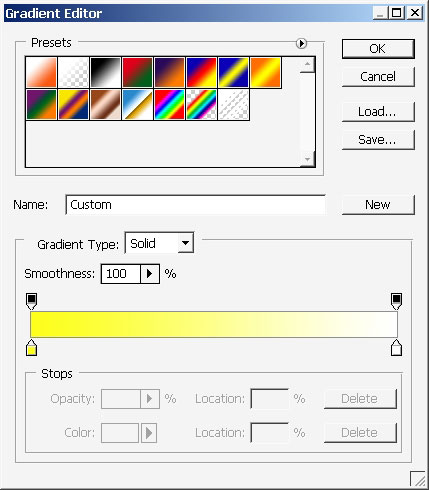
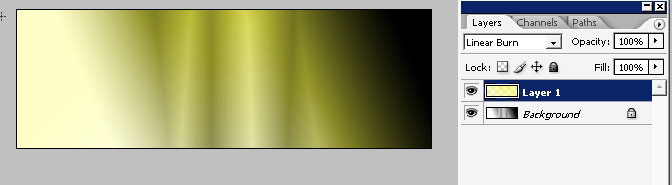
Set the mode to linear burn.
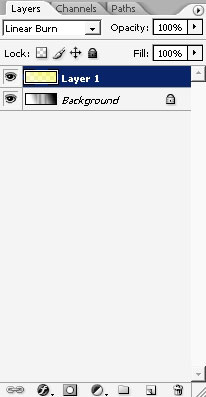
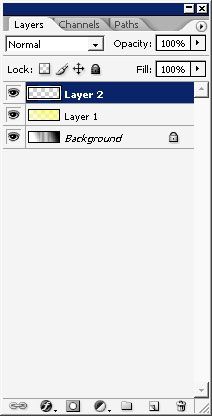
Next step: Create another layer (we will use a lot of gradients)
Gradient gamma
Set the mode to Darken.
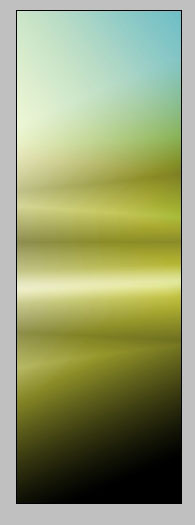
Now we’ll be setting some surface lights. We need white to transparency reflected type gradient for this. The mode is set to Normal – opacity ~ 50%. Moreover I’ve flipped the image 90 degrees.

Watch carefully the lightened parts of the image.
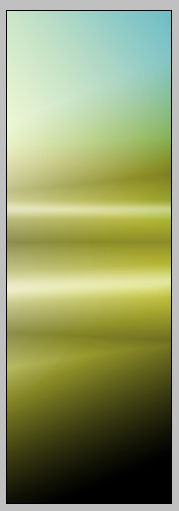
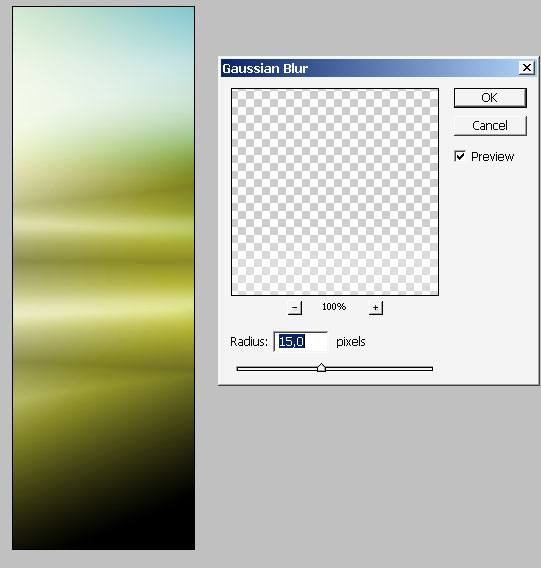
Apply Gaussian blur to increase the area of the effect.
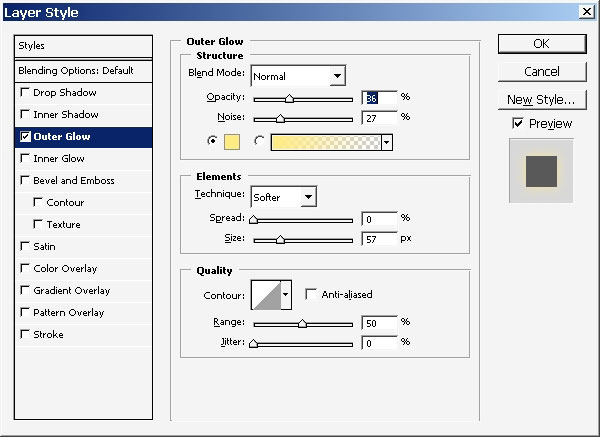
Then
go to layer styles and apply only one. I’ve chosen Blue to
see the effect a little bit more but the actual color will be yellow.

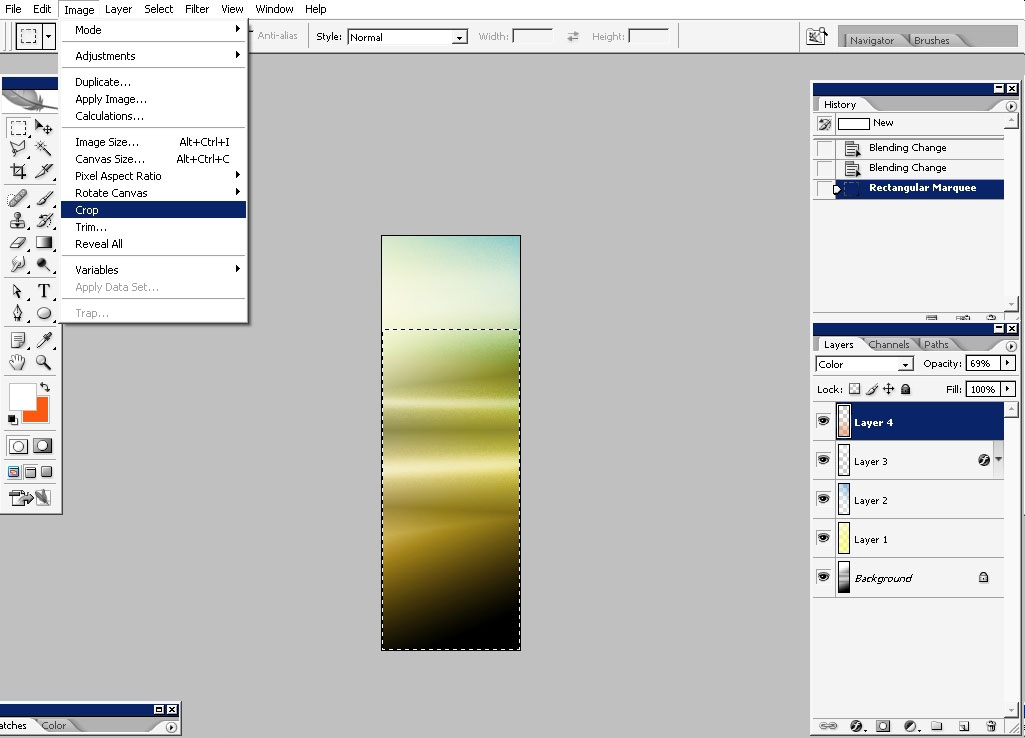
On this moment I realized that my image was too wide, so I decided to crop it.
Now I will take one of my ornament brushes and paint on the newly created layer just next to my background
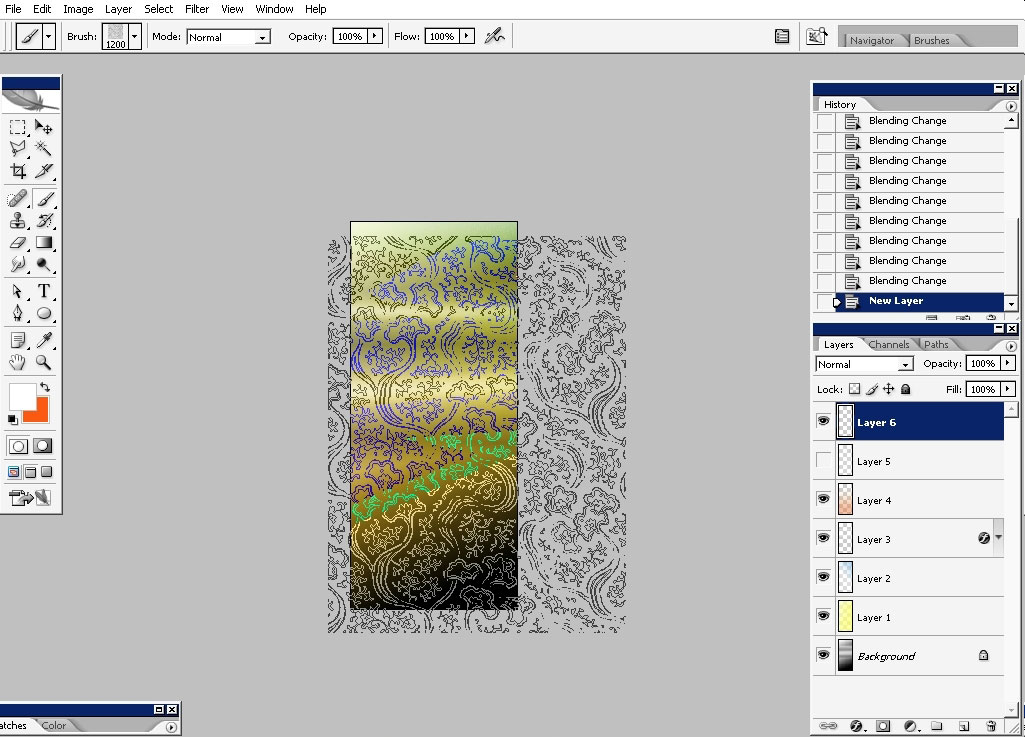
The mode is linear burn and the brush color is something like yellowish white.
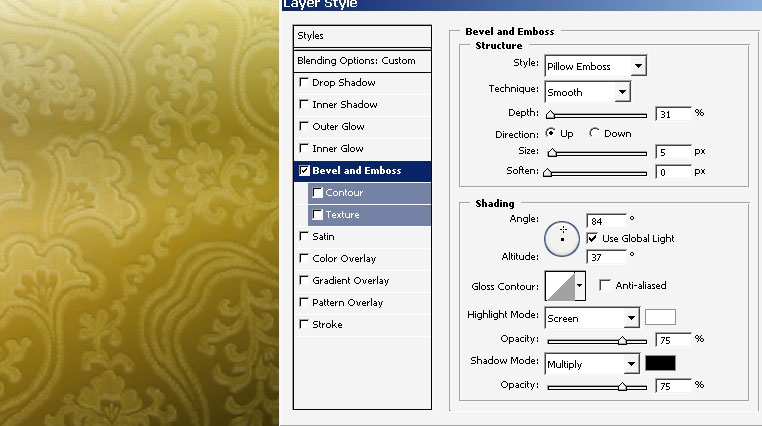
To gain even more realistic look go to layer styles and apply a little bit of Bevel and Emboss.
Next
step: we took a grainy sponge brush that has a little bit of texture
turned on and made several strokes with black. The mode is overlay
(create a new layer and set it to overlay).
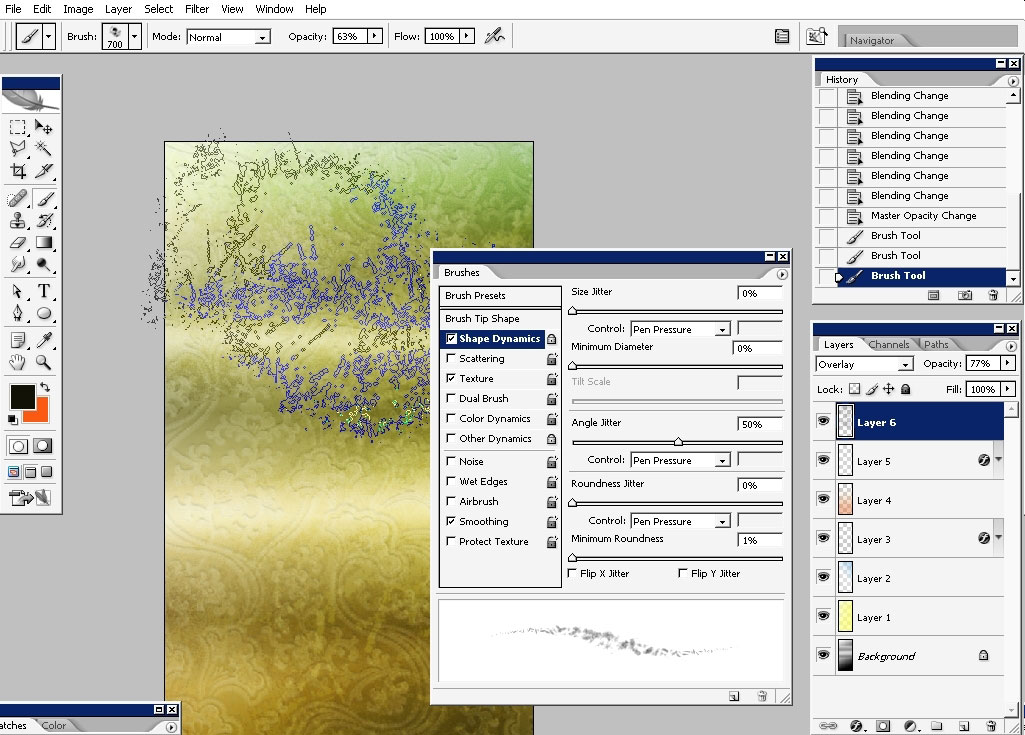
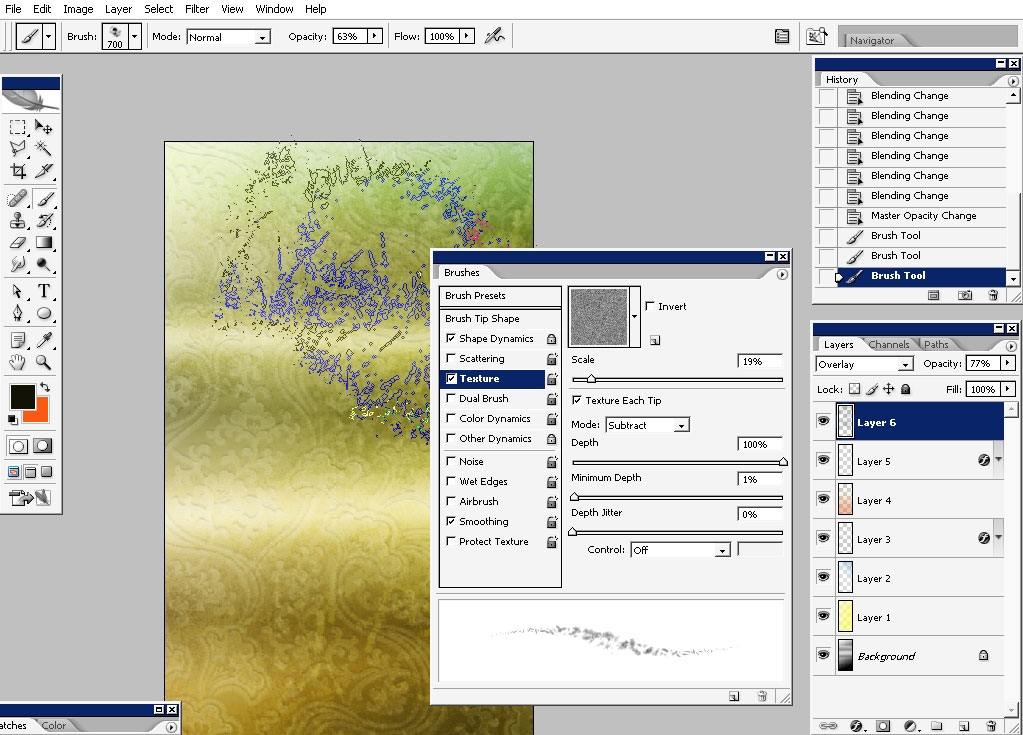
Then change the color to Orange, set the flow jitter to about 5-10% and add some color.
And
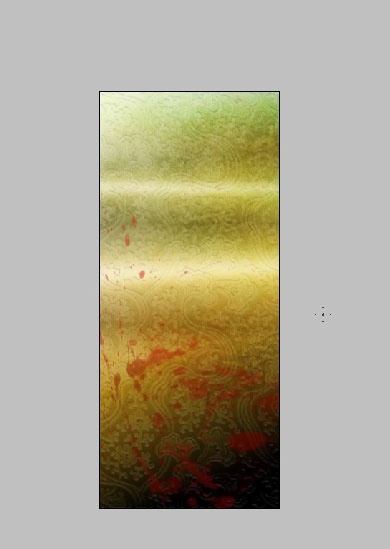
that is about it on our texture tutorial. But the thing I want to do in
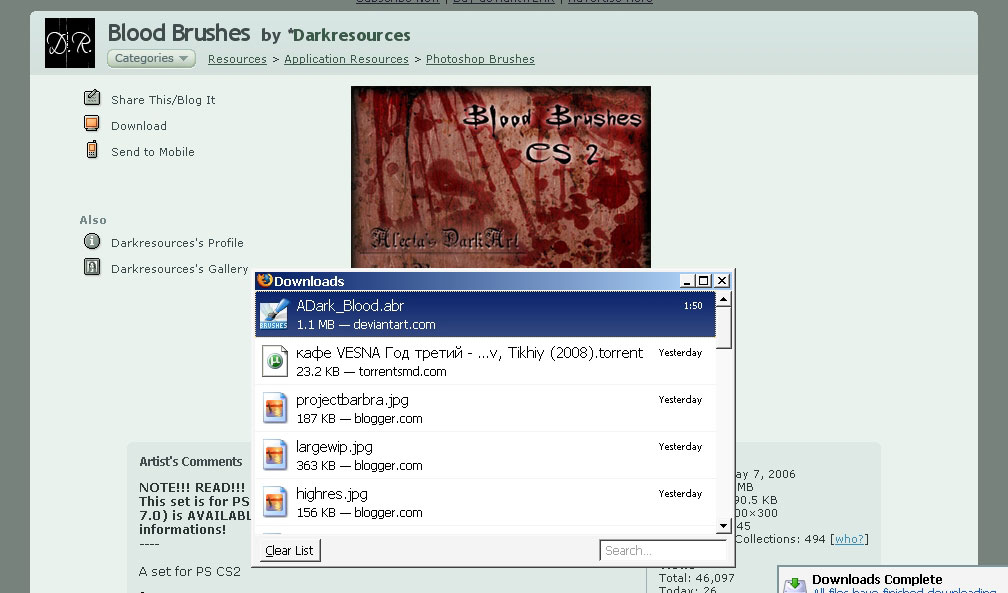
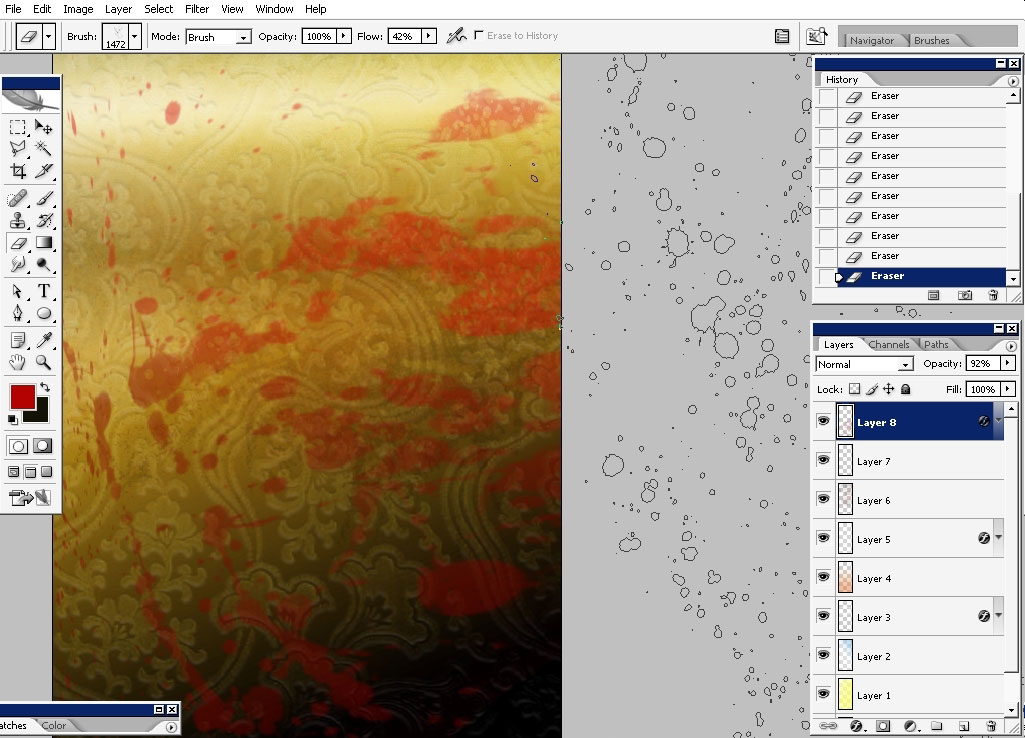
the very end, is – I want to spill a little bit of blood on
the image). I think it will be better only for the scenario.
So I will go to Deviantart.com>resource section, and download several blood brushes.
And
this is it for our texture tutorial. Hope you learn some technical
stuff from all this. If you are want to work in this industry it is
good to know these things.
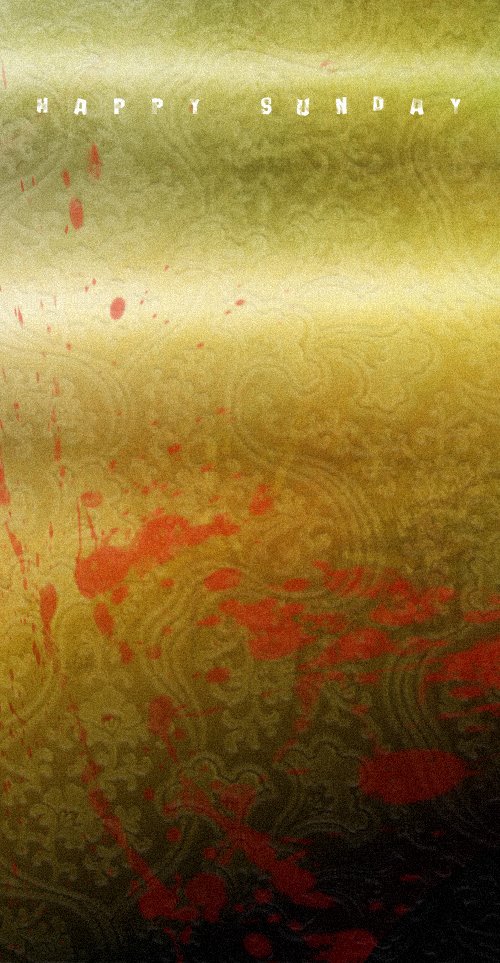
Till next time!
Comments