
Text Tool in After Effects 6.0 – Page 8
Think I’m going to stop right there? Guess again. We still have one more row of text to add.
Select the Text Tool again and in the Comp Window type Digital Media Net. You will need to adjust the Font Size and position this new Text Layer below DMN in the Comp Window. Just for fun, I’m going to change the Font and Color as well.
In the Timeline, move the Digital Media Net layer to begin near the ending keyframe of the DMN layer.
Using the steps above, have the words fade on screen. If you need help, examine the image below.
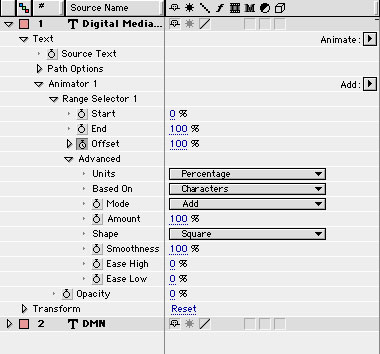
Okay, I told you I was going to show you the Path Options of a Text Layer, and here goes.

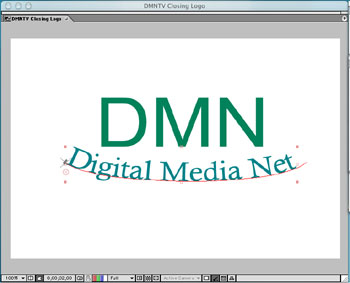
Select the Pen Tool from the Tool Palette and draw out a single curved mask directly on the Digital Media Net layer. Don’t worry about closing the mask. You should end up with something that looks like the following.

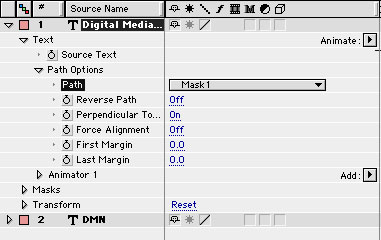
Twirl down the Path Options property for the Digital Media Net layer in the Timeline. From the Path Drop Down Menu select Mask 1. The text conforms to the shape of the Path.
Comments