
Teach menus to drop down and roll over
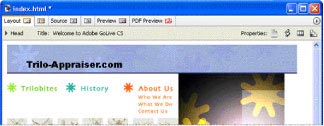
Using Adobe® GoLive®, we’ll design a navigation bar for the home page of a website. First we’ll create a rollover button that changes in appearance when your mouse moves over it. Next we’ll create a drop-down menu effect, assigning actions to the rollover button so that a drop-down menu appears when your mouse moves over the button.
Get started
Rollovers require two or three similar images, which appear in the same spot on the page. The first image is the normal appearance of the rollover—the way it appears when the mouse pointer is somewhere else on the page in a browser. The second image (named Over in the Rollovers tab of the Rollovers & Actions palette) is a different version of the image (for example, a highlighted appearance), which appears when the user’s mouse pointer is on top of the rollover. The third image (named Down in the Rollovers tab of the Rollovers & Actions palette) appears when the user clicks on the rollover.
In this tutorial, we assume you’ve already designed the basic framework of your web page, and that all of your images reside in the site folder.
Comments