
Summer Photo Manipulation
In this tutorial we are going to practice Photo manipulation. We will take a photo, use some filters on it as well as some painting on the top of it. So let’s get to business.
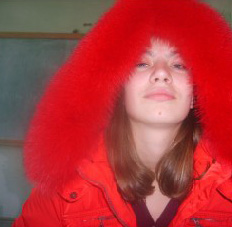
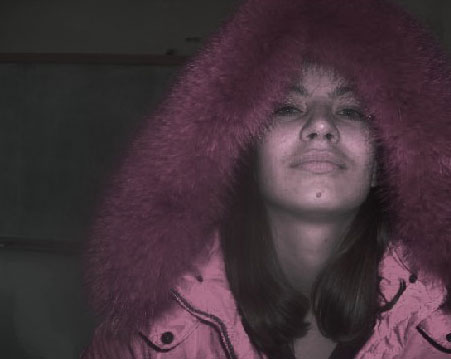
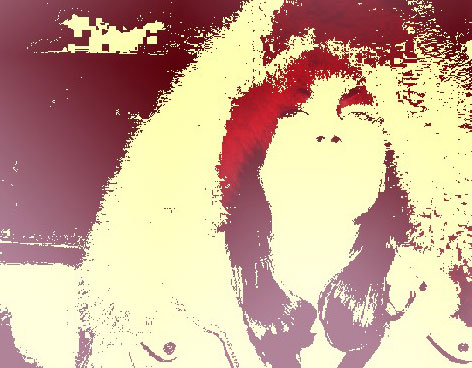
I found this very picture. This is a picture of my Amie Ola.
I’ve created a copy it at a time.

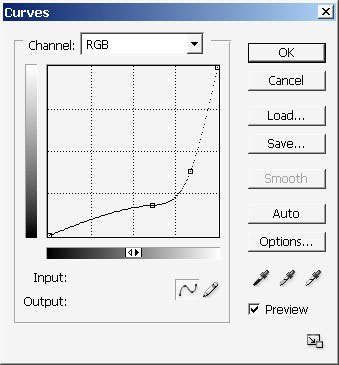
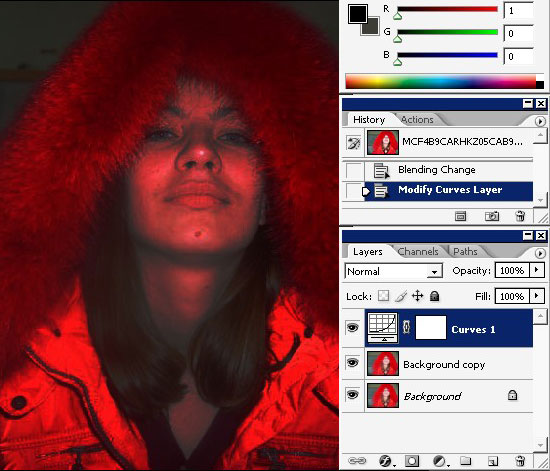
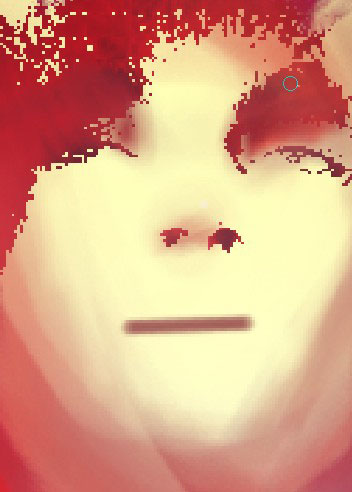
I didn’t like the tones of the picture so I’ve just color balance it using Curves layer.

And here is the result. Looks very red like but this is just the beginnings.
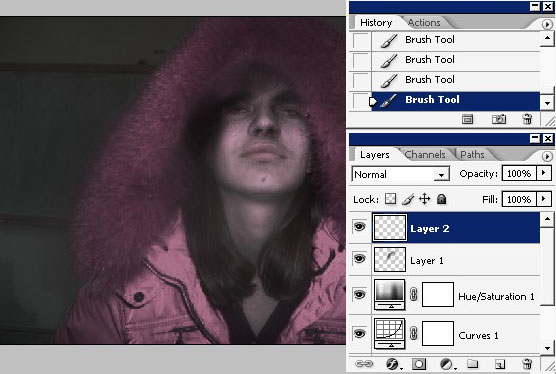
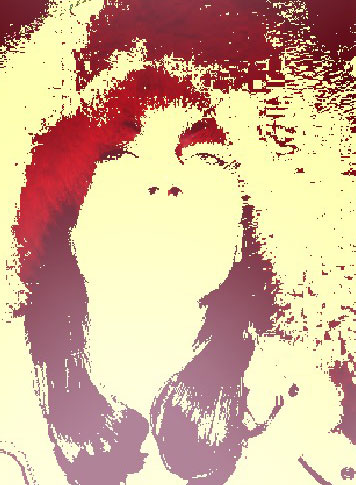
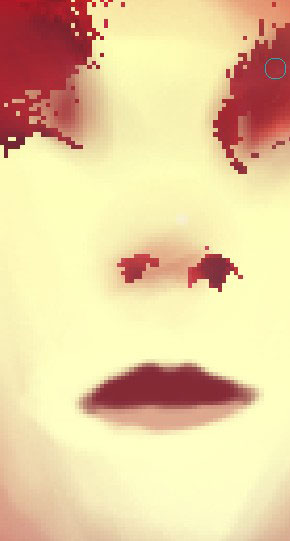
Now a little bit of color balancing. I will use hue/saturation layer to do this.
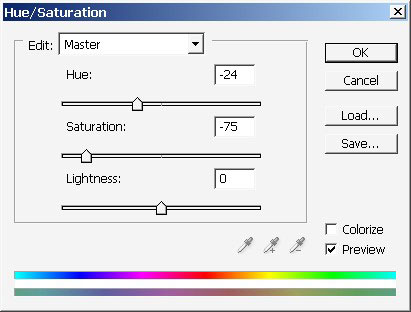
And here we have her in pink tones.
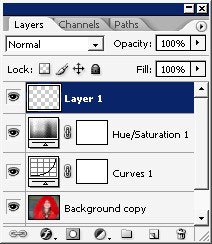
I will now create a new layer – just tap ctrl+shift +n to do that.
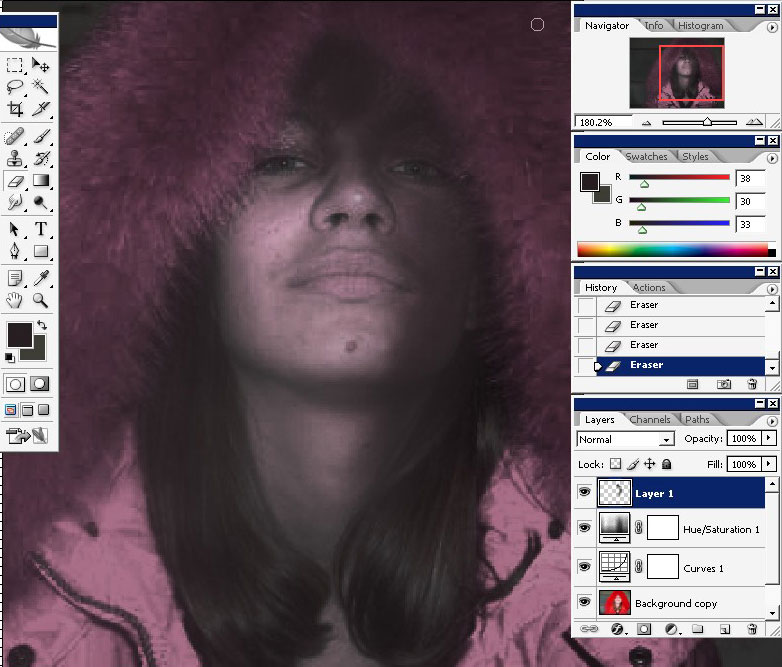
Pick a simple soft brush, without setting any of the settings, just set the flow jitter to about 10%.
The idea here is to paint some shadows on the eyes and other parts of the face.
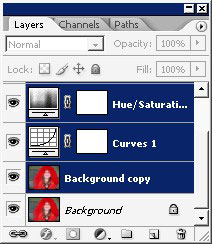
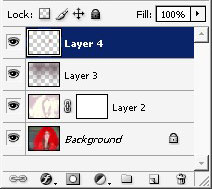
Select all the layers (hold ctrl and click on the layers), only without our background and merge them together.
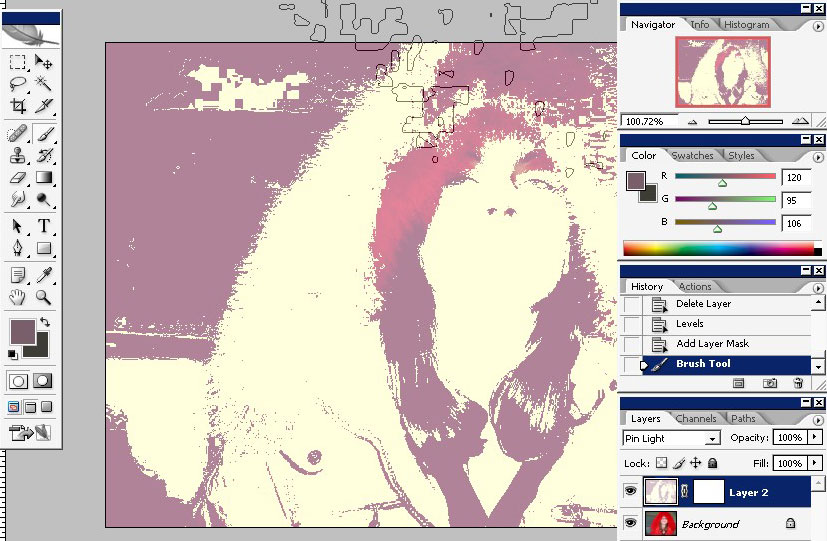
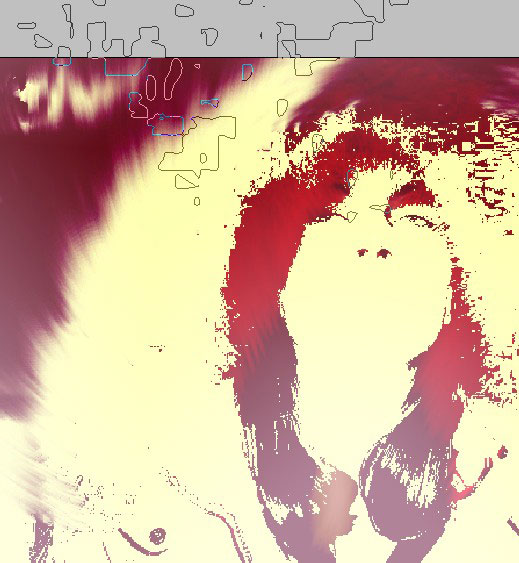
I will also apply Cutout filter my 2ng ( of 2 ) layers.
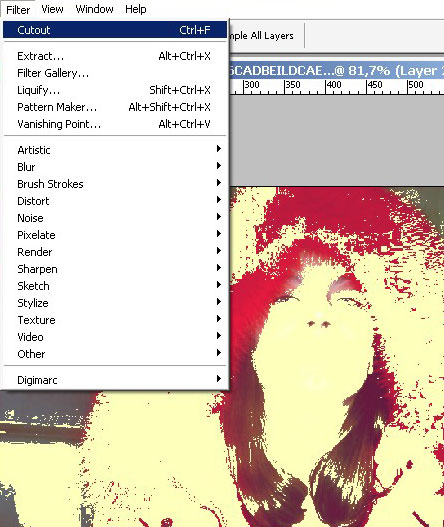
Here it is in details.
We are getting to that pop art look.
But I don’t really want this to happen.
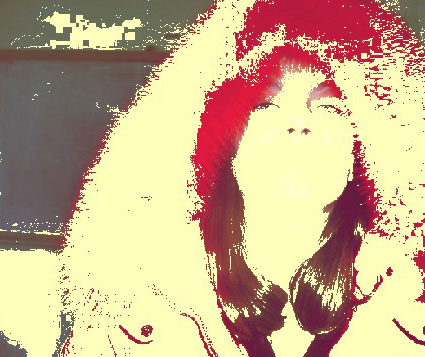
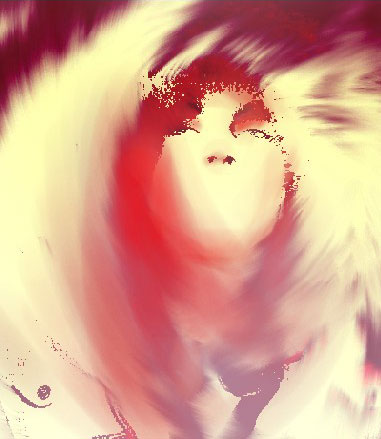
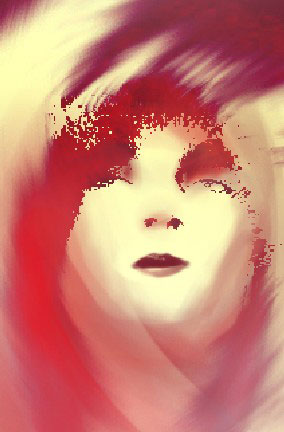
I will fix some of the tones using level adjustments.
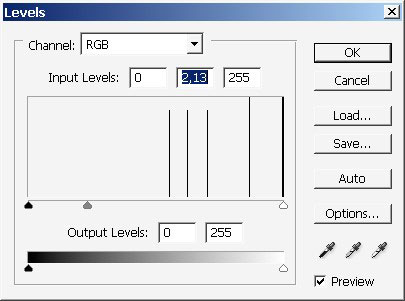
Here we have it in more pinky tones now.
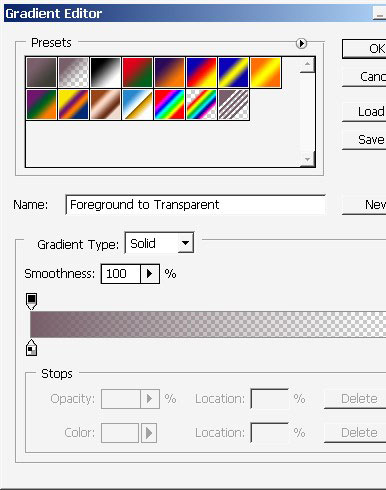
Create another layer and use a gradient on it. Note that the layer mode is color burn.
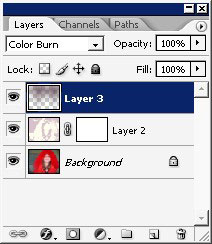
Here it is.
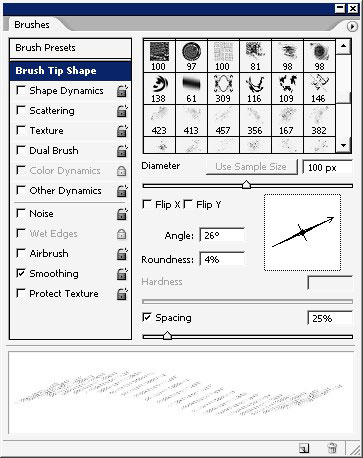
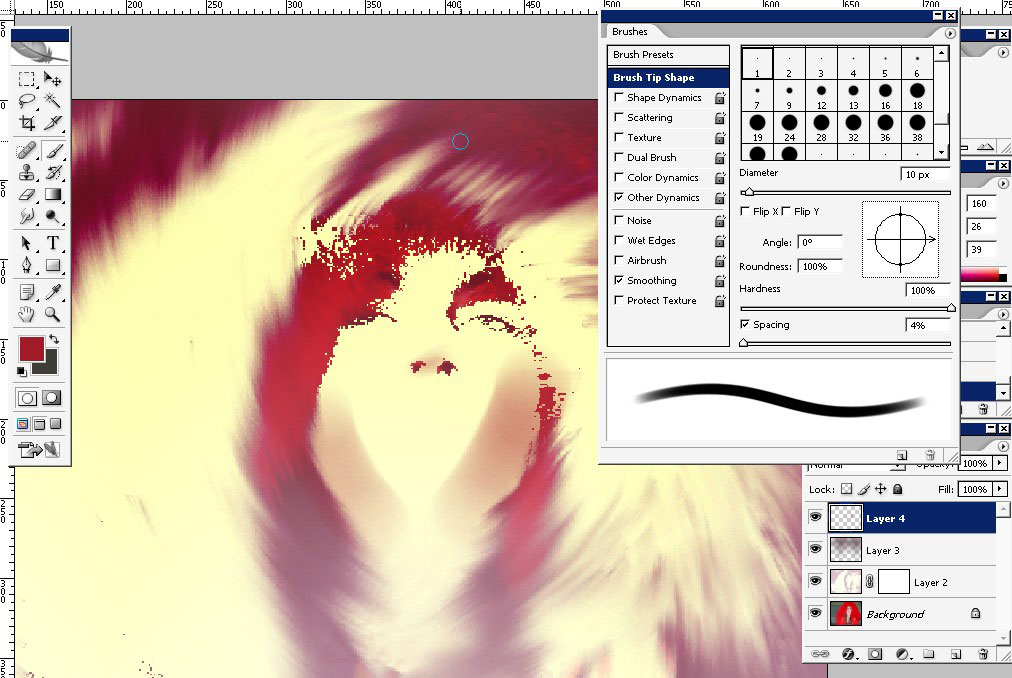
Now pick the Smudge tool (press R or Alt+R, this tool in Blur and sharpen tool box).
Pick a brush ass well, I’ve chosen flat brush with spacing set to about 25%.
Begin with smudging.
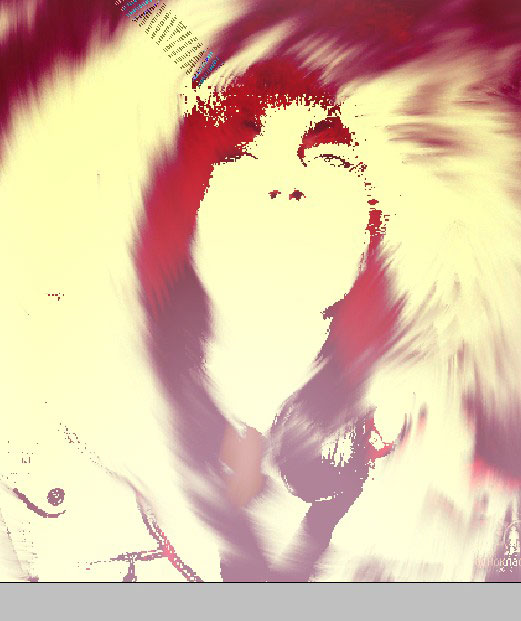
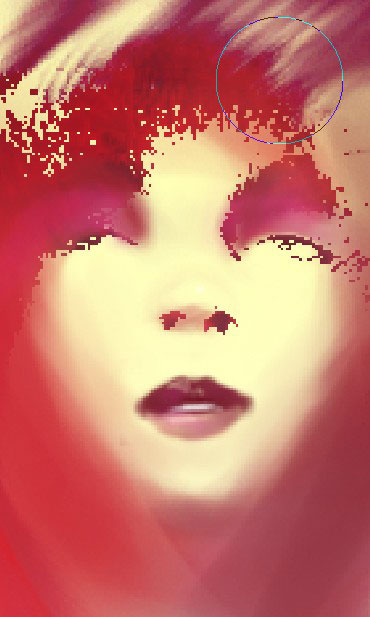
We have reached this beautiful effect I think.
But
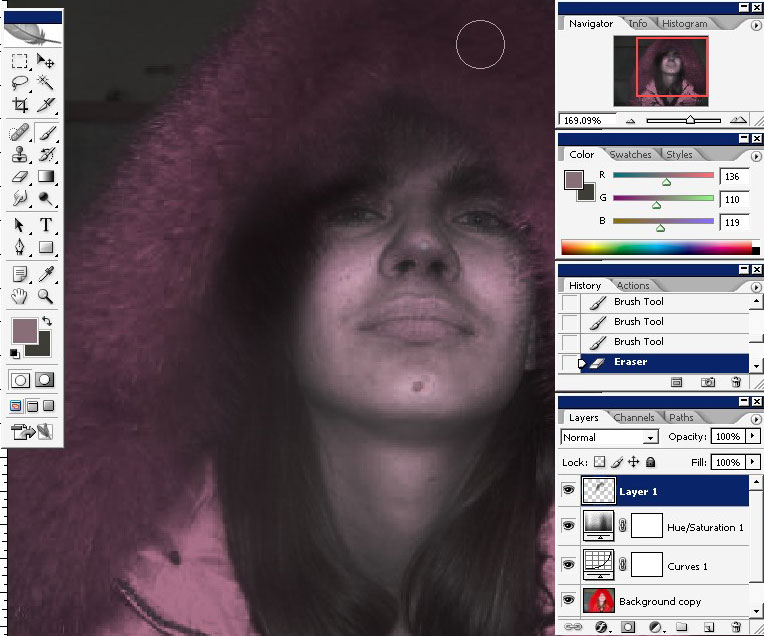
I think the face needs some corrections. So we’ll just create a new
layer pick a simple rough brush, set it’s opacity to about 10% and
begin.
I will pick colors from my original palette.
I see that the mouth is missing. Fix that One (on a new layer).

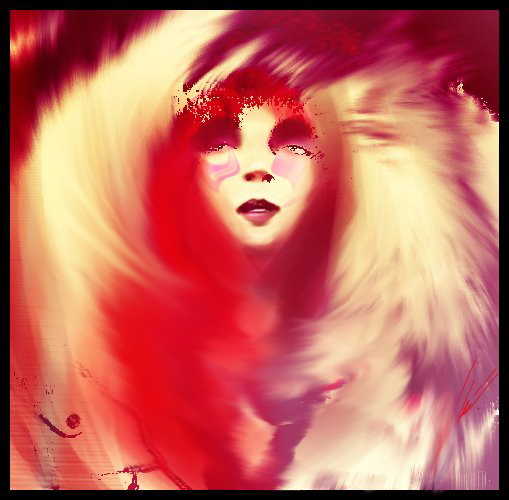
Result:

And final result:
Comments