
Summer Camp Wallpaper
In this tutorial we will teach how to create summer wallpaper.
Final Image Preview

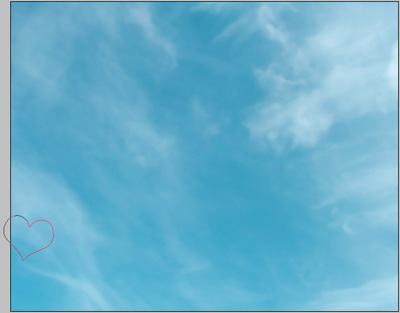
Begin by finding a picture of the sky, having 1280×1024 px and 72 dpi.

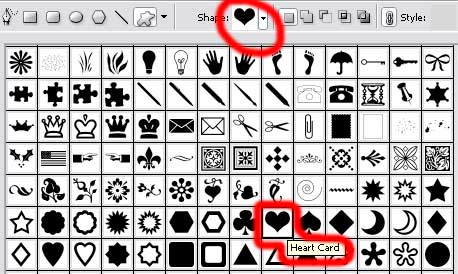
Using the Custom Shape Tool (U), we’ll try to draw a silhouette of the well – known heart figure.

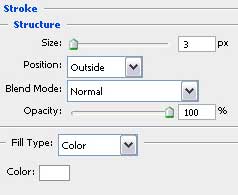
The layer’s parameters:
Fill 0% on the layers.
Blending Options>Stroke

Make two copies of the new made layer and select the Free Transform option to make the copies smaller and place them the way you may see below. The copies’ colors should be white and #FF5C5B
The copy – layers’ parameters are the same in both cases
Fill 0% on the layers.

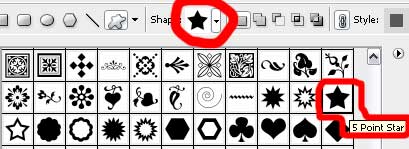
Select again the Custom Shape Tool (U) to represent a small star. Place its layer above the transparent heart’s layer and lower than the couple of white and red ones (on the layers’ palette).
 The layer’s parameters:
Blending Options>Gradient Overlay
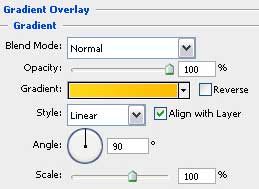
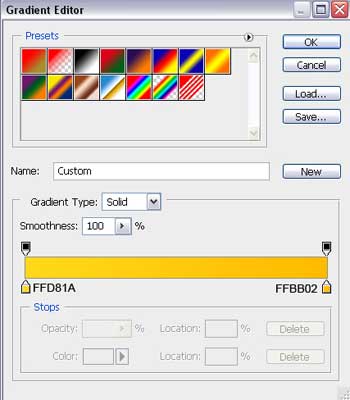
Gradient’s parameters:
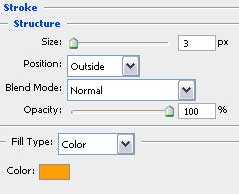
Blending Options>Stroke

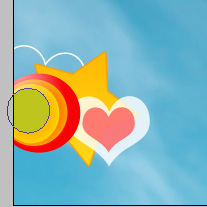
Next we’ll select the Ellipse Tool (U) and try to draw a circle, colored in here shown color – #F60003.
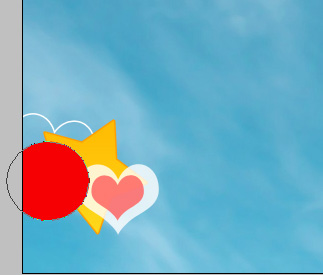
The layer’s parameters:
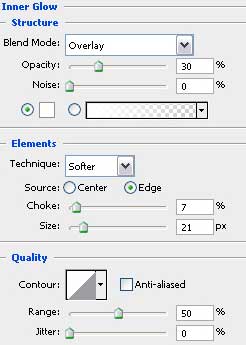
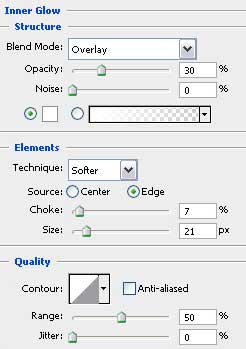
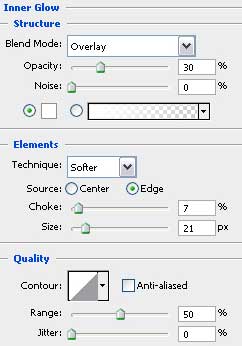
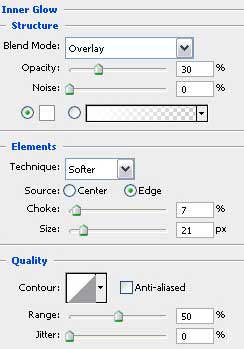
Blending Options>Inner Glow
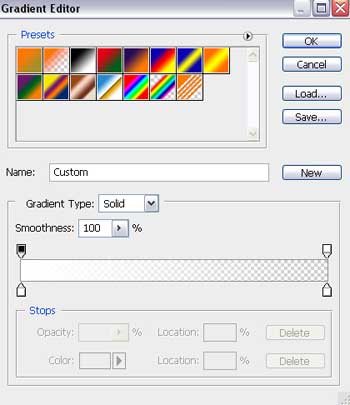
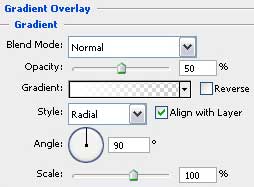
Blending Options>Gradient Overlay
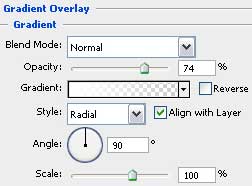
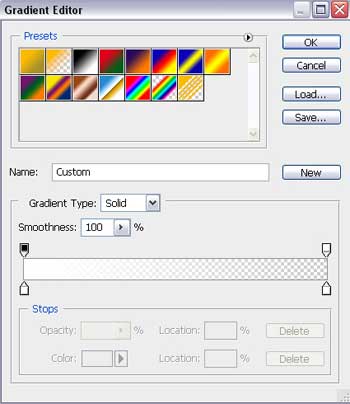
Gradient’s parameters:


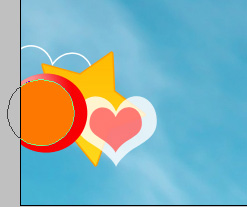
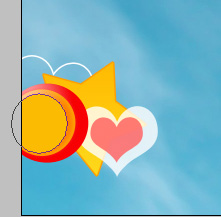
Make five copies of the last made layer and choose the Free Transform option to place the copies exactly the way it is demonstrated next picture, changing the parameters for each copy.
The first copy:
The layer’s parameters:
The color is #FD7801
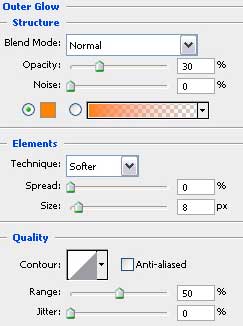
Blending Options>Outer Glow
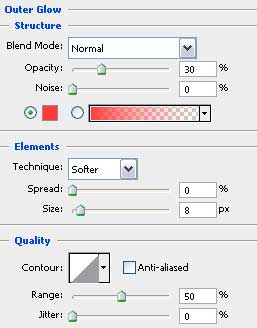
Blending Options>Inner Glow
Blending Options>Gradient Overlay

Gradient’s parameters:

The second copy:
 The layer’s parameters:
The color is #FDDD02
Blending Options>Outer Glow
Blending Options>Inner Glow
Blending Options>Gradient Overlay
Gradient’s parameters:

The third copy:
The layer’s parameters:
The color is #BEC51D
Blending Options>Outer Glow

Blending Options>Inner Glow

Comments