
Stylish Mini Car Wallpaper
Learn how to create a stylish, unique looking car wallpaper perfect for a business or an enthusiast.
For the beginning let’s create a new file (File>New) of 1280×1024 px and 72 dpi. Select then the Rectangle Tool (U) with black color to draw a line like the next one from the picture below:

Next find a car on your wish and move off its background, applying the Eraser Tool (E).
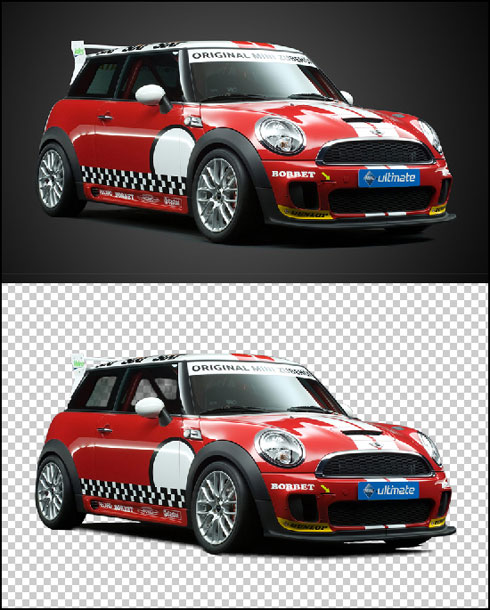
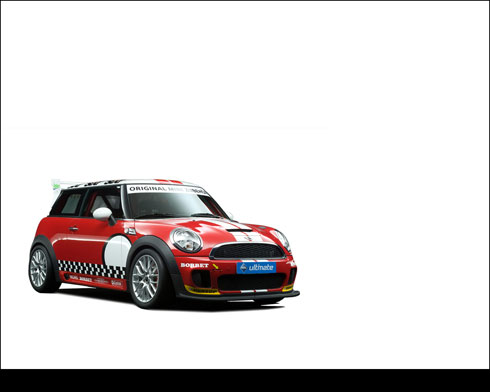
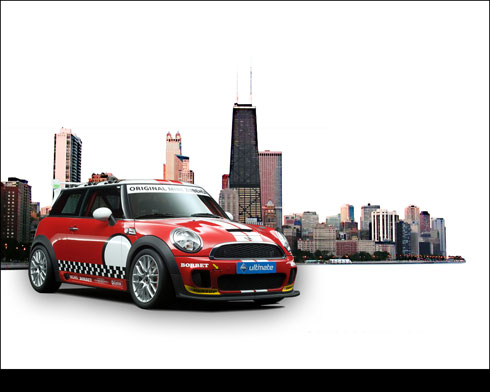
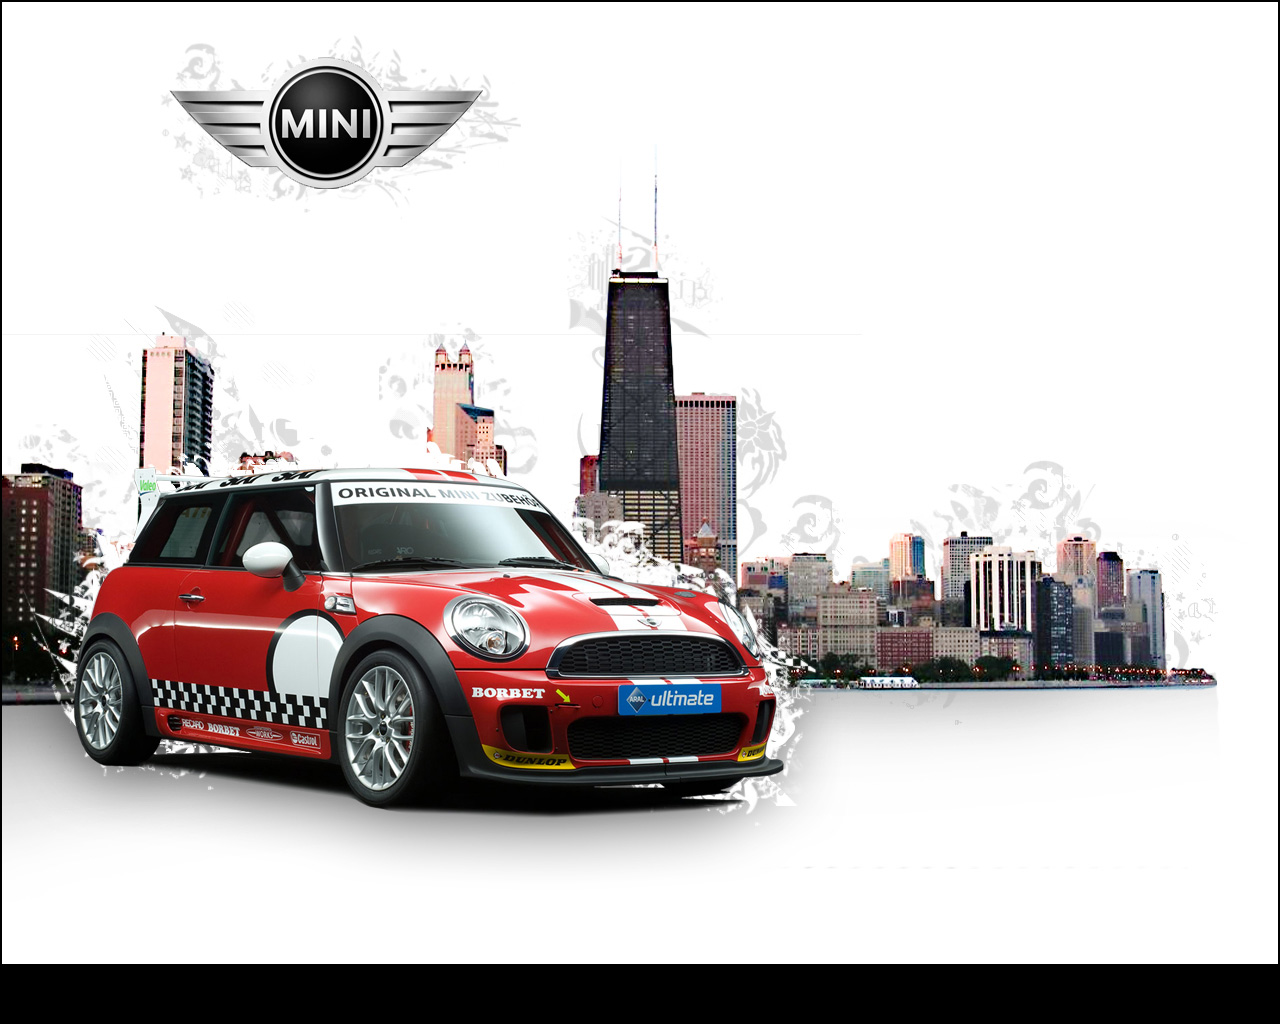
Place the car on our canvas:

Use picture of a city with a horizontal line and cut it out the same way we did with the car:
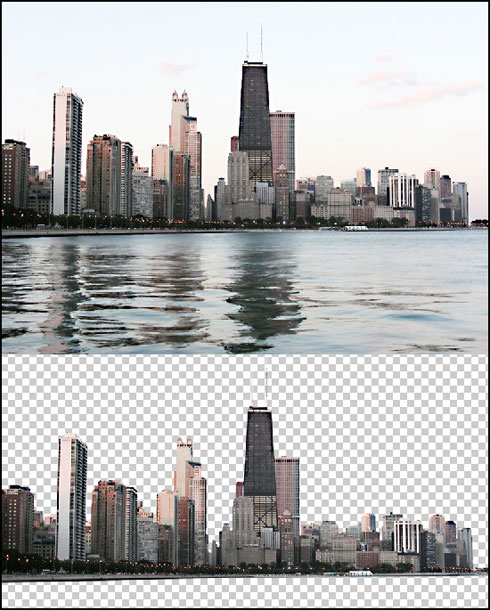
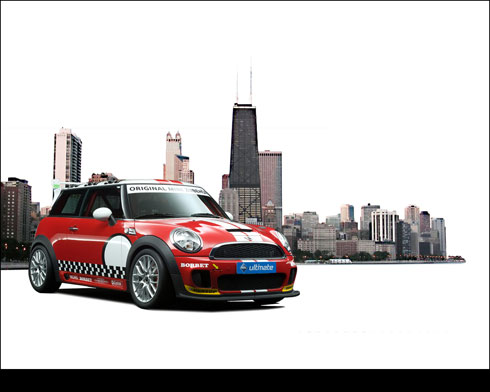
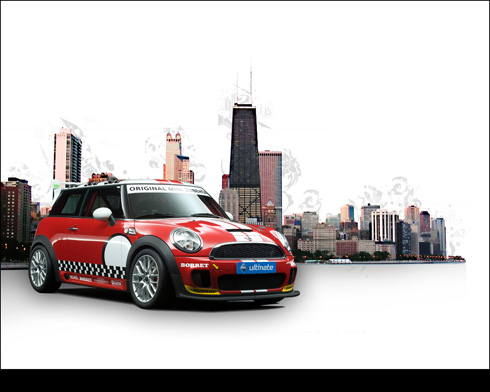
Place the new picture behind the car:
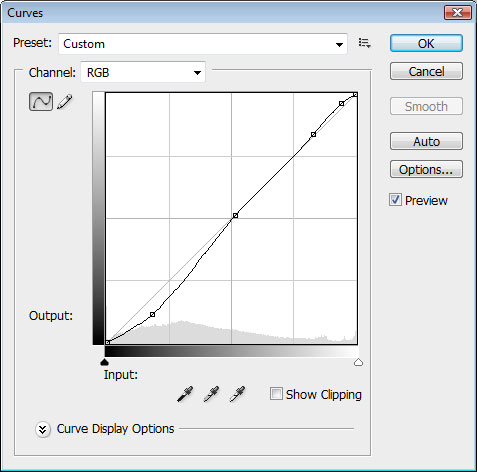
Choose out the next demonstrated option (Create new fill or adjustment layer) on the layers’ panel:

Select the Curves … option and set it the same way from below:
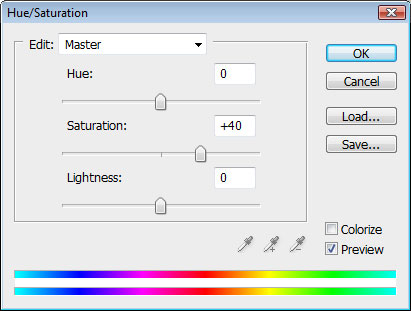
Insert also one more adjustment layer named Hue/Saturation.
Create a new layer, situating it under the layer containing the car and try to represent a shadow with black brush and blurred edges. The Opacity should be on 10%.
Represent the same way now the city’s shadow:

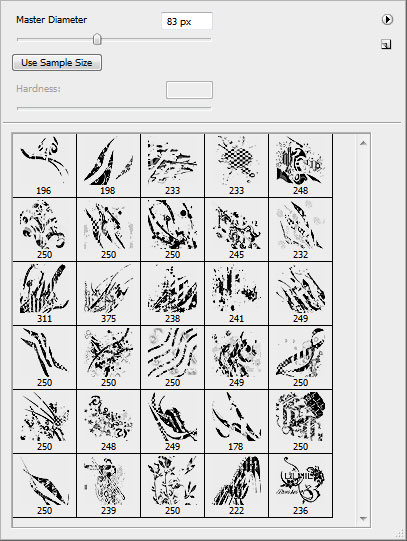
Download the brushes named (lilmil splatter brushes)
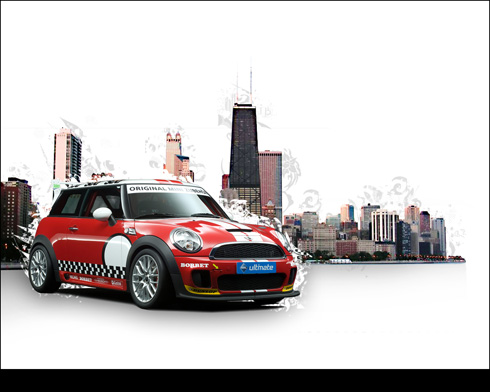
Create a new layer, situating it under the layer with the city and represent a light contour the same way as below. The color’s code in this case is #DFDFDF
Now we shall represent the car’s contours, giving the white color for the brush:
Find in Internet the logotype from below indicating the producer and insert it on our picture:
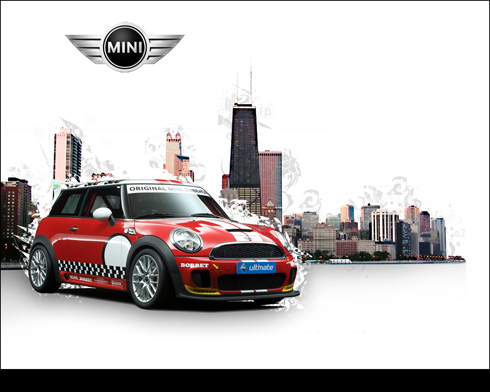
Use also the general contour’s style with the color the city’s contour has:
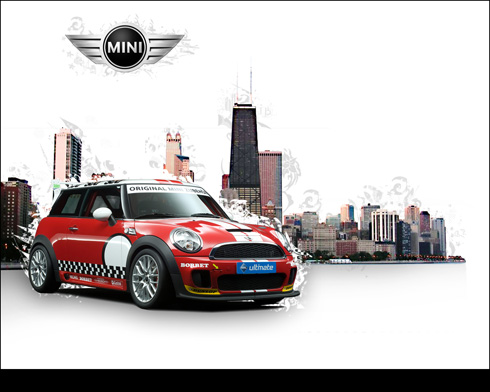
Finished!
View full size here.
Comments