
Stylish glow effects
In this tutorial we will make a stylish glow wallpaper. Well in fact this wallpaper is, let’s say: half abstraction so I
really think that these kinds of wallpapers can be used for some design purposes or something like that. It means that you
can take one part with some elements and use this part to make another design or background. I will also be building this
design from scratch using some of my techniques. So let’s get going on this one, shall we?
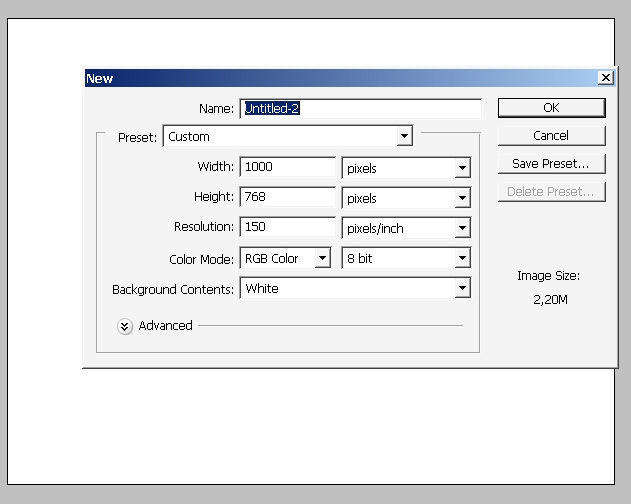
First define the document size. I thing we will stick to basic 4:3 aspect ratio in this tutorial.

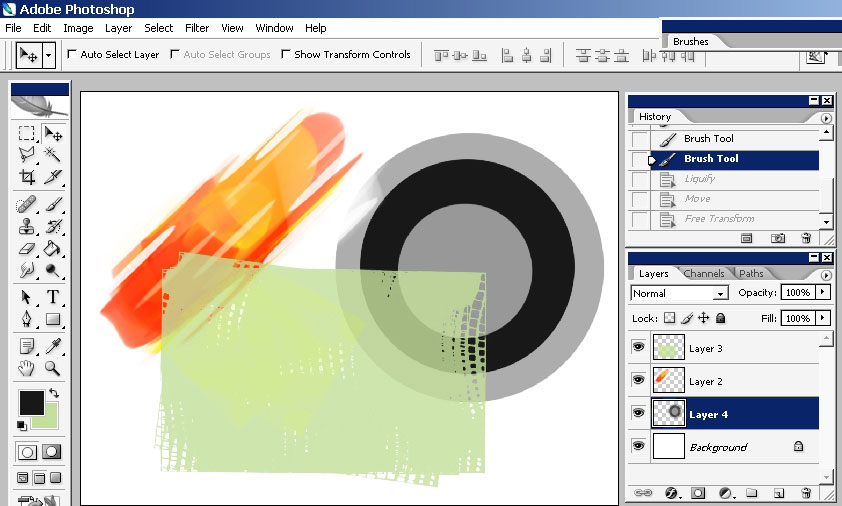
Now let’s draw some basic forms using non complicated brushes that PS offers.
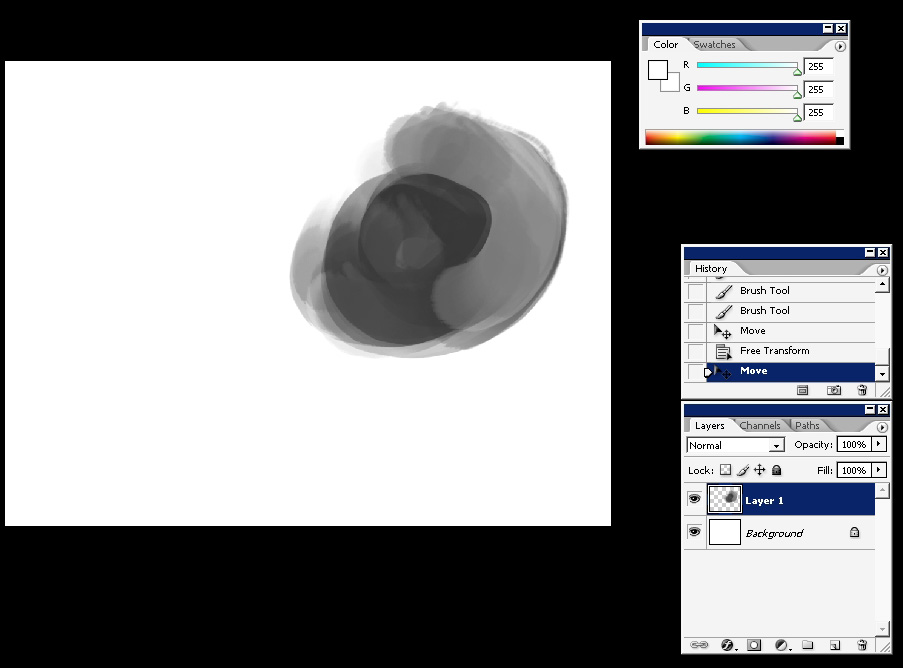
I will create 2nd form using FLAT brush.
The 3rd form was made using custom brush that I think will be available for download. As you can also see I’m changing the
color of each of my forms. Moreover the very first shape (grayscale) was changed to simpler one.
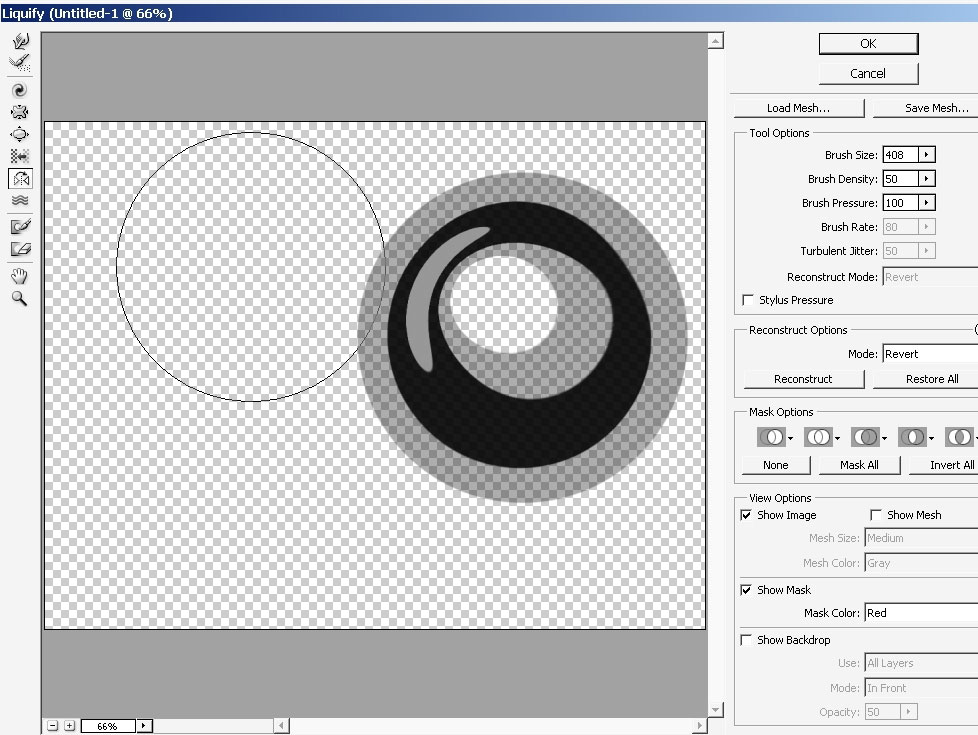
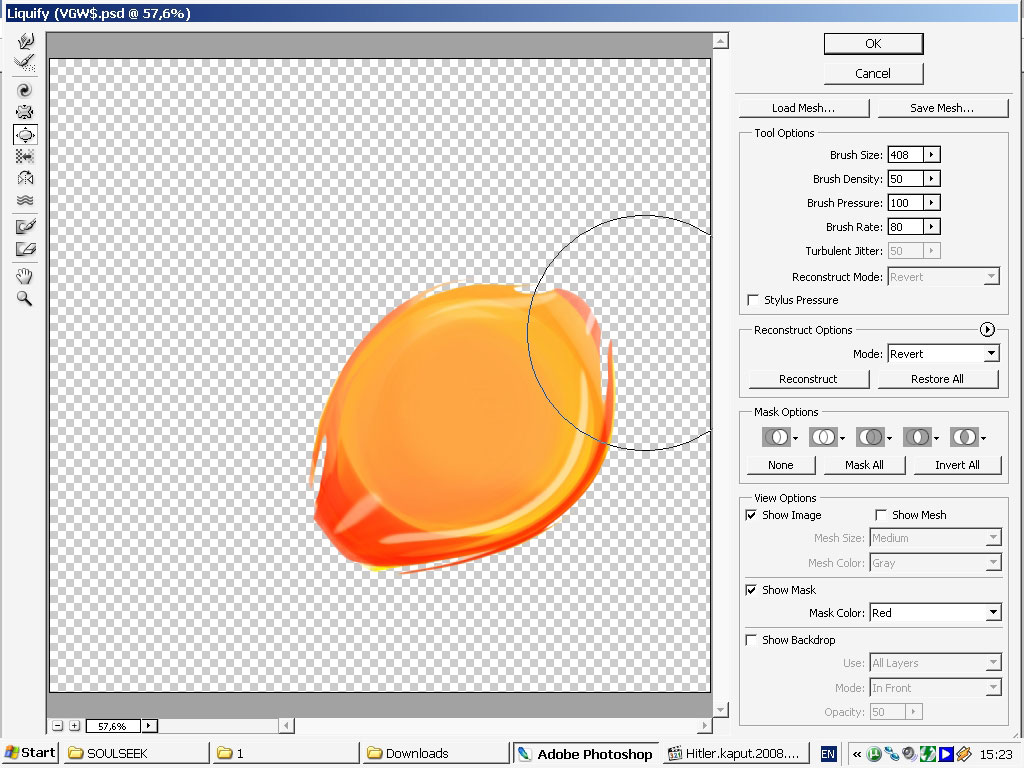
Step one: shape tweak up.
I was thinking to customize my shapes and define their place in my design.
So the first grayscale shape will be tweaked by a tool that is called liquefy. It can be found on the top of the filters
menu.
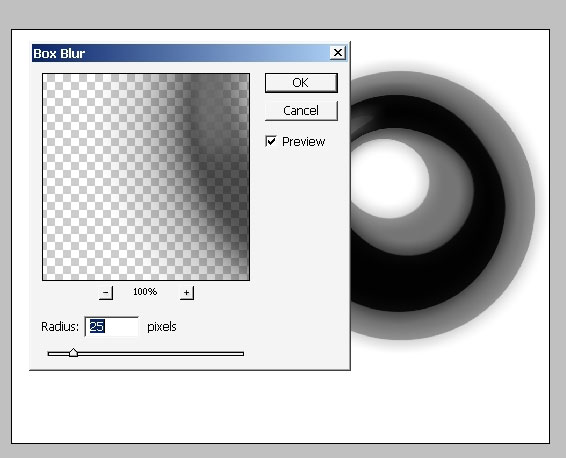
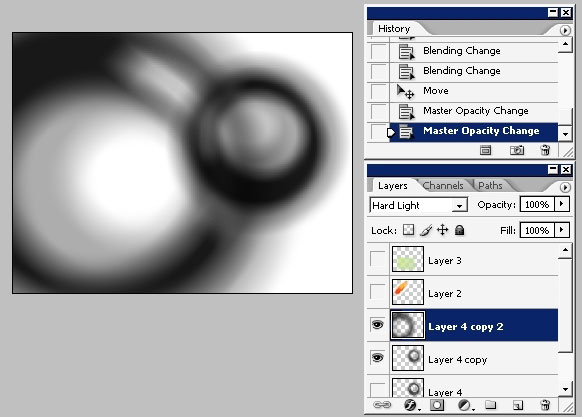
I’ve added a blur filter on the object. So I’ve decided to set these circles on my background. Moreover as you can see I’ve
created a copy of my already blurred circle and made it bigger. So we now have some kind of composition.
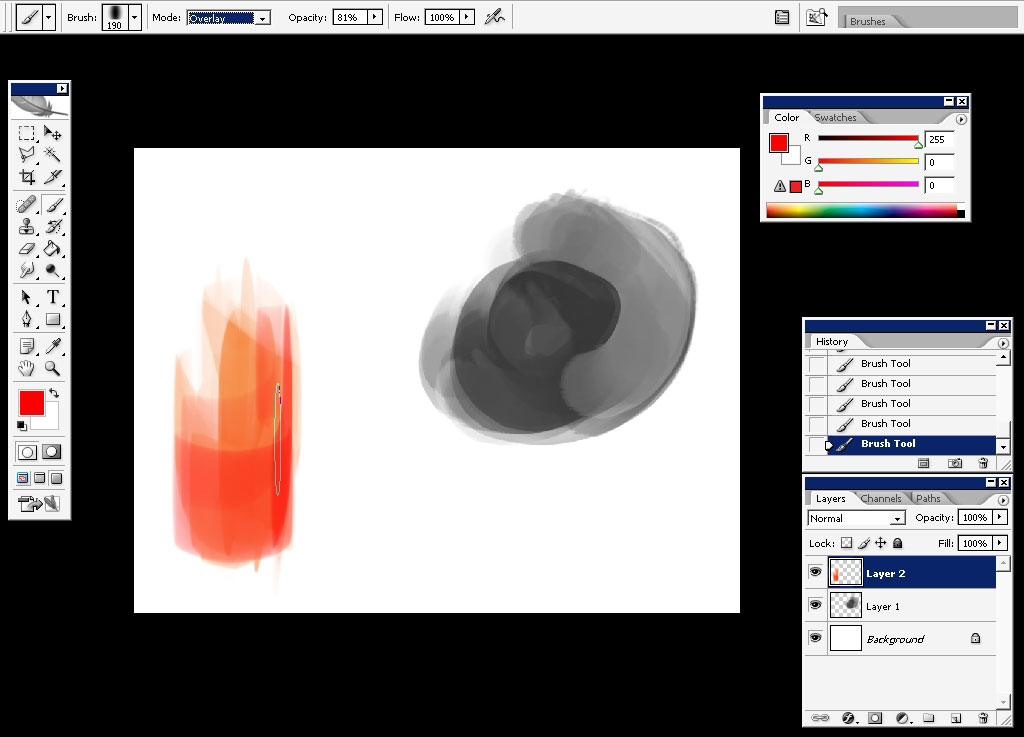
2nd shape:
My 2nd orange shape will go through the same process. First I will use liquify on it.
I’ve warped this shape (you see 2 on the screen) because I wasn’t happy about its look.
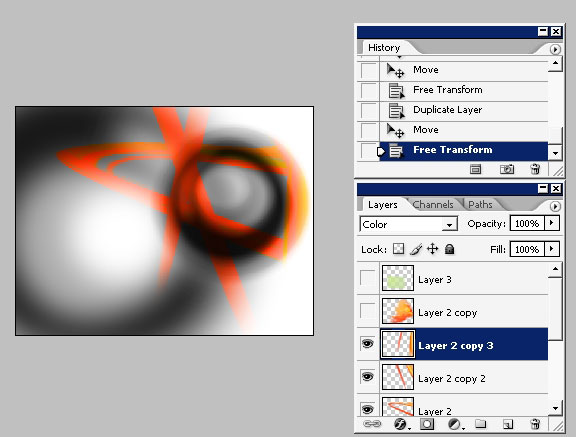
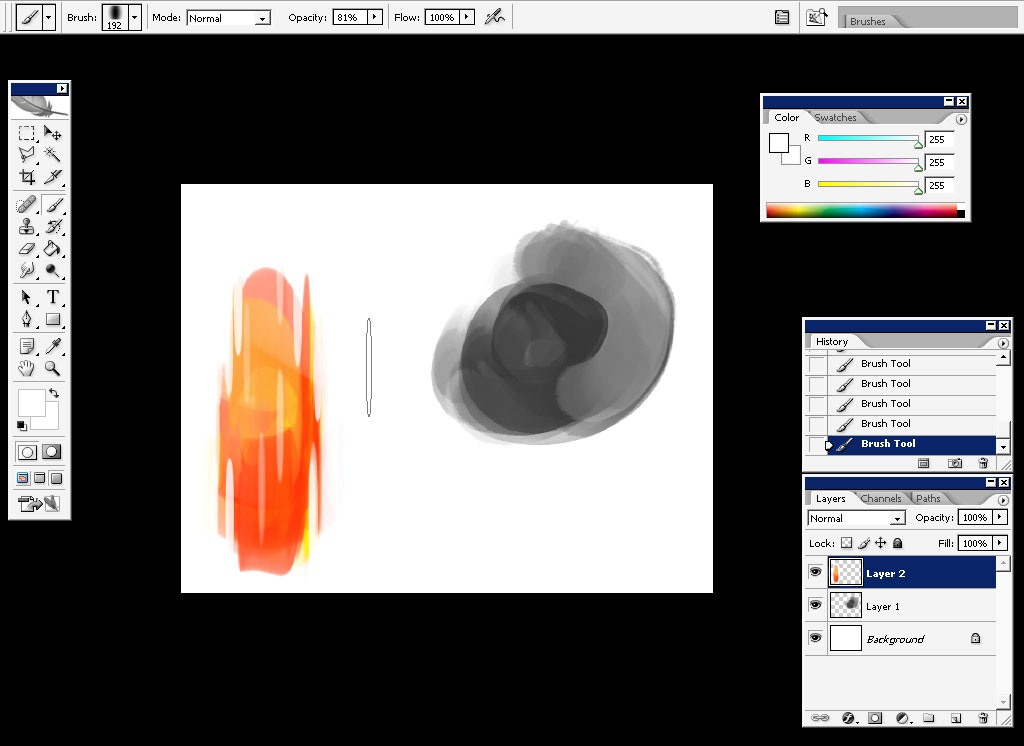
I’ve made anther copy of this layer blurred it for good.

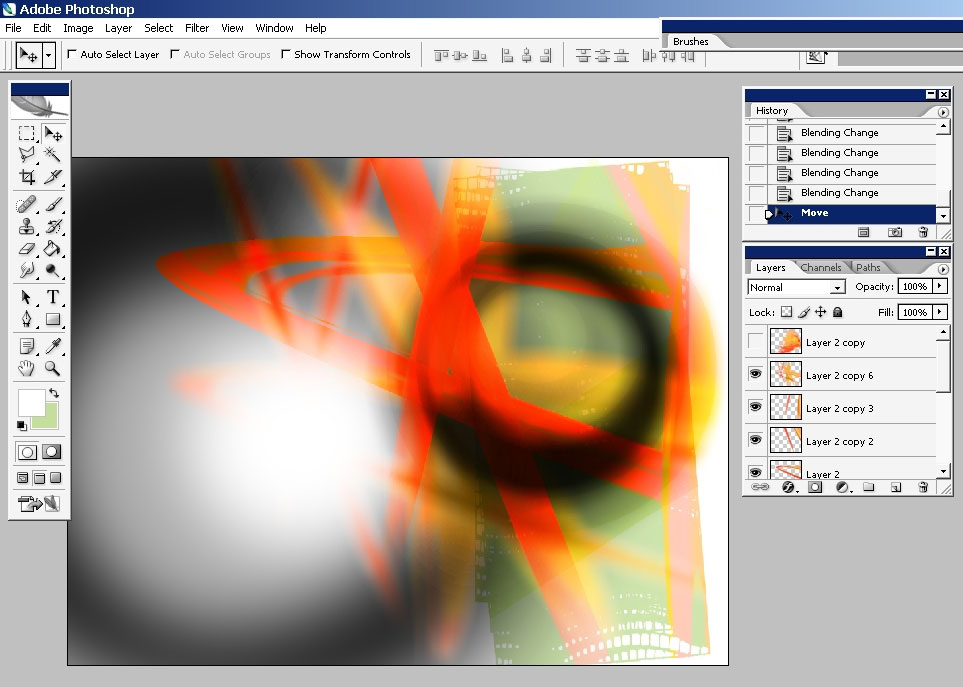
3rd shape:
So my 3rd created shape will be underneath all the shapes. I will also leave the initial pea green color.
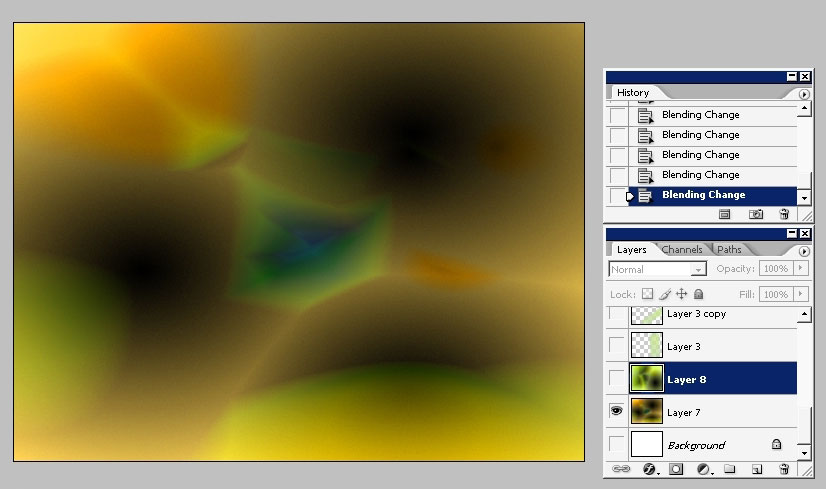
Here is what I call background map. I’m the only one I guess). This is a non concrete background that was created with black
to white (add color then) gradient with blending mode set to pin light. I use this maps” to get away from simple colors and
patterns. You can fill the area with a simple gradient if you want.
This map” must stay next to background in the Photoshop.
Step two: details
So I think I’m done with color gamma and some background elements,
let’s now take care of some foreground elements.
Here is my first foreground element. It’s a simple circle made by most ever simple rough brush.
I want to stick to simple forms.
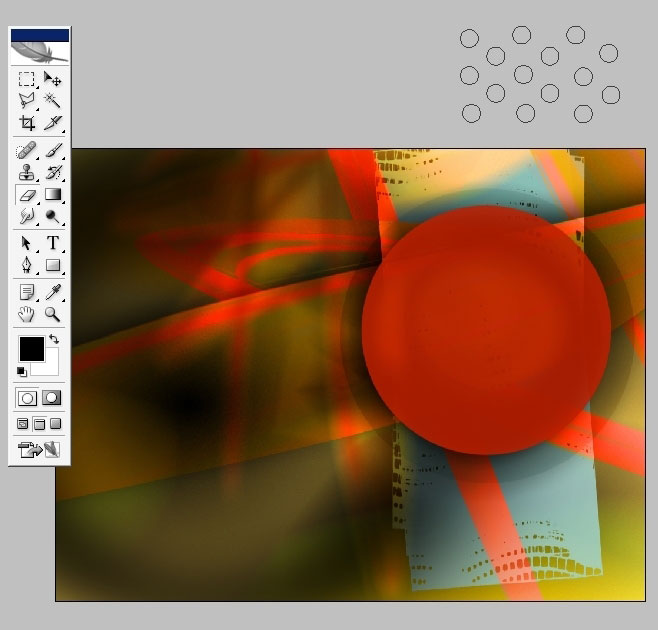
Erase using the same brush. Now we have some king of ring.

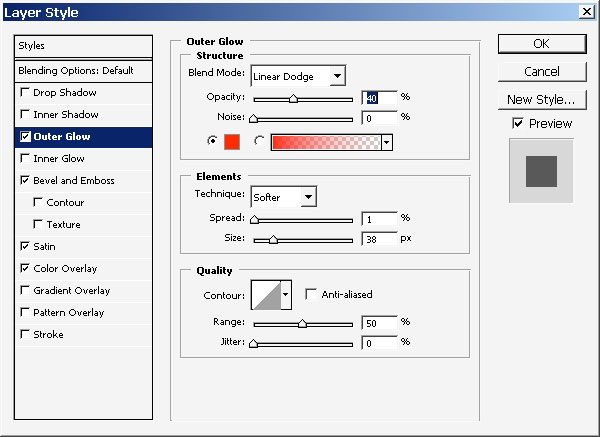
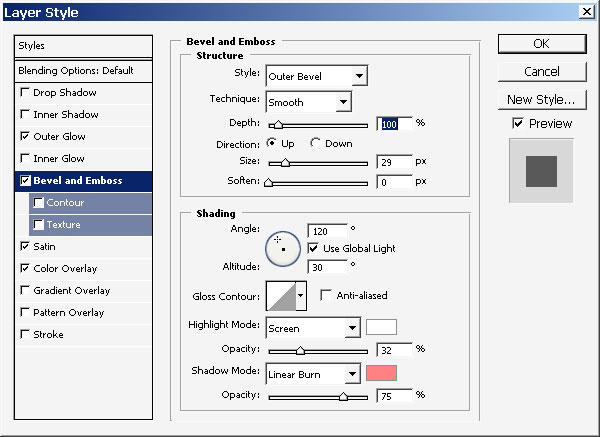
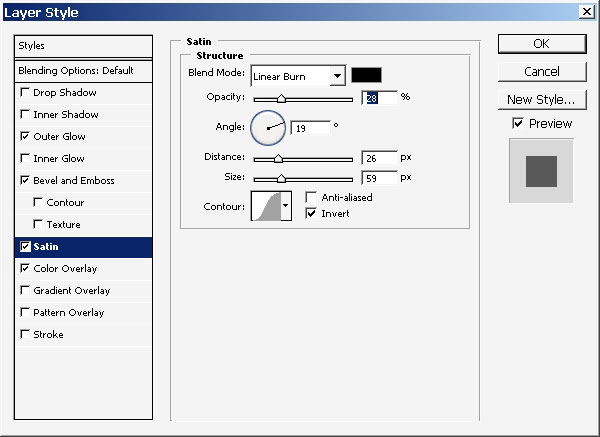
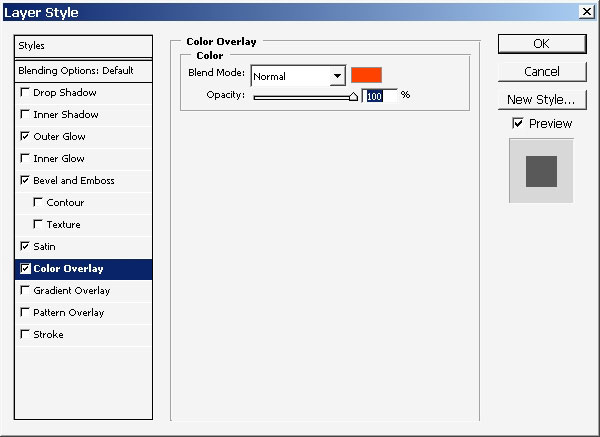
As this ring is on a separate layer and I really want to make it glow, I can use layer styles.
So here are my layer styles.

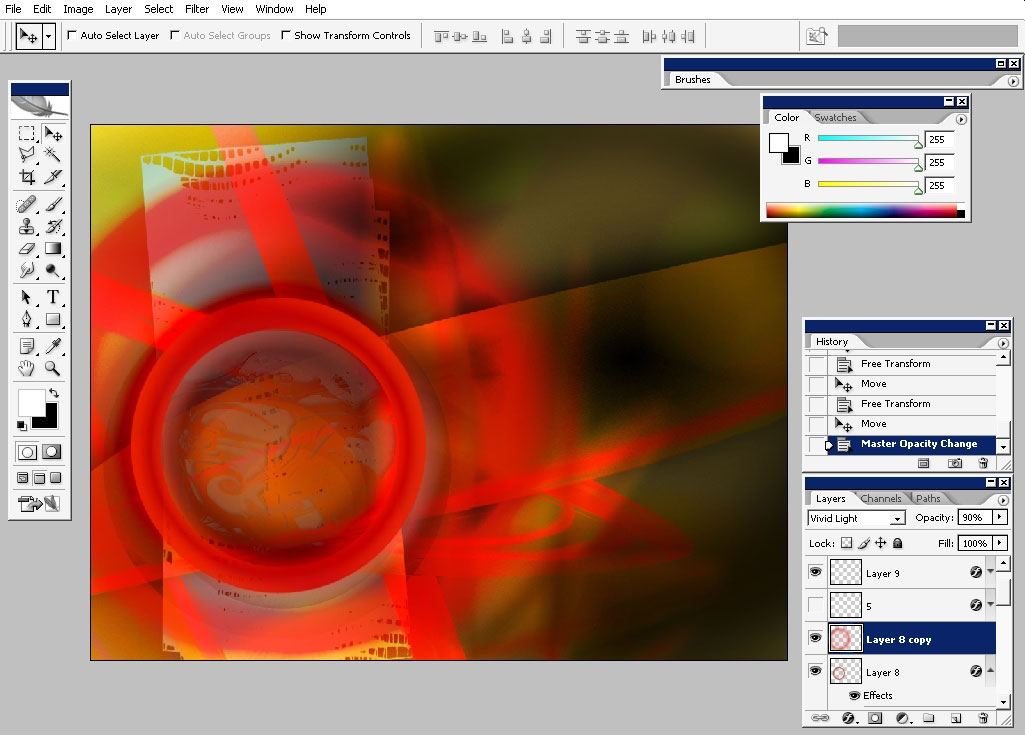
I’ve made a copy of my image:
Glow ring and made it a little bit bigger just like in the beginning of the tutorial.
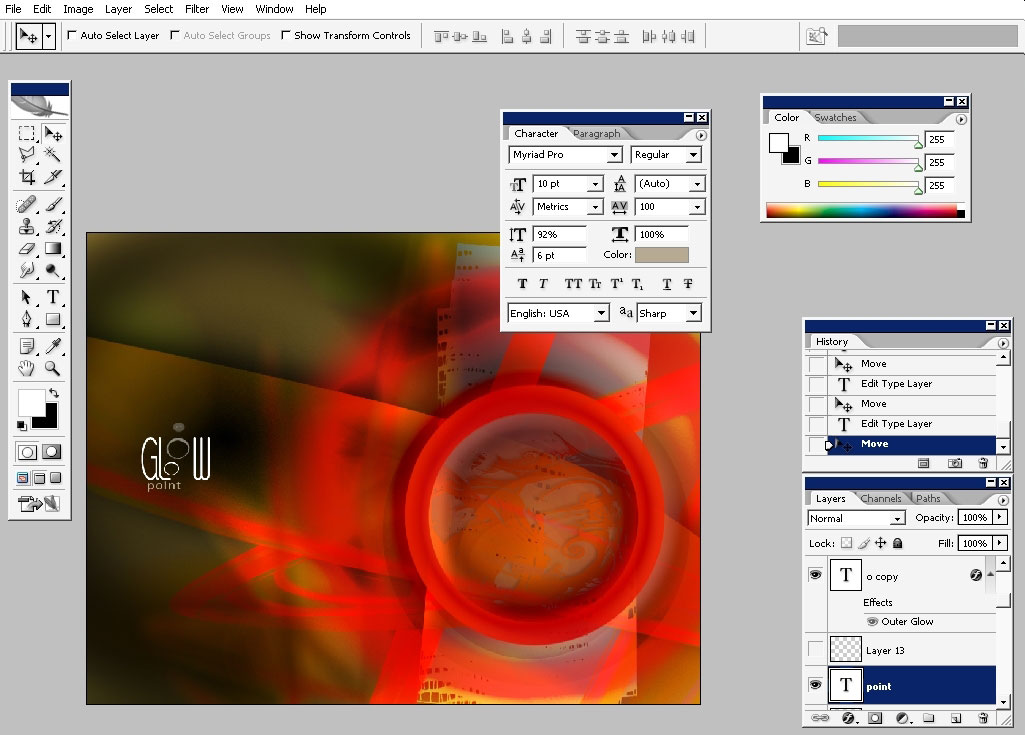
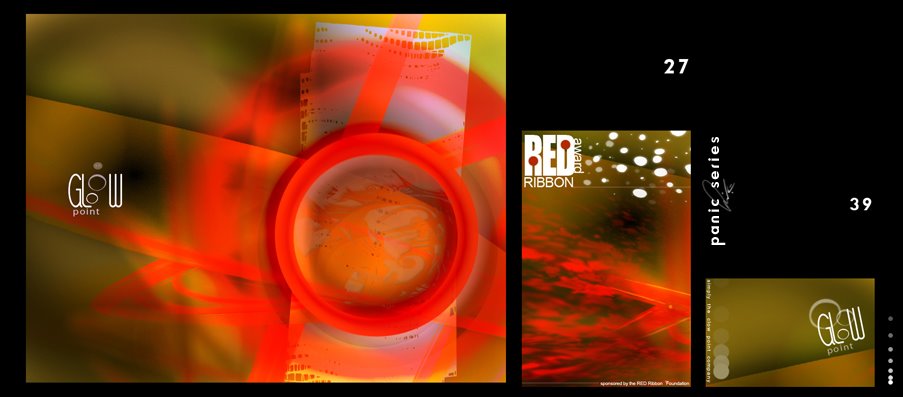
I’ve put some king of logo there and flipped my image.
And I think we are done with this wallpaper.
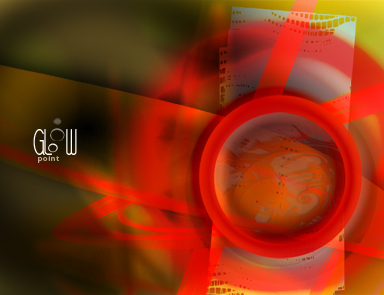
So I just hope you’ve enjoyed this one like I did and found something useful for you.
Comments