
Stylish Counter-Strike Header
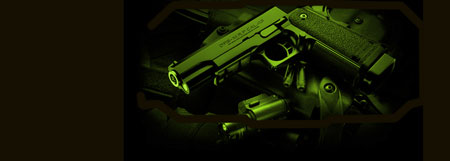
Open a new file with 800×287 px and 72 dpi. It must be painted in black.

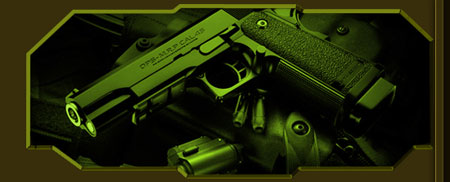
Then add the photo (where the black background’s color coincides with the black color of the file).Place it the same way demonstrated next picture.
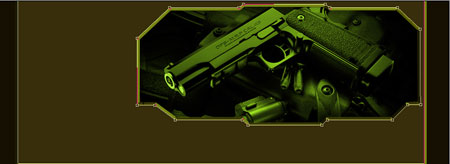
Create now the basis for the future header’s panel of the web-site.
Using the next instrument  , mark out the region of rectangular shape colored in 382E0B. Then apply the next instrument
  and mark out the part that will be erased from the picture. Apply the next parameters to the result that you’ve got!

Blending Options-Bevel and Emboss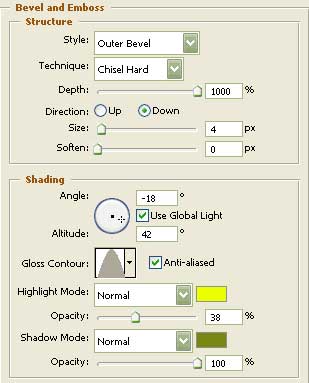
Blending Options-Bevel and Emboss-Contour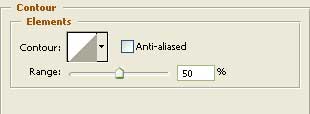
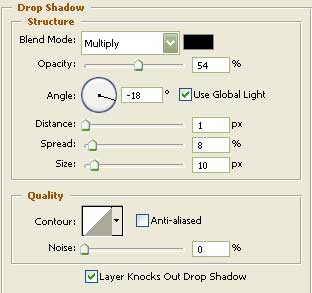
Using this instrument , it’s possible to insert the picture in a frame to the right side and the parameters must be the next one:
Blending Options-Drop Shadow
Blending Options-Bevel and Emboss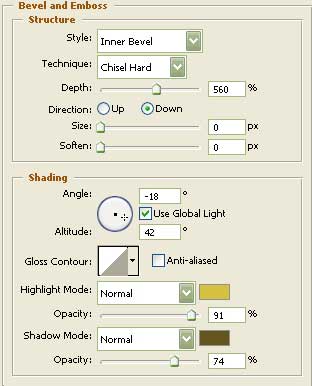
Comments