
Stock illustration
In this tutorial I’m going to practice in creating some cool illustrations with cool effects.
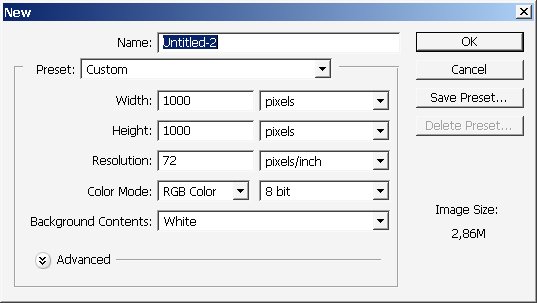
So begin by creating your work document.
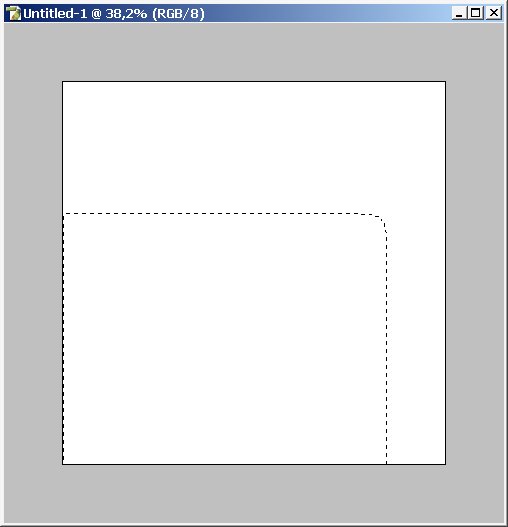
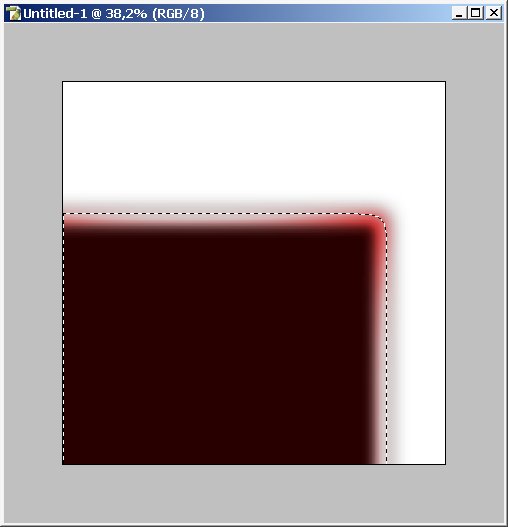
Now make a mere selection using ? the Selection Tool (M).
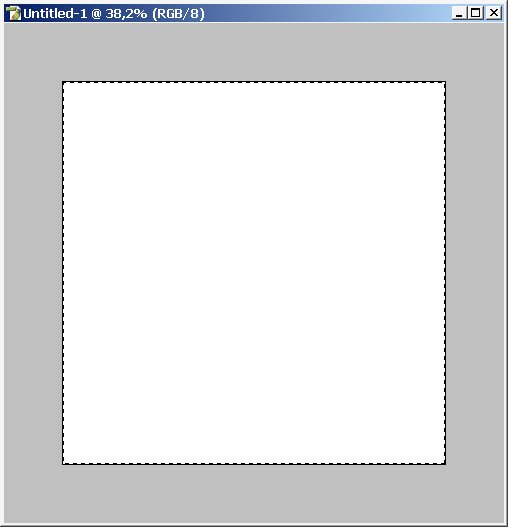
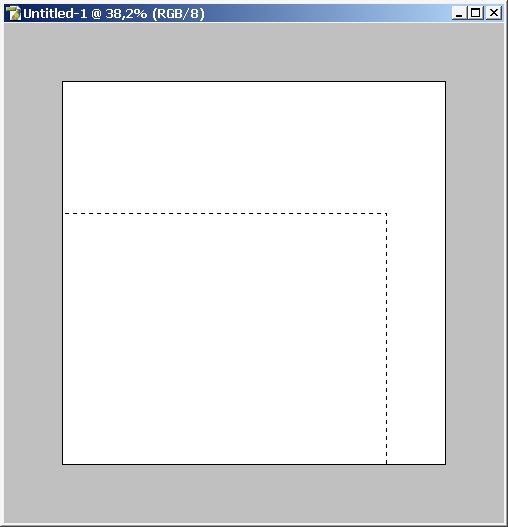
Drag the selection:

Use feather command ? the definition is about 25 pixels:
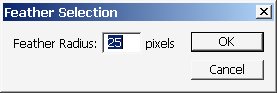
We will get this:
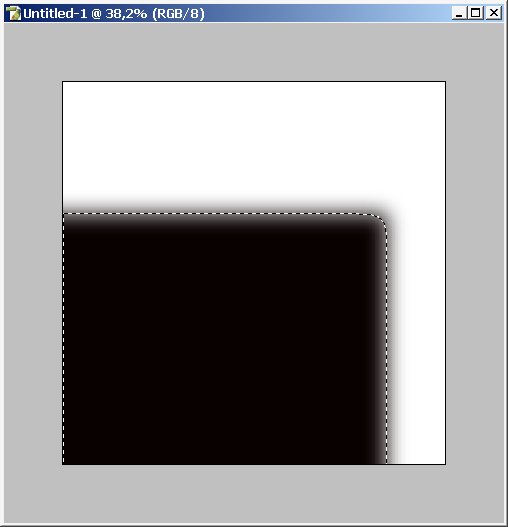
Now just fill the selected area with simple black color.
And further on with such gradient ? do it several times.
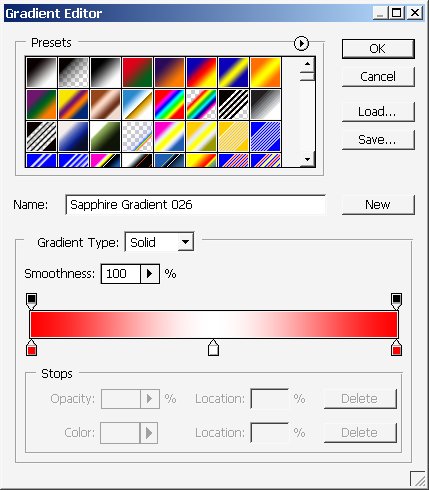
The mode is Overlay ? Opacity about 50%-60%.

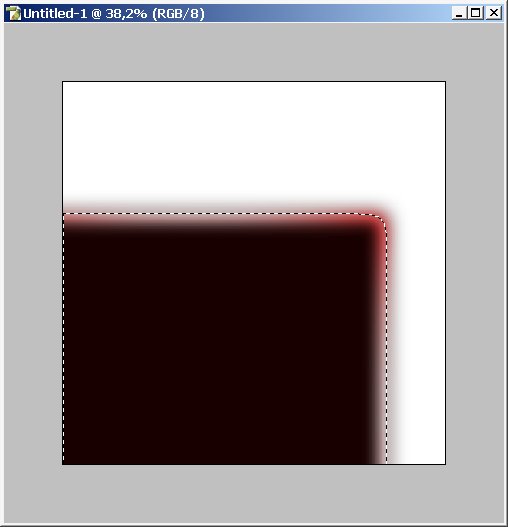
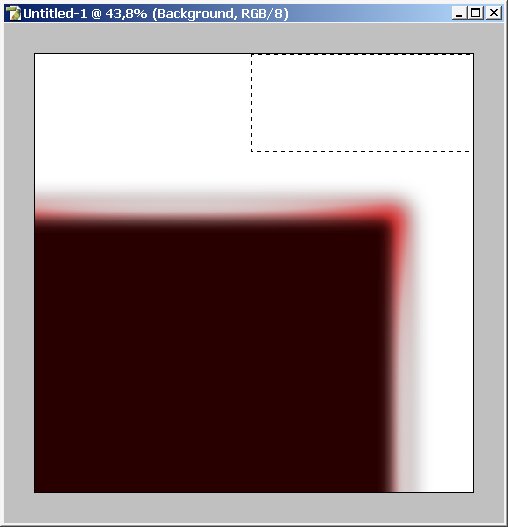
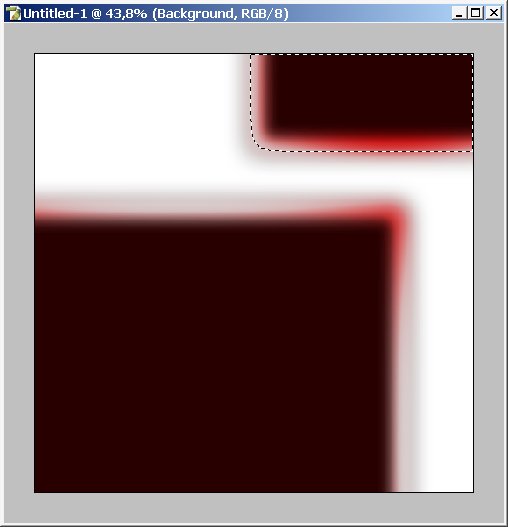
Make another selection in the upper corner and make the same things.
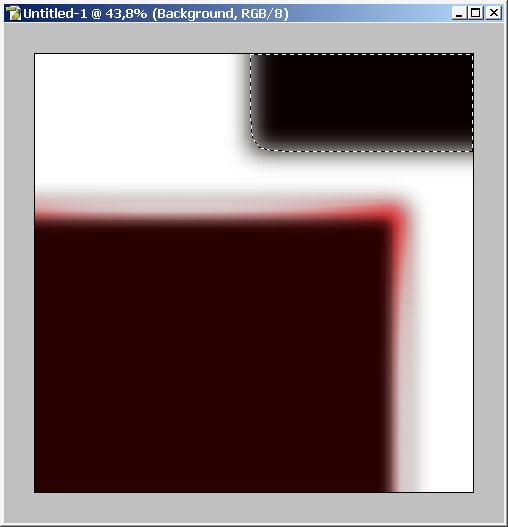
Fill and use gradient several times.
Now I want to make another object ? it will be some kind of a table of something:
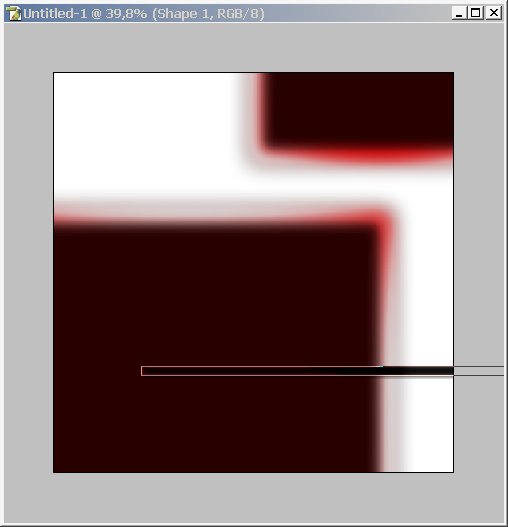
The color is White:

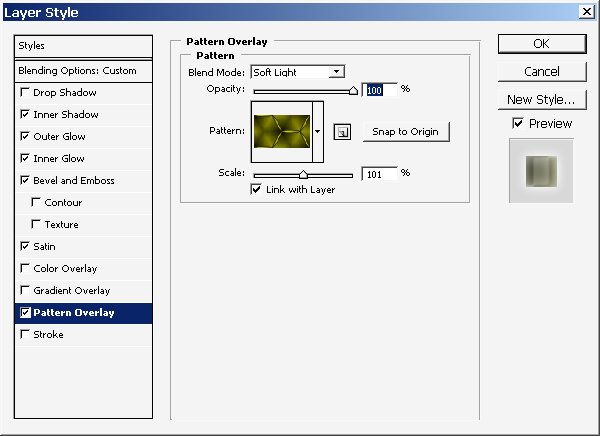
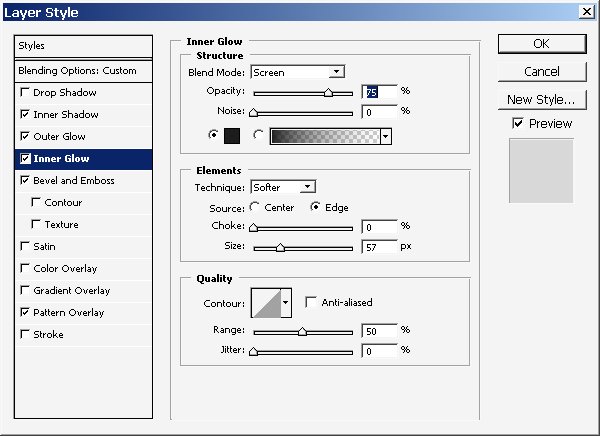
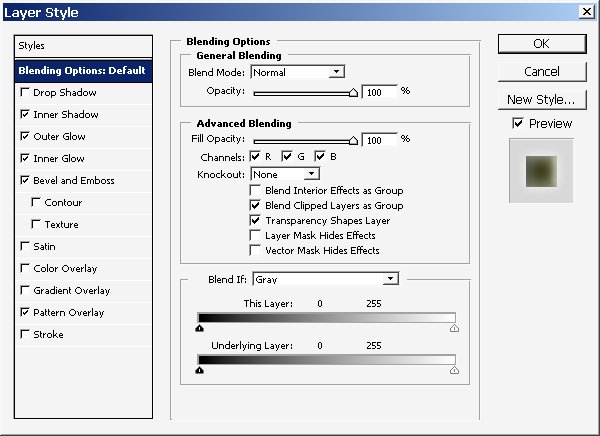
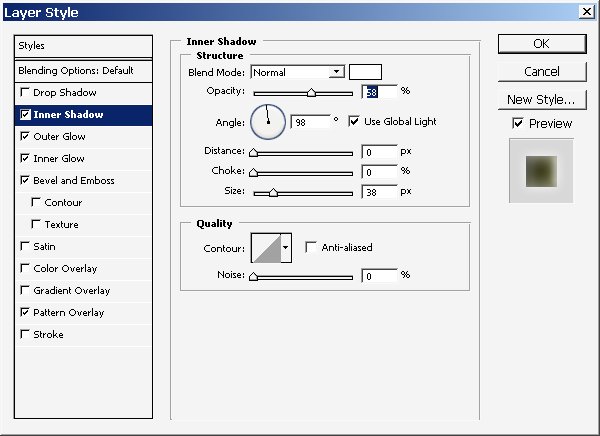
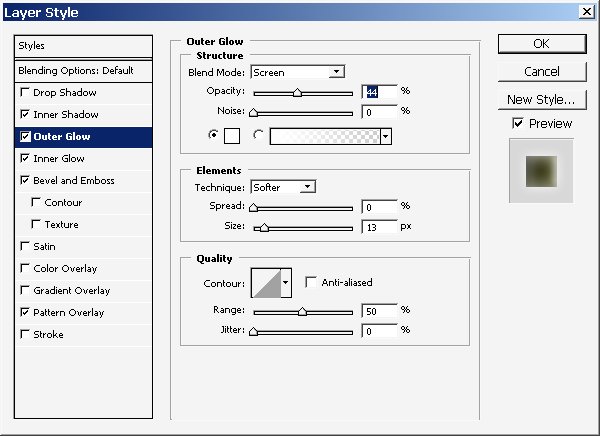
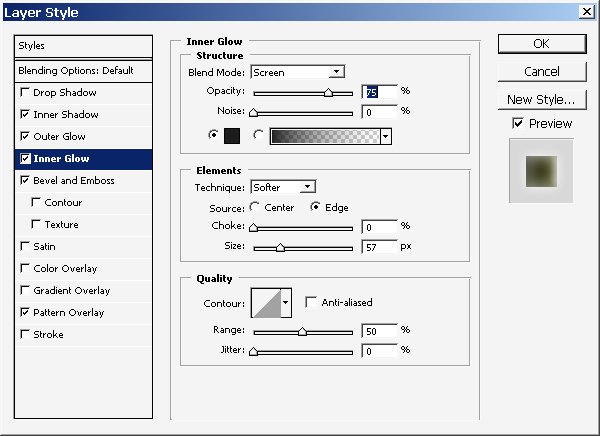
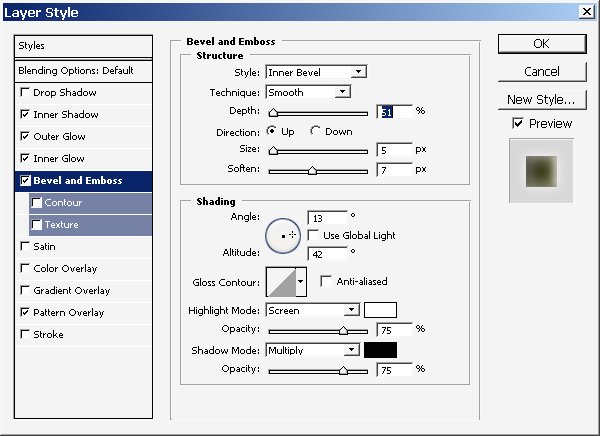
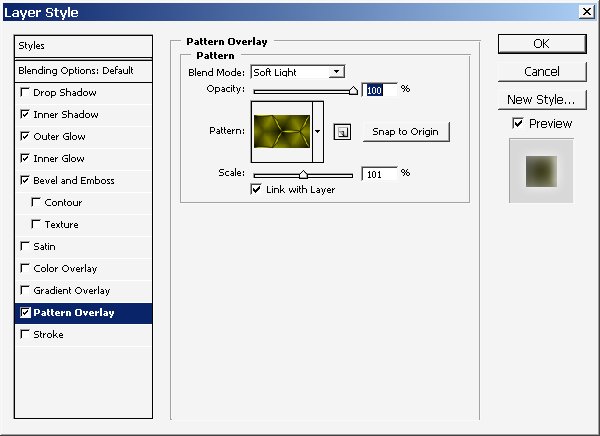
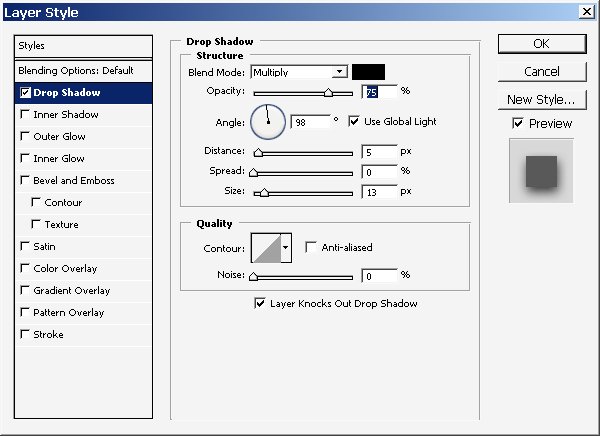
Now use some layer stiles on it:
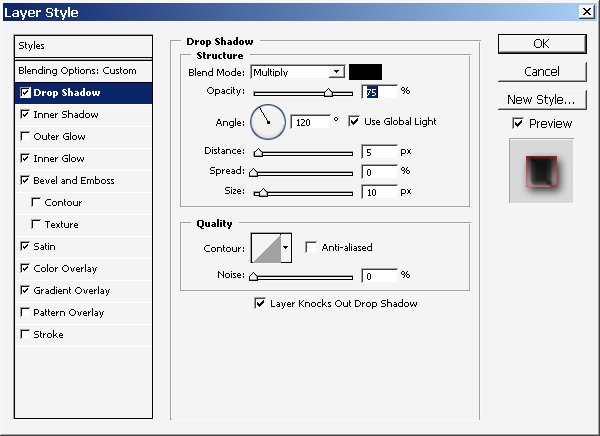


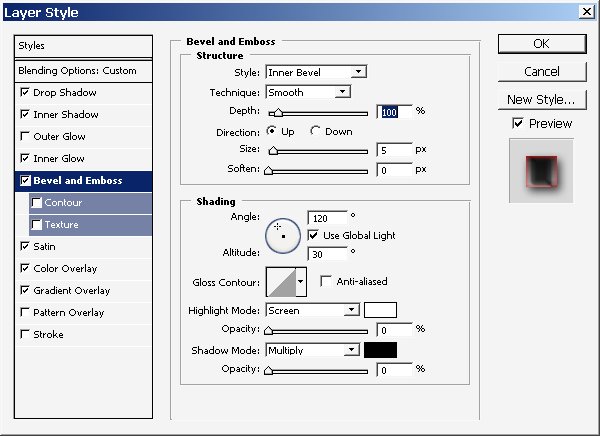
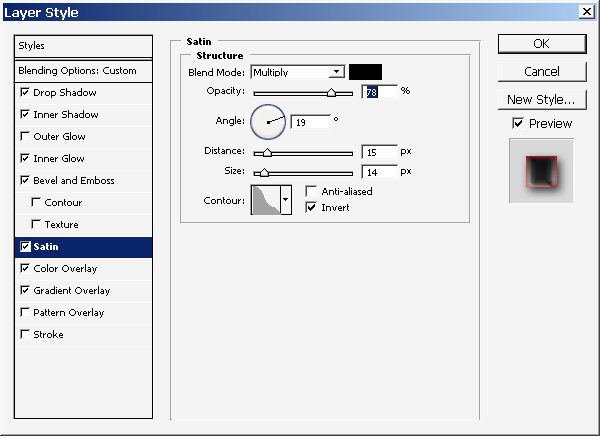
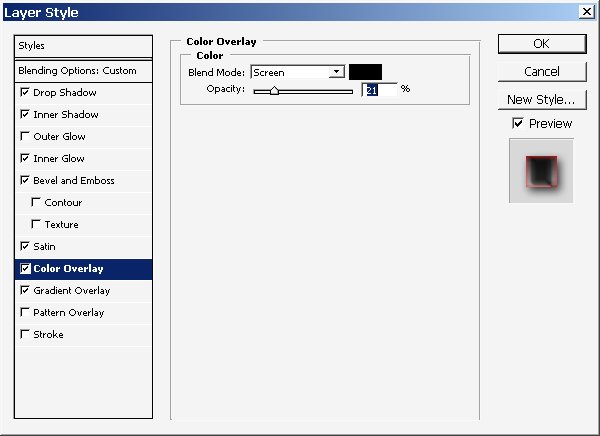
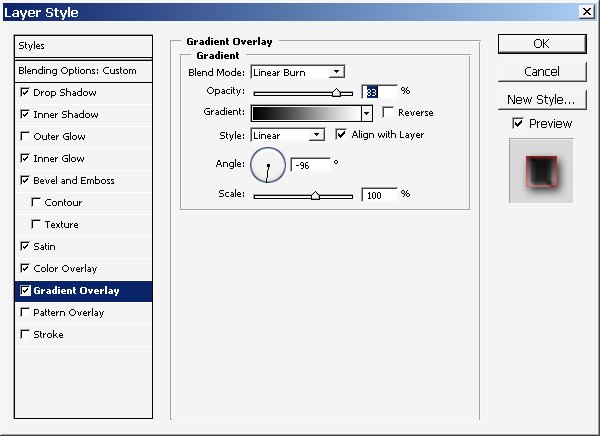
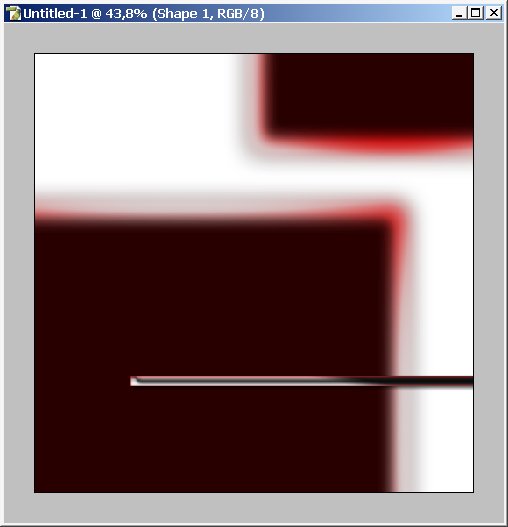
Result:
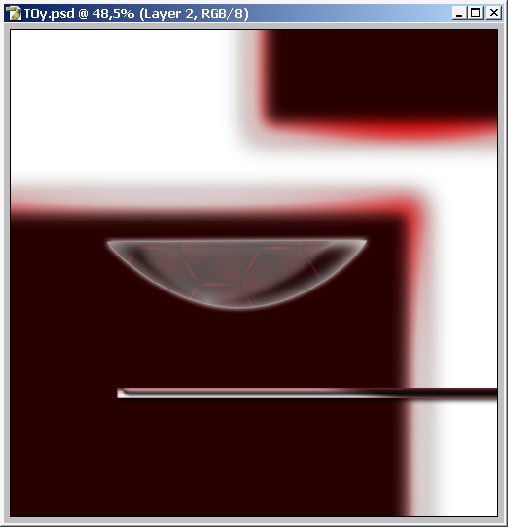
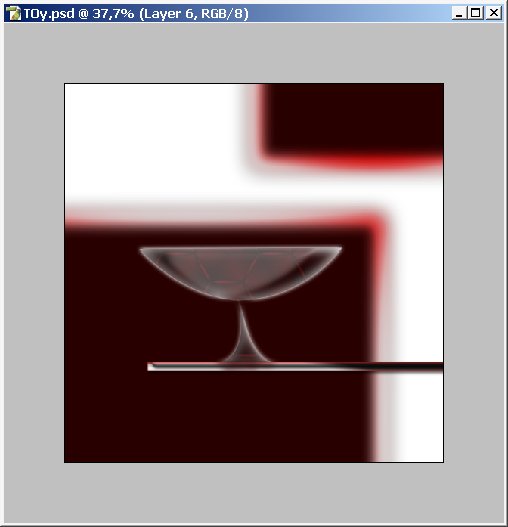
Now another object ? it will be a martini glass:
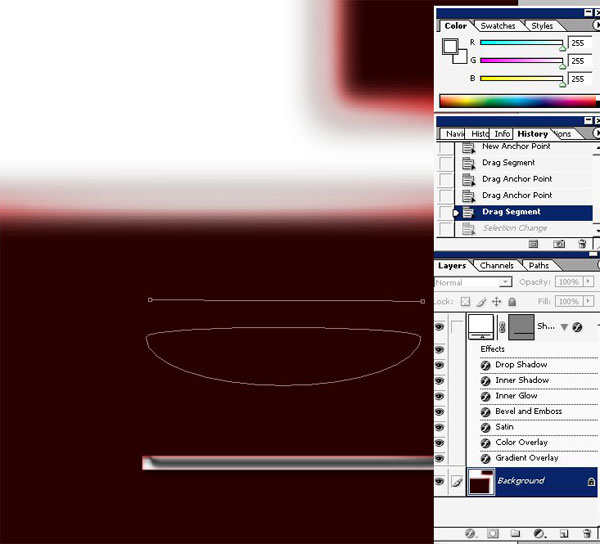
I suggest you to use path tools.
When the form is ready select the path (alt click in path menu).
Copy the layer (via copy) from background ? now we have a separate layer.
We will use some layer styles on it.


Result:
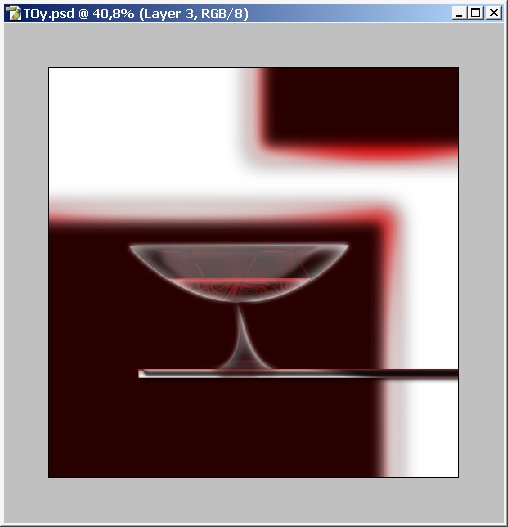
The other object witch will make the glass took like one:
Make layer via copy commend ? (from background and use layer styles).


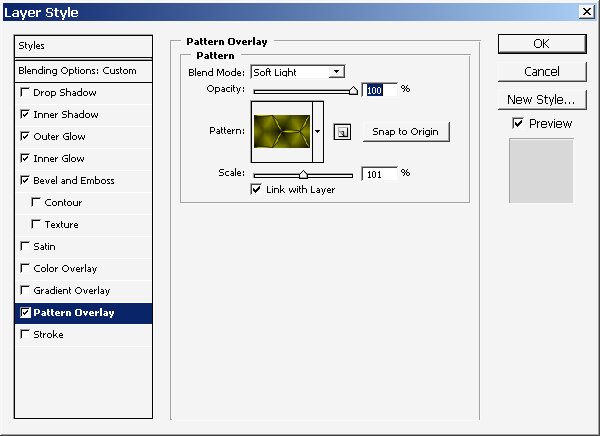
Result:
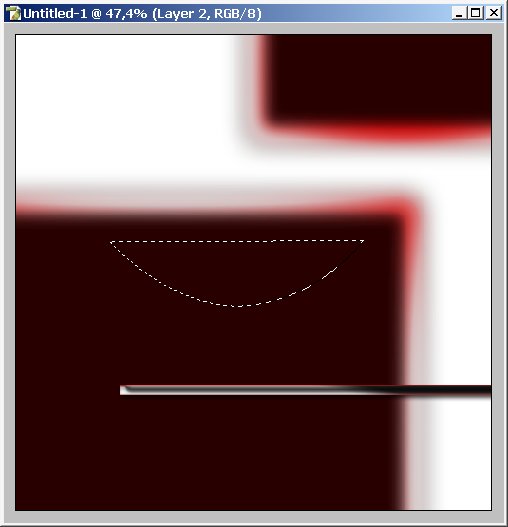
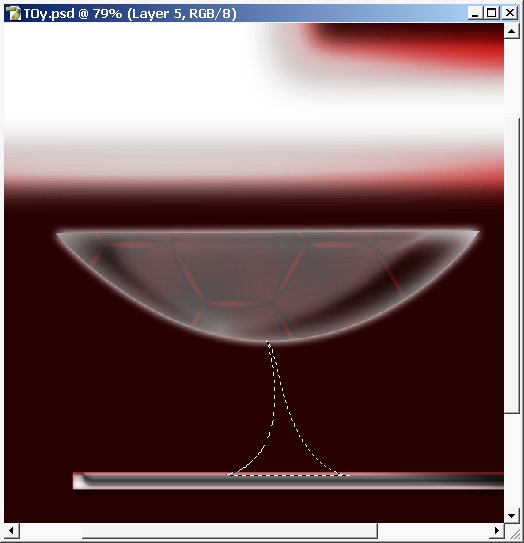
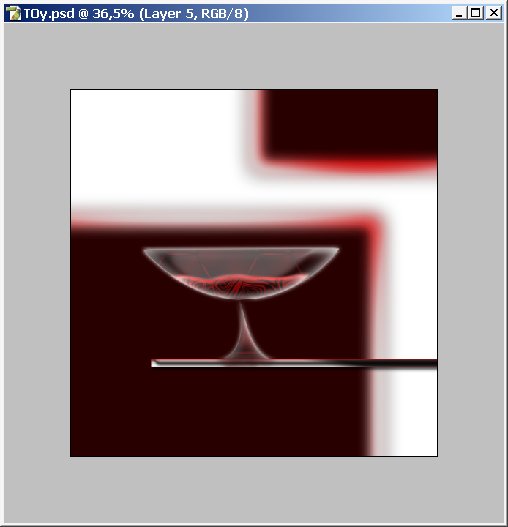
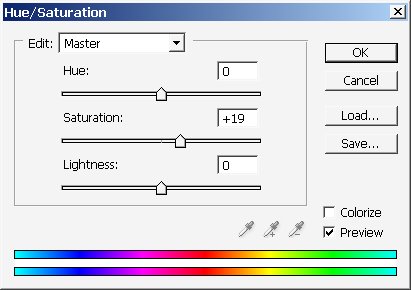
Now let’s make liquid of some kind.
So make this kind of selection you can reach it by transforming the selection of the original Glass layer.
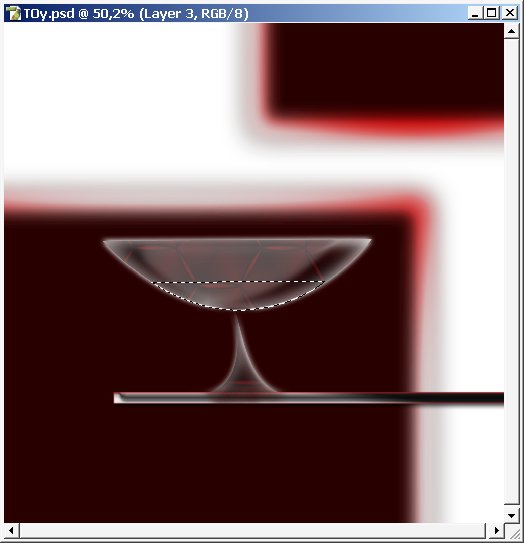
Via copy it from background too – set the proper position in the layer box ? (you can play here).
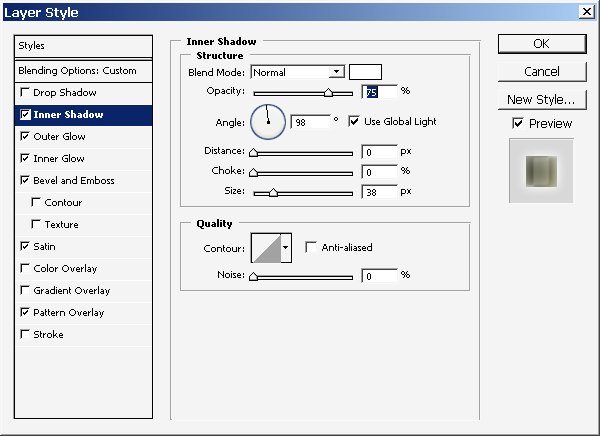
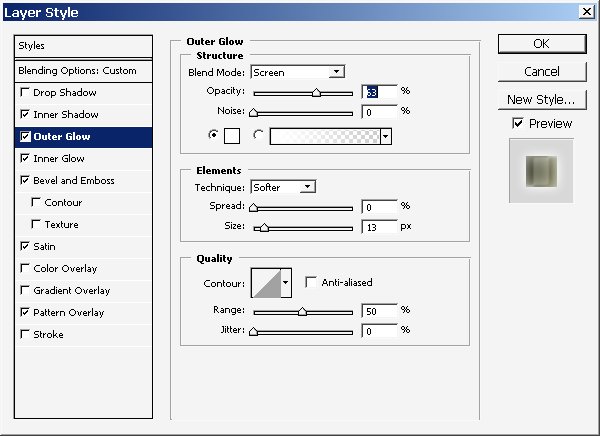
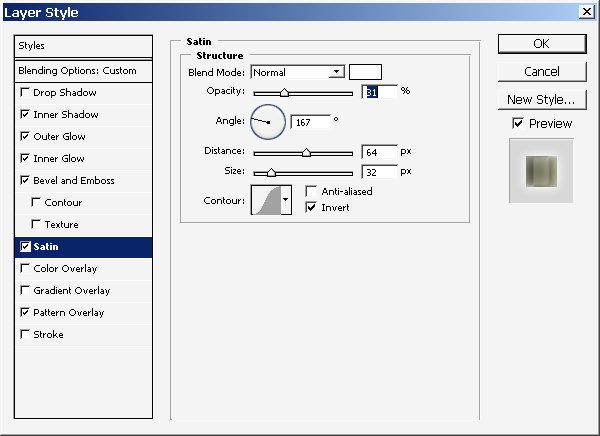
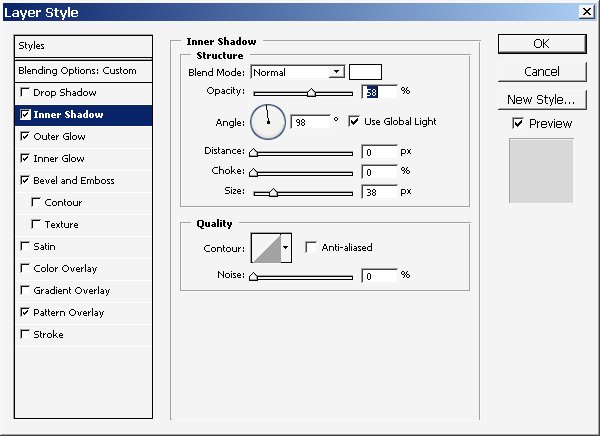
I used some layer styles here.
And we get this:
Now a little bit of Smudge Tool on the water layer.
And there we have it:
Add some text with these options:
Final touch:

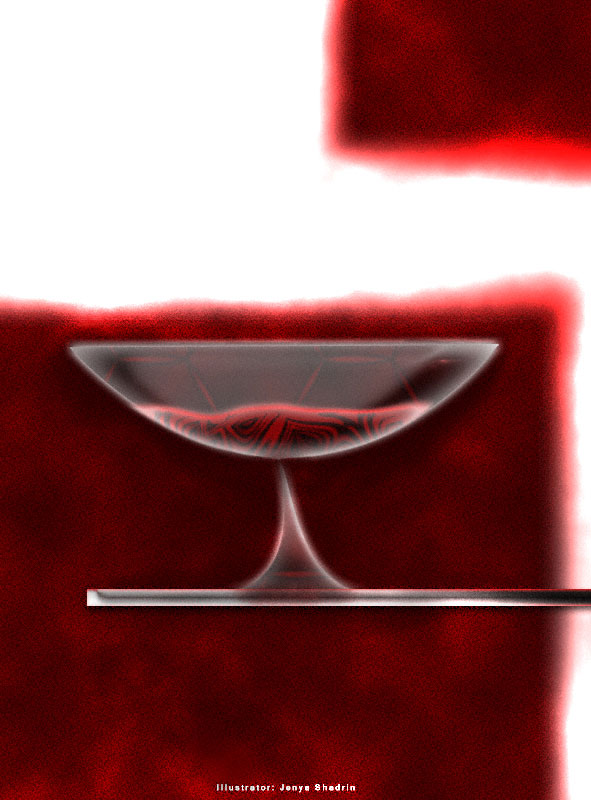
+ View full size image
Enjoy it and Share it with your friends!!!
Comments