
Stained Glass effect with Photoshop's part 1
Open your favorite image.

Duplicate layer and call the duplicate Layer 2. Set its blending mode to “Hard Light.”
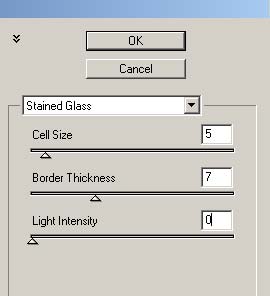
Select Layer 1 and apply Stained Glass filter (Filter > Texture > Stained Glass). Here are the settings:
Select Layer 2 again in the layers palette, and then choose Layer > Layer Style > Blending Options. Adjust the way in which the two layers blend together so that the image doesn’t look so harsh. Essentially, I want to keep the detail on the original image but also allow the glass segments to show through. Now, the way I’m going to do this is to adjust the “Blend If” parameter for the current layer. Holding down the Option key (Mac) or Alt key (Windows), click on the right handle on the slider labeled “This Layer,” and drag it so that the handle splits apart and you get a reading of “35/255”.

This doesn’t really bring back all that much detail yet, but don’t worry. I’ve read ahead in this tutorial, so I’m pretty sure it will work out right in the end.
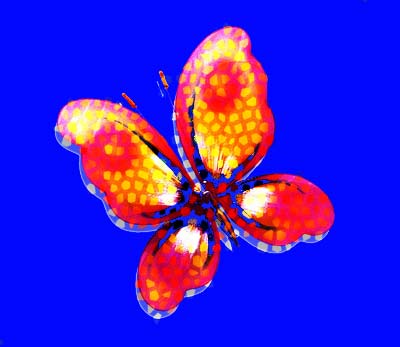
And that’s the base image we’ll be using for the stained glass effect. We’ll add the light rays in now, which will not only create the light ray effect, but will also bring back some of the detail and brightness into the image.

Select Layer 1 in the Layers palette and duplicate it. I’ll rename the duplicate layer “Light Rays 1,” and I’ll drag it up to the top of the stacking order in the Layers palette. Switch blending mode to “Linear Dodge
Apply Radial Blur (Filter > Blur > Radial Blur). Here are the settings:
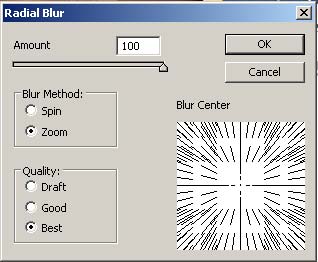
Applying the filter over and over until the spokes of light get to the length you want. I’ll apply mine 10 times to get this result.

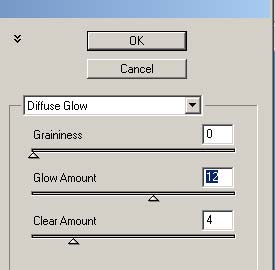
Now give the light rays a smoother, more photographic appearance. So apply three more filters to this layer: Diffuse Glow, Lens Blur (available only in CS) and Unsharp Mask. Here are the settings I’m using.
Diffuse Glow (Filter > Distort > Diffuse Glow)
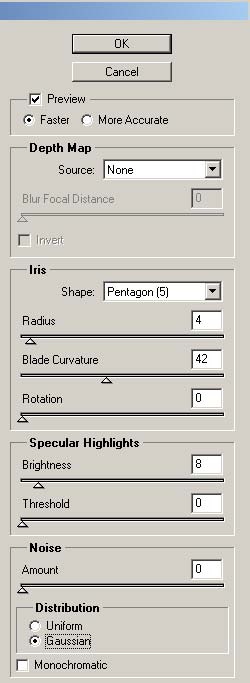
Lens Blur (Filter > Blur > Lens Blur)
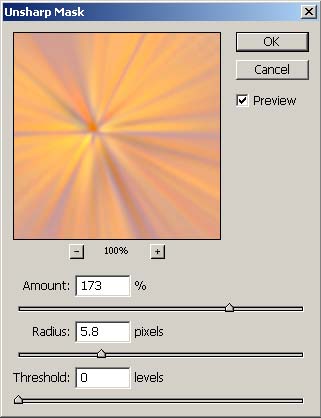
Unsharp Mask (Filter > Sharpen > Unsharp Mask)
And here’s the result.

Obviously that’s a bit much, but we’ll be able to fine-tune the appearance later.
Comments