
Soccer goals design
June 26, 2008 | 0 comments
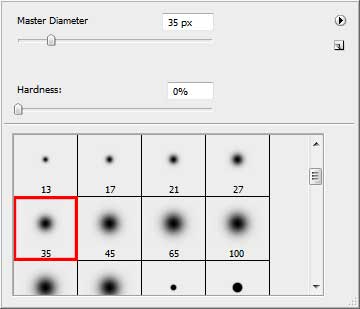
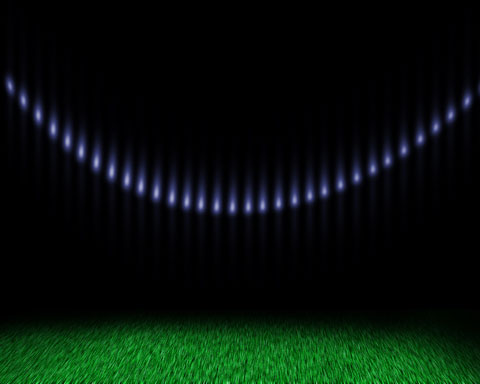
Next we need to represent a new layer, select the Brush Tool (B) of white color and represent several dots, as you may see below:

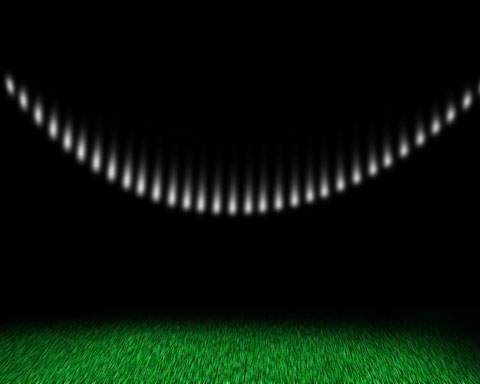
Using the Free Transform function and Warp one, we need to make the picture look exactly like below:


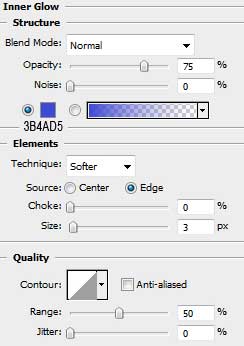
Select the next option Blending Options>Inner Glow on the same layer (making a mouse click on the layer we work with on the layers’ palette).
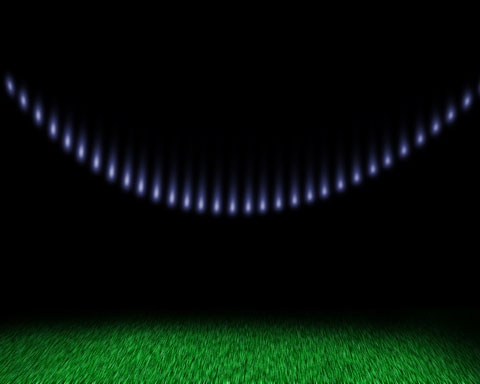
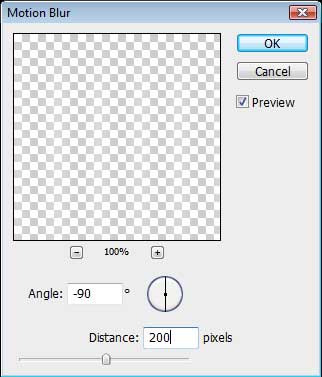
Make a copy of this layer, choosing for it the next adjustments: Filter>Blur>Motion Blur
Next we shall apply the adjustments of dark – blue illumination Blending Options, as we did earlier.
Next we need to find in Internet the image of a soccer player.
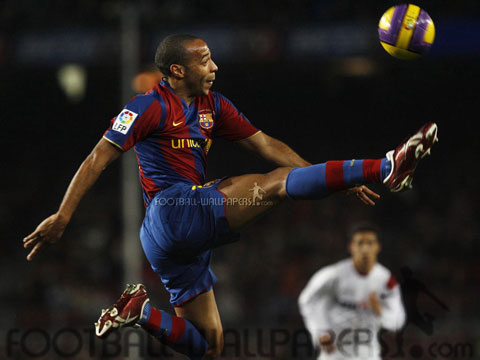
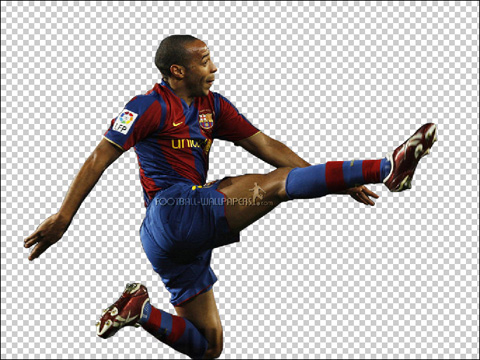
Cut out his image, applying the Eraser Tool (E).
Comments