
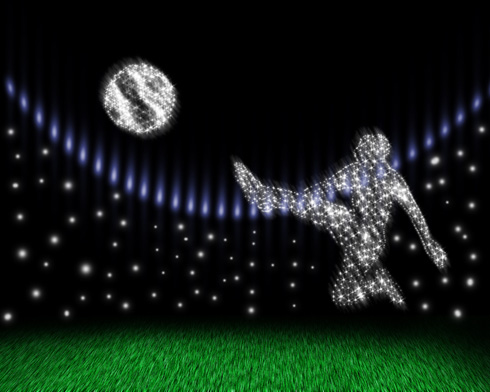
Soccer goals design
Select the Ellipse Tool (U) to represent a circle of black color.

Create a new layer again and represent several sparks as we did earlier with the player, but this time we need to represent the same way the ball.

Make a copy of the layer and blur it out as it is done with the player.

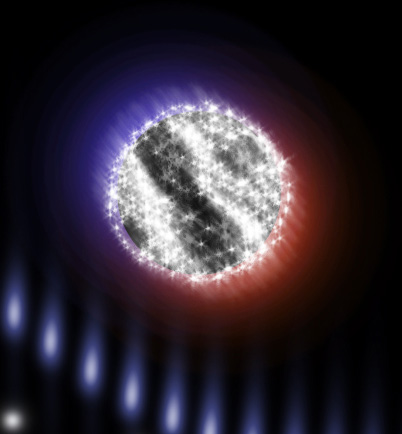
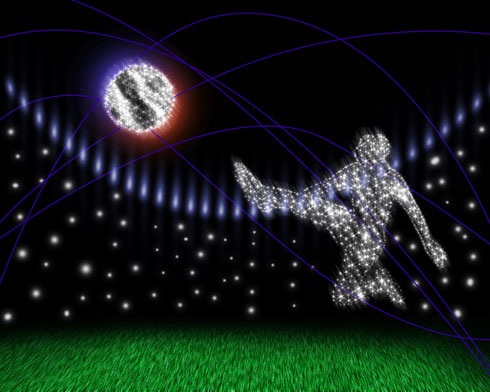
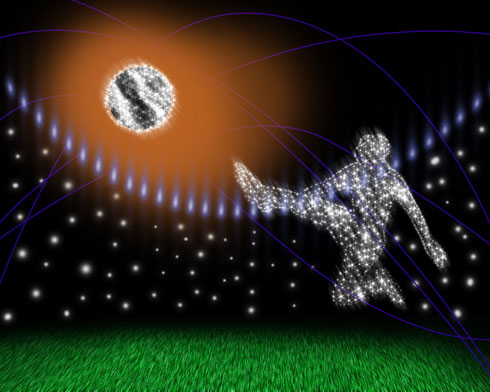
Create a new layer that needs to be placed under the ball’s layers. Choose the Brush Tool (B) for representing a patch with the color #383288. Another patch should be situated on a new layer too, having the color #BB4718

Make copies of both layers and select for the copies Blending Mode – Color Dodge.

We need to get the same result from below:
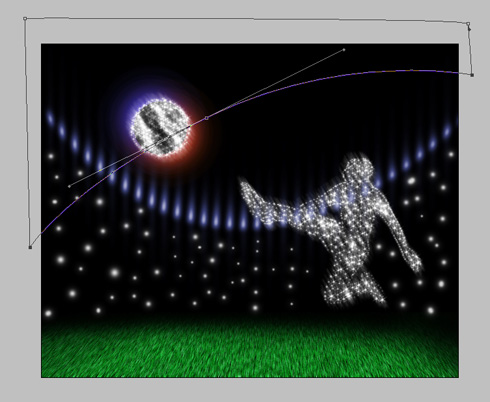
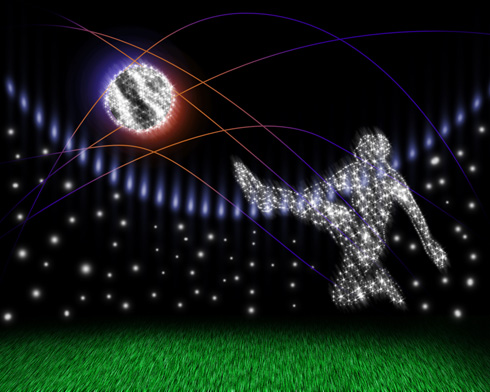
Select after that the Pen Tool (P) to represent a kind of line like this one. We need to get an effect of being visible only the line, but not the inside part. Fill 0% in this case.
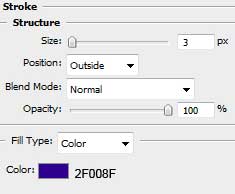
Select then Blending Options>Stroke
After that we’ll represent a new line, the same way we did earlier.
Put together the lines’ layers and use the brush on the new layer, as it is shown next image. The color in this case is #B66022
Press Alt button and make a mouse click between the lines’ layers and the patches’ ones. This way we’ll get the effect of lines’ illumination coming from the ball. The last stage includes erasing the lines’ edges with the Eraser Tool (E).
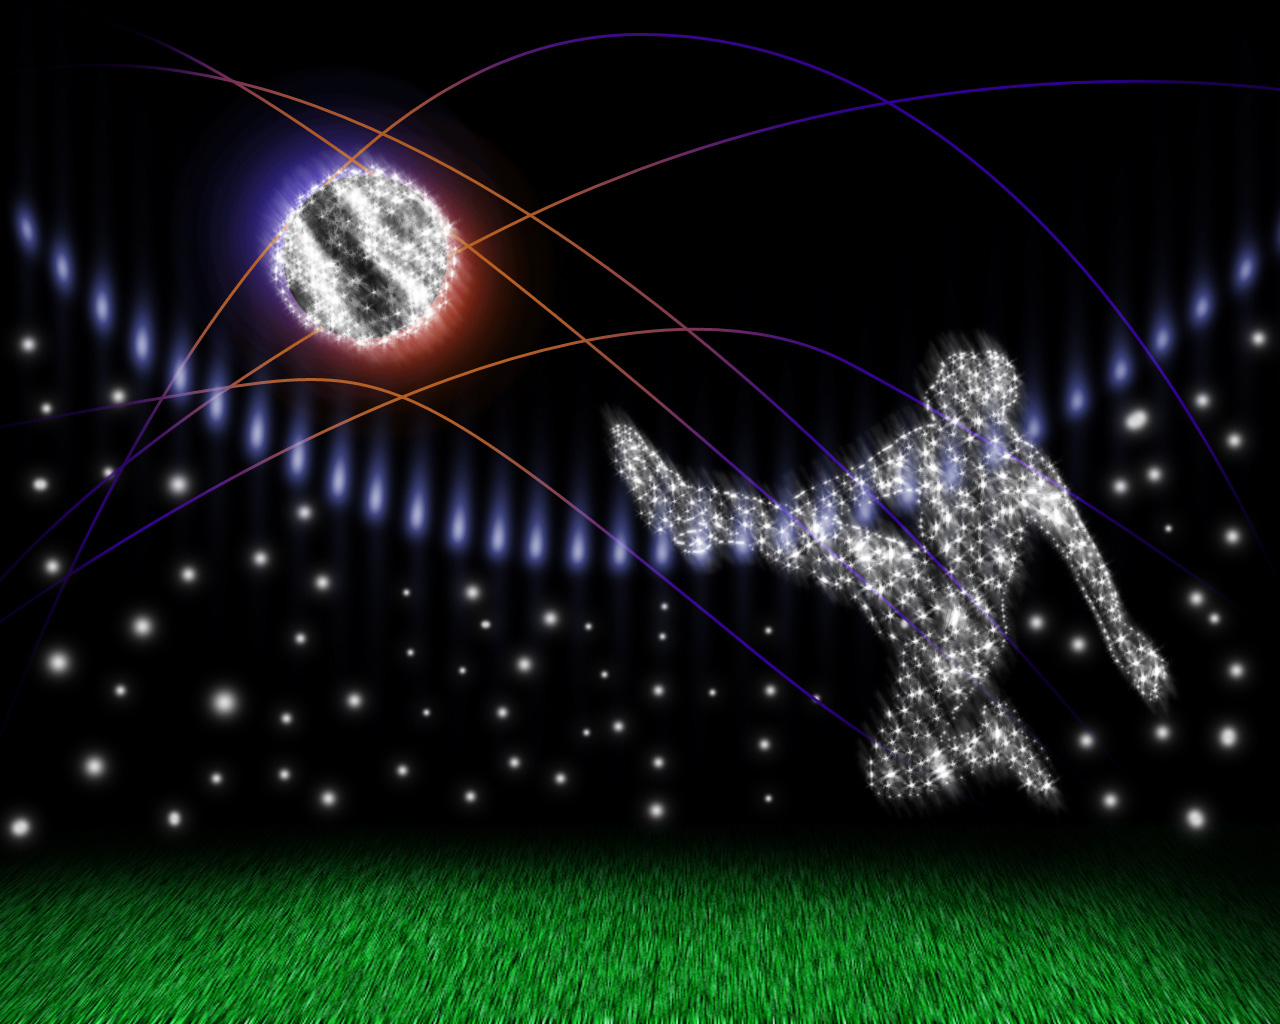
The final result!
View full size here.
Comments