
Simulated Alpha Channels – Part II
Simulated Alpha Channels
Before attempting to paint close to the flower’s edges, zoom way in so you can see exactly what you’re doing. You can either click on the image with the zoom tool, or use the zoom tool to drag a selection box around the area you want to zoom to.
If you check the Fit on Screen button on the zoom tool’s options bar, the image window will maximize for you. I prefer to leave Ignore Palettes unchecked. If it is selected, the image will spread under the palettes, and this is a nuisance.
While you are editing as you are zoomed way in, press the spacebar to access the hand tool. Click and drag on your image with the hand to move new parts of the flower’s edges into view.
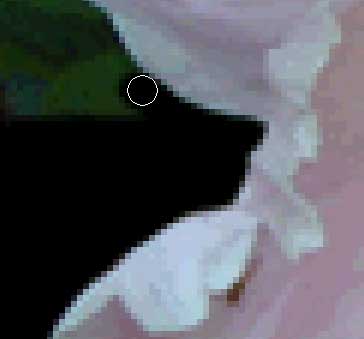
Increase or decrease your brush size as needed by pressing the bracket keys, [ ]. Be as precise as you can, zooming in even closer, if necessary. Use tiny brushes to get into little nooks and crannies. The illustration below shows the brush icon following the flower edge at large magnification.
![]()
If you paint black onto the flower by mistake, select the eraser tool in the toolbox, and remove the black from the flower.
When you feel you have painted everything outside the flower completely black, check your work by turning off the visibility of all layers except alpha channel. To turn off visibility, click on the eyeball icon at the left end of a layer. This toggles visibility off and on.
As you can see in my example below, mine was not at all complete. Keep the other layers turned off, and repaint over any areas that are not totally black.

Comments