
Sci-Fi Fantasy Art
Next step includes representing a kind of effect that will be applied only for certain layers. We have to place the layer, containing the effect upper on the layers’ palette till we’ll reach the layer demonstrated below (hide for a while the unnecessary layers).
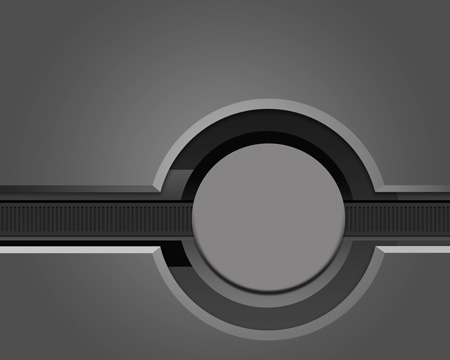
Create a new layer and paint it, applying the Paint Bucket Tool (G) with the color shown next – #666666

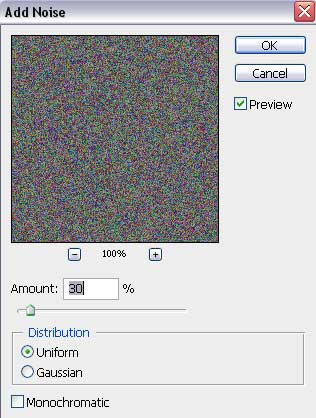
We have also to apply on this layer the next presented option – Filter>Noise>Add Noise


Next we’ll select for this layer another option – Image>Adjustments>Desaturate.
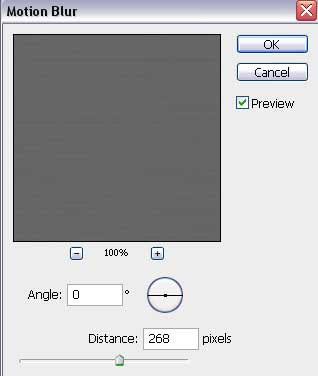
 Apply also this option for the same layer – Filter>Blur>Motion Blur

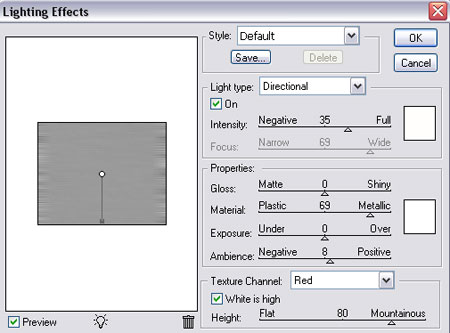
Next applied option is this one – Filter>Render>Lighting Effects

We need to choose the Free Transform option to move the lateral tops on the left side and on the right one until the lateral interferences will disappear.

Fill 30% on the layers.
Blending mode-Soft Light

Show again the earlier hidden layers, but don’t forget that they are situated on the layers’ palette, upper than the recently made layer containing the effect.

Select the Rectangle Tool (U) to draw a vertical stripe. Press on Ctrl+Alt combination of buttons to make fourteen copies of the stripe. We’ll select also the Free Transform option to change the placement and the inclining level of each copy separately.


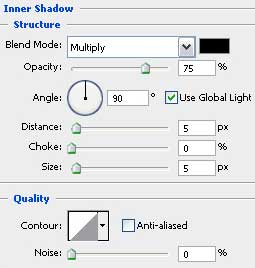
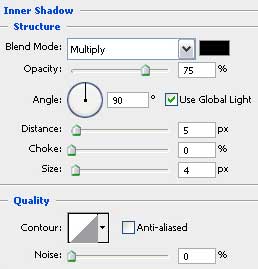
The layer’s parameters: Blending Options>Inner Shadow
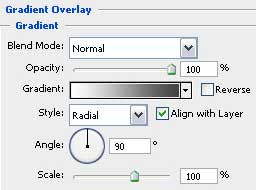
 Blending Options>Gradient Overlay

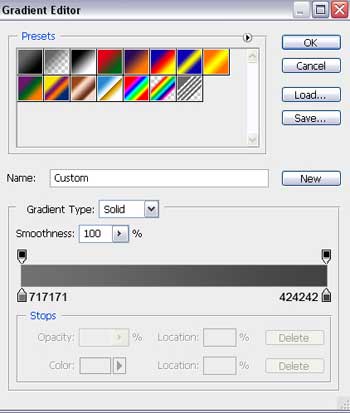
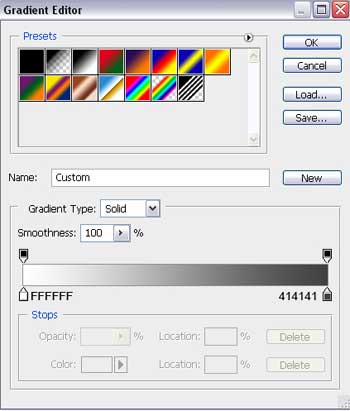
Gradient’s parameters:

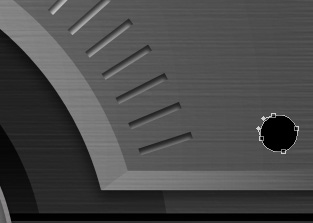
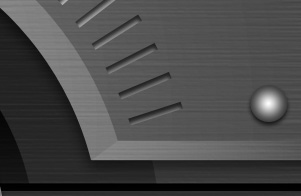
Make three copies of the last made layer and apply the Free Transform option to turn over the copies and to place them the way you may see on the next picture. The unnecessary stripes should be deleted by marking them out firstly with Ctrl+Alt combination of buttons and then Delete option.

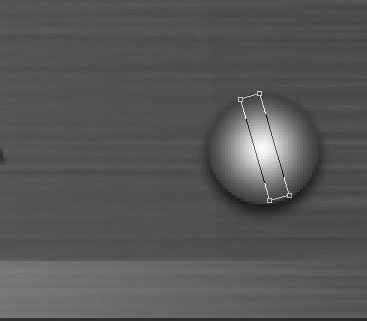
Using the Ellipse Tool (U), draw the screw’s head.
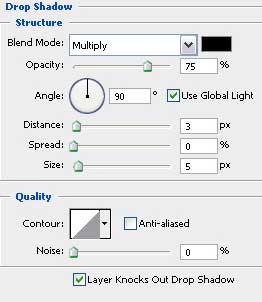
The layer’s parameters: Blending Options>Drop Shadow
Blending Options>Gradient Overlay
Gradient’s parameters:
 Make seven copies of the last made layer and choose the usual Free Transform selection to place the copies as it is indicated next step.

Next we’ll try to represent the ditch on the screw’s head, choosing the Rectangle Tool (U).
The layer’s parameters: Blending Options>Inner Shadow
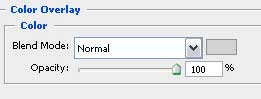
Blending Options>Color Overlay
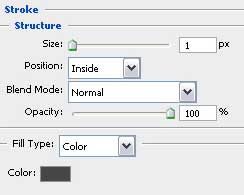
Blending Options>Stroke
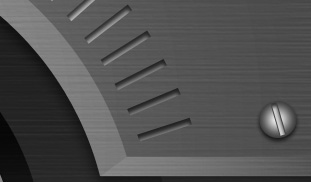

Make seven copies of the last made layer, reserved for the screw’s ditch and apply the Free Transform option to turn the copies over if necessary and place them the way it is demonstrated next picture.

The abstraction is finished!
View full size here.
Comments