
Sci-Fi Fantasy Art
Take the Ellipse Tool (U) for creating the next layer designed for the composition, this time having the color #C8C8C8.
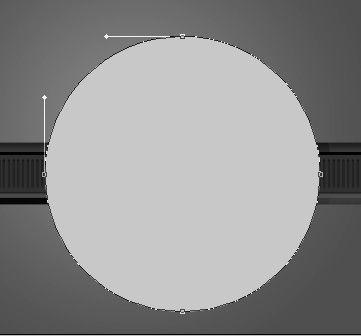
Press on the Alt button and make a mouse’s click between the grey circle’s layer and the previous one for the upper layer to lay over the lowest one.

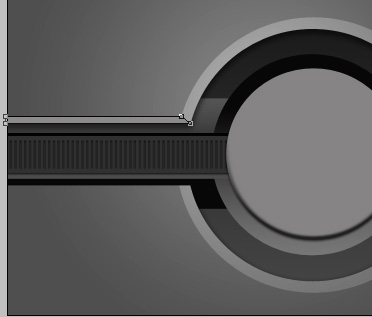
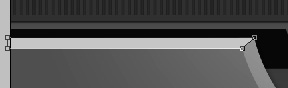
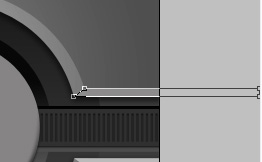
Apply next the Rectangle Tool (U) to represent a thin stripe, changing its shape by using the Convert Point Tool.

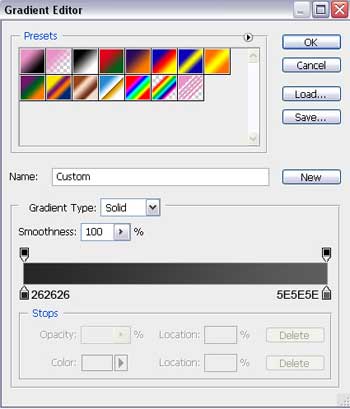
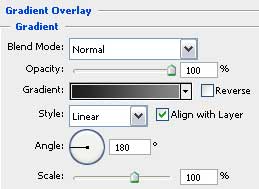
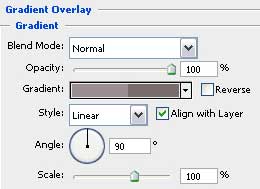
 The layer’s parameters: Blending Options>Gradient Overlay
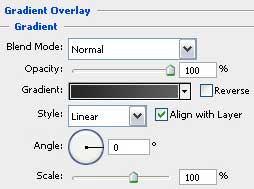
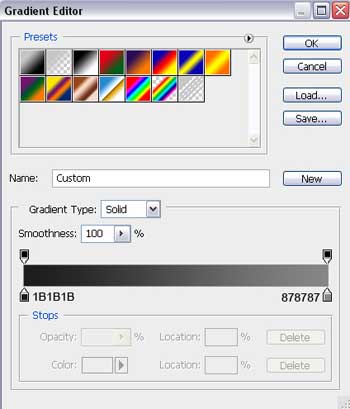
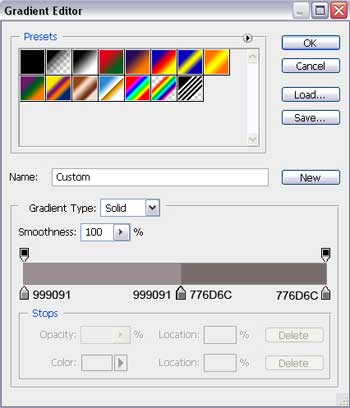
Gradient’s parameters:

Make a copy of the recently made layer and choose again the Free Transform option to turn the copy over and place it the way it is represented on the next picture. Its color should be #C6C6C6
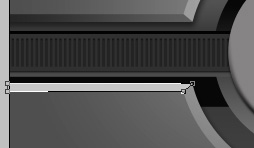
Make a copy of the last made layer and select the Free Transform option to turn around the copy and place it on the same position it is demonstrated below. The shape may be corrected with the Convert Point Tool.
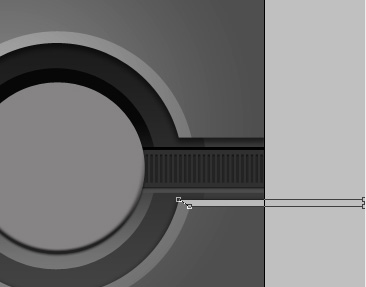
Make a copy of the last made layer and turn it over, selecting previously the Free Transform option, placing the copy the way you may see below.
The layer’s parameters: Blending Options>Gradient Overlay
Gradient’s parameters:
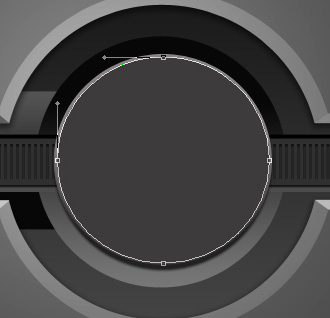
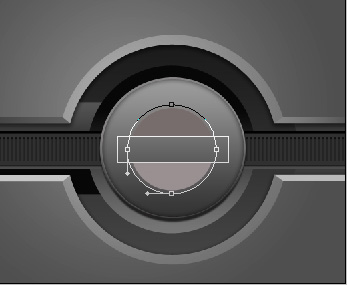
 We’ll choose this time the Ellipse Tool (U) for representing next layer reserved for our composition.
The layer’s parameters: Blending Options>Inner Glow
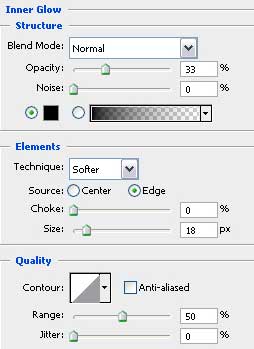
Blending Options>Gradient Overlay
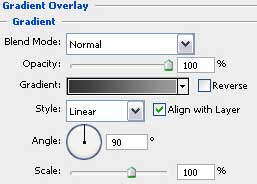
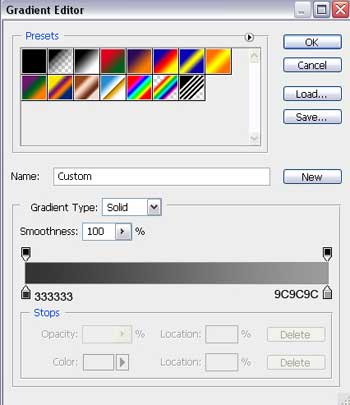
Gradient’s parameters:

Next we’ll select two tools to represent the next layer. For the beginning use the Ellipse Tool (U) to picture a circle and then press on the Alt button, using simultaneously the Rectangle Tool (U) to cut out a small stripe.
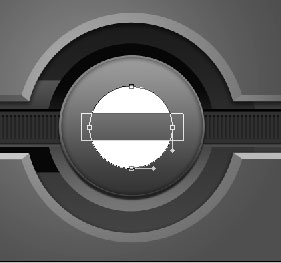
The layer’s parameters: Blending Options>Gradient Overlay
Gradient’s parameters:

Make a copy of the last made layer and choose the Free Transform option to enlarge a little the layer and change its parameter:
 The layer’s parameters: Opacity 20%

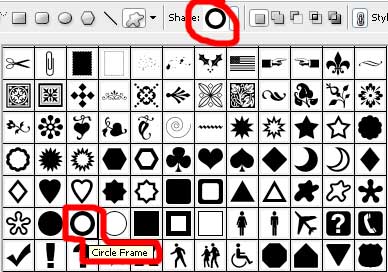
Using the Custom Shape Tool (U), we have to represent a circle. Then we’ll select the Direct Selection Tool (A) and press in the same time on the Shift button to mark out the inside tops. Next we’ll choose the Free Transform option to change the circle’s diameter. After that all we have to do is to press on the Alt button, select the Rectangle Tool (U) and to cut out small stripes.

The layer’s parameters: Blending Options>Inner Shadow
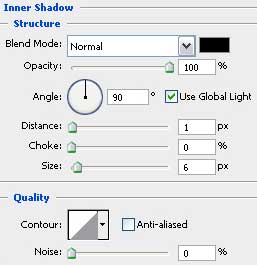
Blending Options>Gradient Overlay
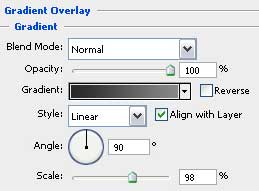
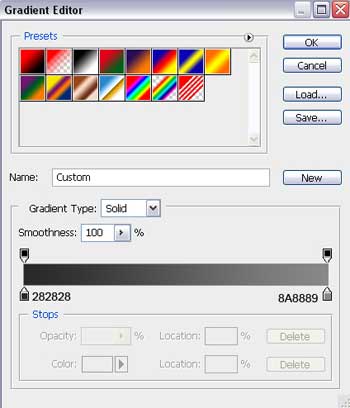
Gradient’s parameters:

Make a copy of the last made layer and choose the Free Transform option to turn over the copy. Make as click on Add a Mask option, choose the Gradient Tool (G) to dark out the copy from its left side to the right one.

The layer’s parameters: Fill 0% on the layers.

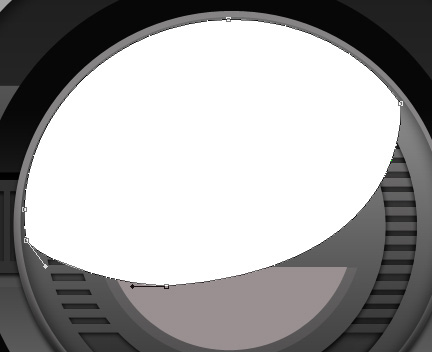
Choose now the Ellipse Tool (U) to represent a small flare of white color. Its shape should be corrected with the usual instrument applied in these cases – Convert Point Tool.
Comments