
Saturation Blend Mode in Photoshop
We’re in the home stretch of the Photoshop Blending Modes series (good heavens, that means I have to come up with more topics to write about!), and today’s blog looks at the Saturation Blend Mode.
Recall how the Hue blending mode kept everything the same on the base layers, but applied the hue (color) from the blend layer. Saturation mode is similar, where everything stays the same on the base layer, except the saturation from the blend layer is applied.
Try this example on for size: Start with my cherry blossom picture —

Add this blend layer, which has a highly-saturated blue and a not-very-saturated blue:


Setting the blend layer to Saturation mode produces this effect:
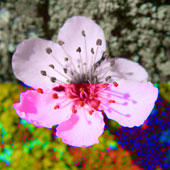
As expected, the top half (the light, not-very-saturated blue) results in a less-saturated flower image, while the bottom half is very saturated.
Now for a practical application. I’ll start with my standard rose image and then add a radial gradient to produce this blend layer, using a not-very-saturated color:
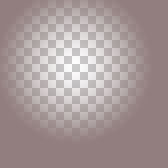
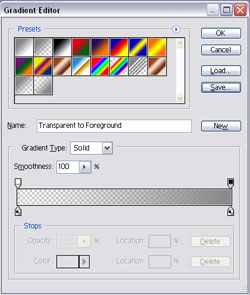
(To do this, I had to open the Gradient Editor by clicking on the gradient preview in the top toolbar, and make a new gradient from the foreground-to-transparent gradient, then flip the sliders that defined the gradients to make a transparent-to-foreground gradient.)
Combining the radial gradient blend layer (set to Saturation mode) results in this image:
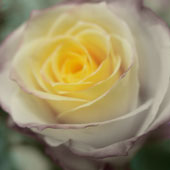
It kind of reminds me of a “breathing life into something” kind of image, maybe representing some kind of “inner life” or “inner glow.” I’m sure you can find your own use for this technique…
Comments