Rusty Screw
1. First off, make a new Document. I’m going to make mine 200×200 so you can see the screw
2. Using the elliptical marquee tool, make a selection, and fill it with black.

3. Use the following Layer styles on the Layer.
Drop Shadow:
Distance: 0
Spread: 0
Size: 9
Inner Shadow:
Distance: 7
Choke: 0
Size: 24
Bevel & Emboss:
Stlye: Inner Bevel
Technique: Smooth
Depth: 100%
Direction: Up
Size: 60
Soften: 16
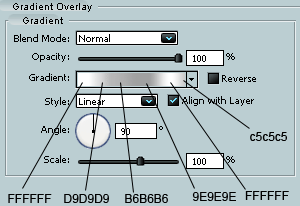
Gradient Overlay:
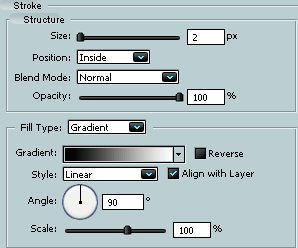
Stroke:
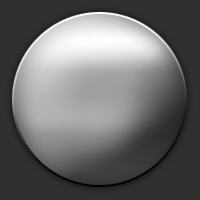
Should now look something like this:
4. Now load those brushes into photoshop, that you downloaded earlier.
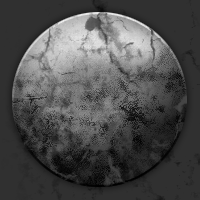
5. Create a new layer (Layer > New Layer). “Ctrl+Click” the layer with the screw on it (This should make a selection around the screw) Now on the new layer, start using the grunge brushes that you downloaded. It’s smart to use something dark for it. I used Black.
Be Sure to switch off between brushes, one of the packs has some cracked brushes in it, those work well. Just brush until you have something that looks kinda rusty. Heres mine:
6. Now Using the line tool (with whatever size that fits your screw best, I’m using 5 pixel radius) Draw one line, from the top right corner, to the bottom left corner (as shown in the picture)
I used color: #484848
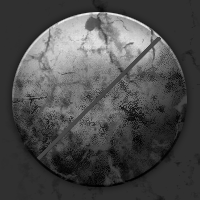
7. Now right next to it, draw another line, except this time use Black.
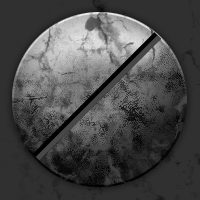
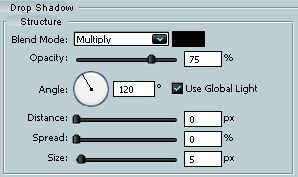
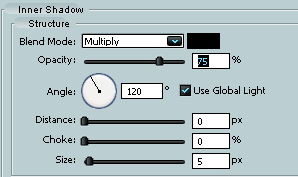
8. Now its time for the Layer Styles. So bring up the Layer Styles menu, and use the following settings:
Drop Shadow:
Inner Shadow:
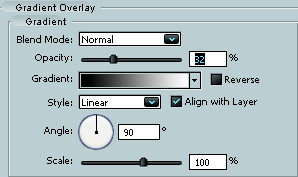
Gradient Overlay:
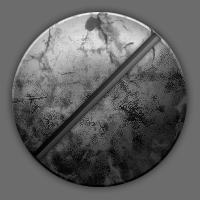
Your Final Screw Should look something like this:


Comments