
Rodeo Mark
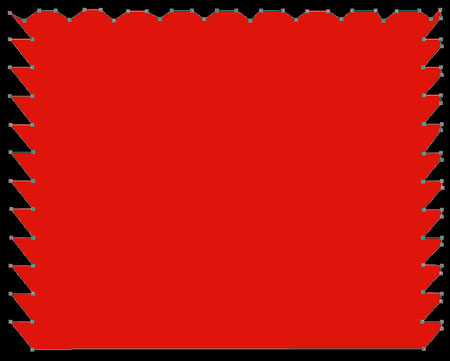
This task we’ll learn how to create a Rodeo Mark with a bull with the instrument PenTool. Create a new file with 300x300px and 72 dpi. Paint the layer in black (instrument PaintBucketTool). Then make a red background on the previous layer, like it is demonstrated in the picture.
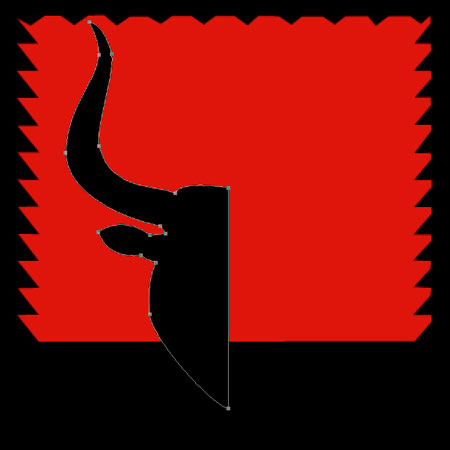
Now represent a half of the bull’s head. This way it will be easier to represent the head symmetrically.
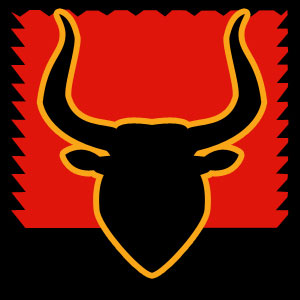
Copy it and using Free Transform option transform it horizontally. Now copy both halves and mark them in the layers’ window. Summon the menu with the right click on the mouse on the marked layers. Choose Merge layers in the menu. The layers will merge and now using Blending Options draw a yellow contour that is shown in the picture.

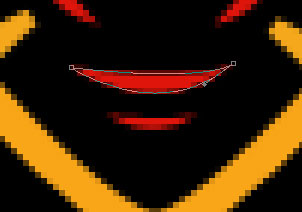
Represent half of the mug, like it is done in the picture.

Copy it also and transform this layer.
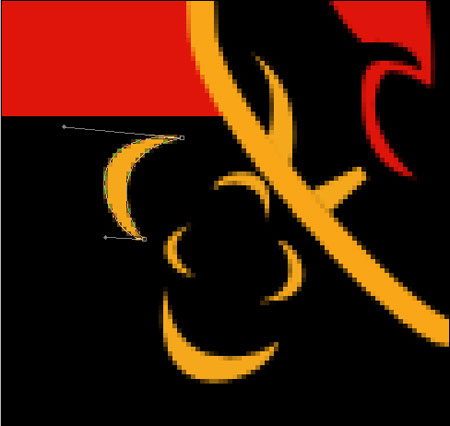
Now get to represent the exhalation from the bull’s nostrils. It’s enough to make a single steam’s element and the rest to be copied and transformed.
Copy and place the layers from the other side.
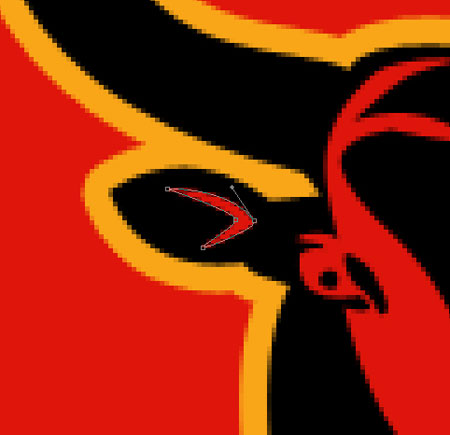
Draw the ears now.
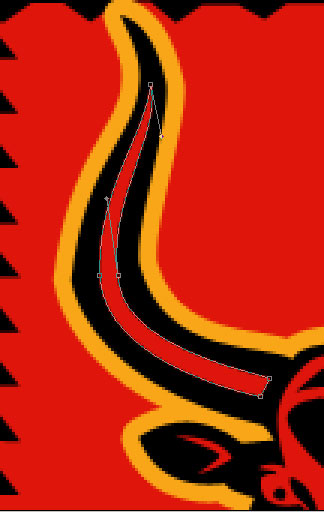
Then the horns.
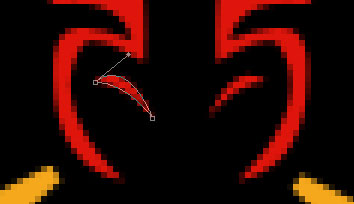
The muzzle is possible to make the same way as we did the steam form the nostrils.
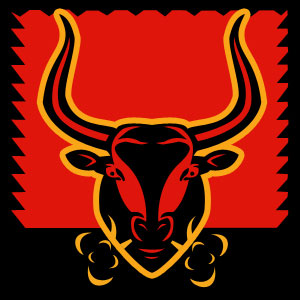
The final result!
Comments