
Rock Texture
In this tutorial we will be creating a rock texture. This can be used for many things including stone walkways, grave stones, and even textures for 3d programs. It’s a fairly easy effect to master and it produces very cool results. Let’s get started.
First open up a new 500x500px canvas and hit D to change your colors back to black and white.
Now fill your canvas with all black and go to Filter>Render>Difference Clouds. Hit Ctrl+f two more times to get an effect similar to mine.
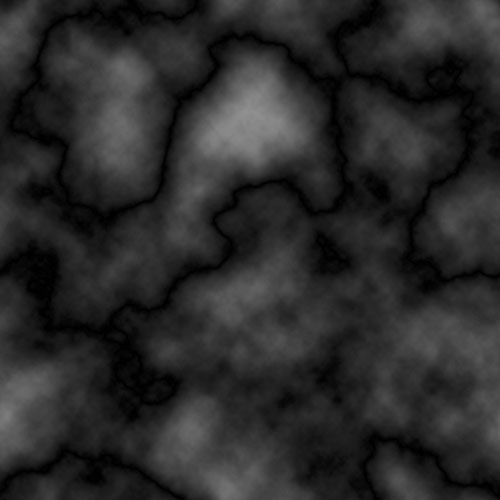
Now switch to your Channels tab and create a new channel.

Fill this new channel with all black and again go to Filter>render>Difference Clouds. Repeat this two more times as before.
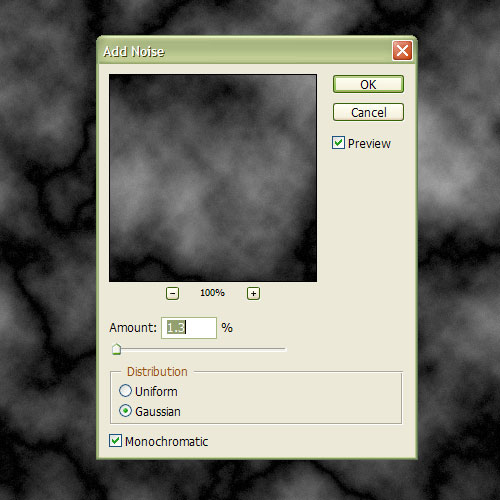
Now we’re going to add some noise to give the pattern a bit more of a rocky look. Go to Filter>Noise>Add Noise and use the settings shown in my dialog.
Get back to your background layer by hitting the Layers tab, and clicking on the background layer.
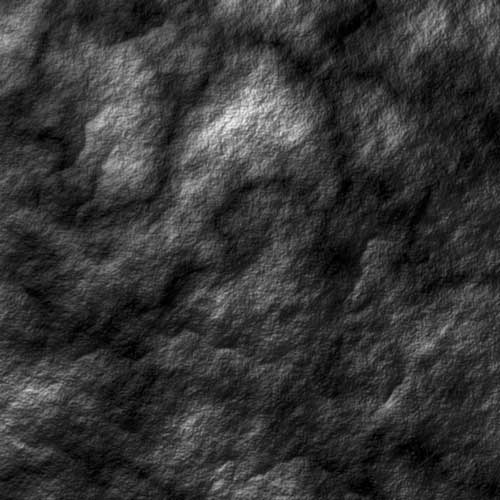
This is where we make the Rock texture come alive. Go to Filter>Render>Lighting Effects and use the settings shown in my dialog. Make sure you switch your “Texture Channel” to Alpha 1, the channel we just created.
After hitting OK, you should see something similar to the effect I got. You can stop now if you like the grayish color, but for this tutorial, we’re going to add a brownish tint.
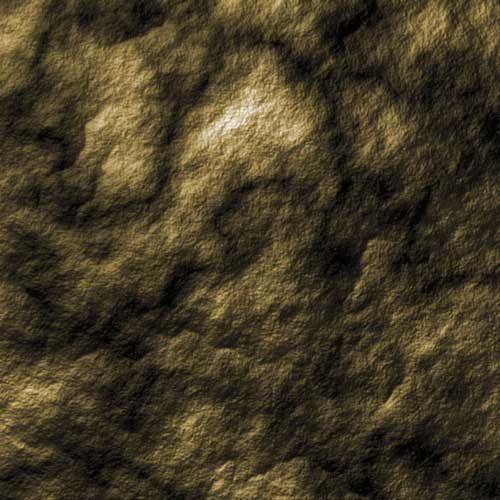
With your background layer selected, hit Ctrl+u to open up the Hue/Saturation dialog and use the settings shown in the picture.
Now your rock has a nice brownish color and looks pretty real. Have fun thinking of ways to use this technique.
Comments