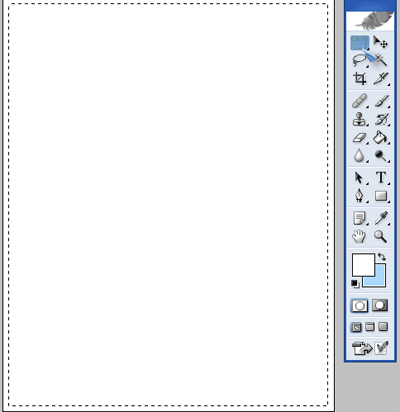
Create a new file by pressing CTRL + N, I used 400 by 500, than select the marquee tool M and make a square selection.
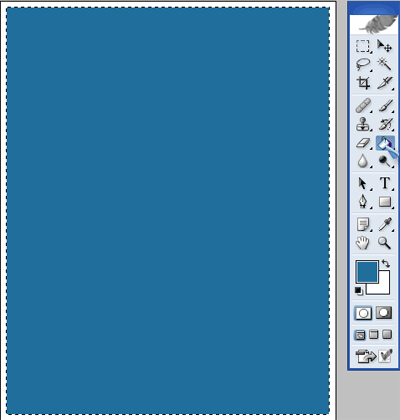
Create a new layer and fill it with any color you like, I used #2573A0.
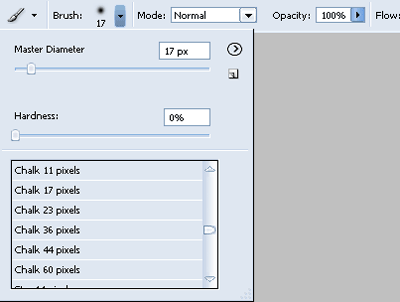
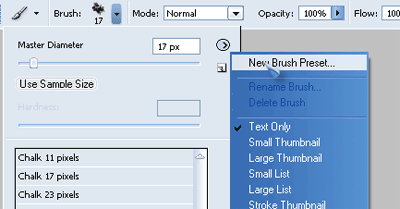
Select the brush tool by pressing B, than go up to the menu in the upper left and select the Chalk 17 pixels brush.
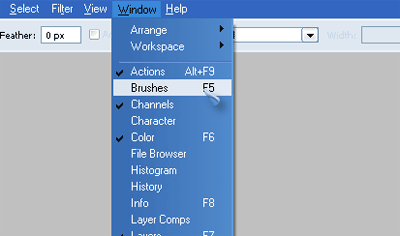
Go back to default colors by pressing D, than go to Windows -> Brushes to bring up the brush menu.
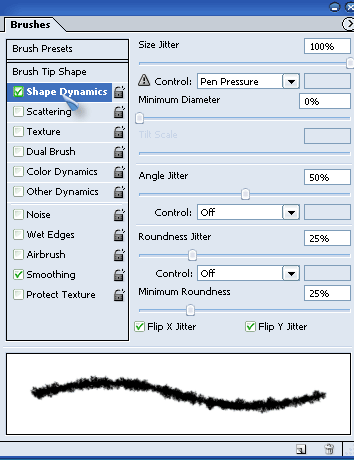
Click Shape Dynamics and use the following settings – Size Jitter: 100%, Minimum Diameter: 0%, Angle Jitter: 50%, Roundness Jitter: 25%, Minimum Roundness: 25%, Flip X Jitter: Yes, and Flip Y Jitter: Yes..
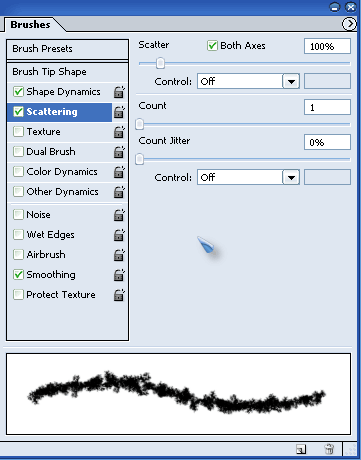
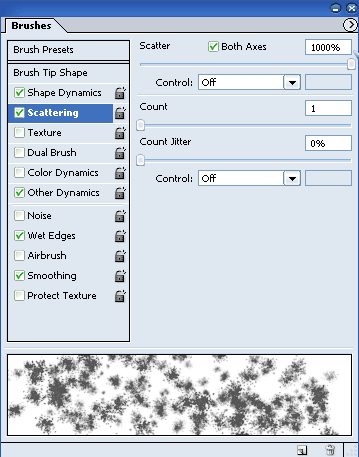
Than click Scattering and use the following settings – Scatter: 100%, Both Axes: Yes, Count: 1, and Count Jitter: 0%. .
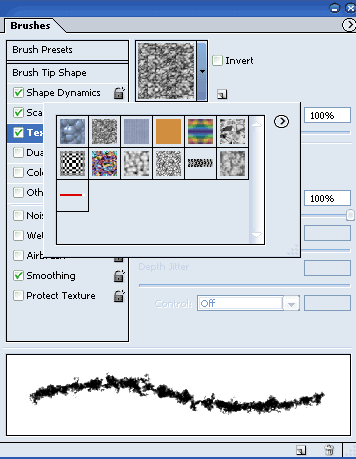
After that step,click Texture and click on the texure preview window, select he texture that is second from the left.
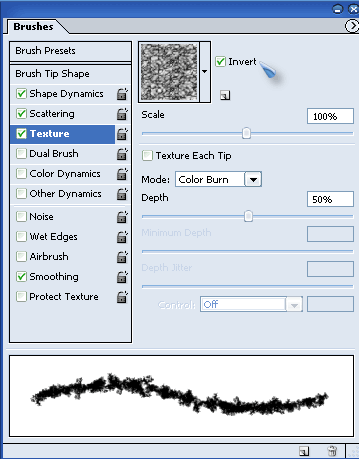
While your still at Textures, use the following settings – Invert, Scale: 100%, Mode: Color Burn, and Depth: 50%.
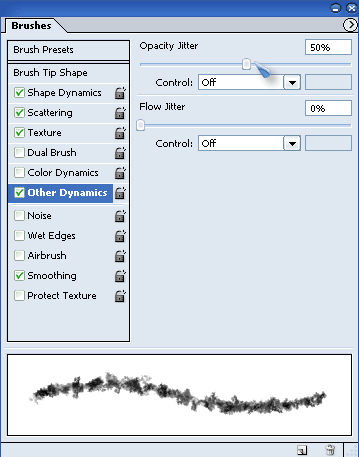
Go right below Textures and click Other Dynamics than use the following settings – Opacity Jitter: 50% and Flow Jitter: 0%.
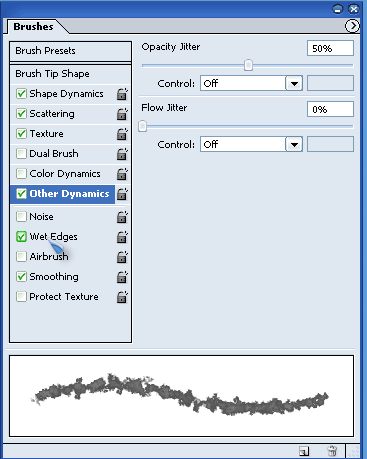
Make sure that Wet Edges and Smoothing are checked.
Once that’s done, start lightly brushing around the edges using the white color.
You don’t want your hard work to go to waste so go back up to the menu in the upper left with the brush still selected and go into brush presets,click on the > arrow than select New Brush Pattern and save it as any name you desire.
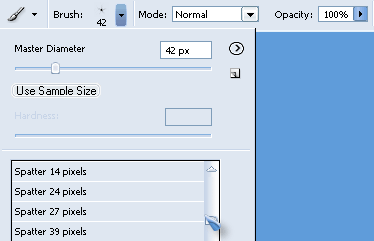
Next, go back up to the brush menu and choose the Splatter 24 pixels brush
Bring up the brush menu again by going to Window -> Brushes, click all the same boxes that were checked off for the previous brush, every setting should still be there. Now the only thing that you need to change is by going into Scattering than changing the Scatter to 1000%. Than just go back to your image and start brushing it by clicking once in random parts to give it more of a torn look.
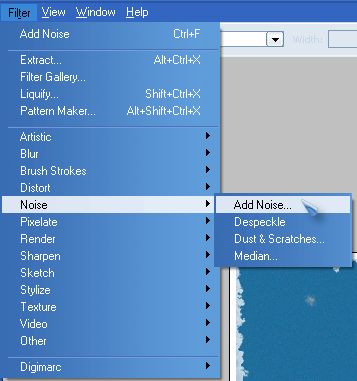
We are just about done, go to Filter -> Noise -> Add Noise, and adjust the settings until you get a speckled feel that you are satisfied with
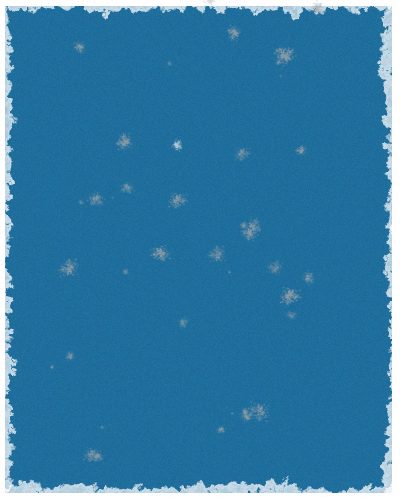
Here is the final result.
Comments
Related Posts
No related posts.
Newsletter
Subscribe to our free newsletter to keep up with our latest tutorials


Comments