
Retro Lighting – Ford Mustang
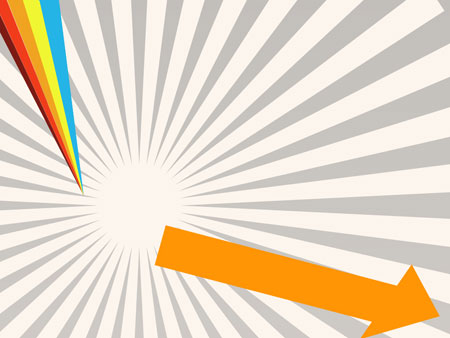
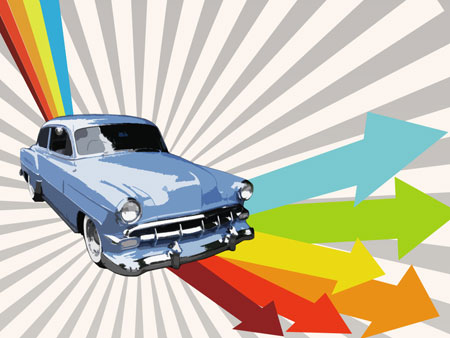
Make five copies of the last made layer and apply for each copy the Free Transform option and the Convert Point Tool, placing the copied arrows as it is presented next picture. The copies have these colors: red – #FD2B06, dark-red – #981819, green one – #ACE208, yellow – #FEEC00 and blue – light – #71CFD7

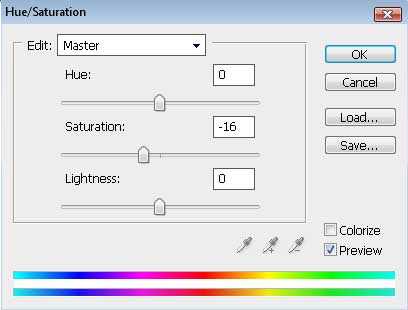
Create a new layer now and click on the bottom of the layers’ palette on the button entitled Create new fill or adjustment layer and select the Hue/Saturation option.


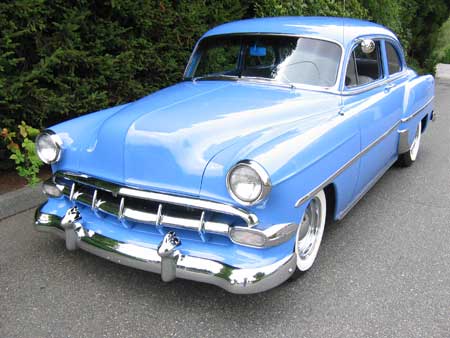
Find in Internet now a picture of a “Mustang” auto, one that would look as this one from below:
Cut out the picture and turn it around on 180 degrees with the Free Transform option and place it the way it is shown below:
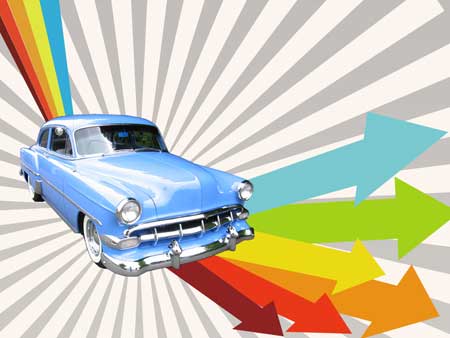
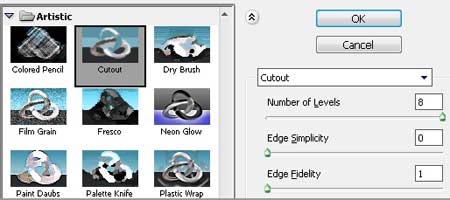
Mark out the car’s layer, applying to it the next selection: Filter>Filter Gallery>Artistic>Cutout
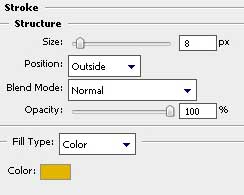
We need to apply for this layer also Blending Options>Stroke
Comments