Professional Retouching

>> Step 1
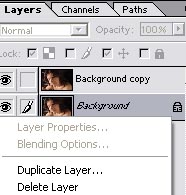
Open the Monica portrait image and duplicate the layer ( layer/duplicate layer ) or left click in background layer
>> Step 2
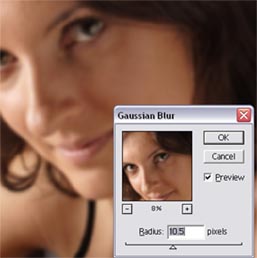
Select the duplicated layer (background copy ) and add “Gaussian Blur” (filter / blur / Gaussian blur ) It hast to look rather blurry , don’t worry in the next step the image will be back to normal , and if you don’t feel satisfied in the next steps , you can add more blur at any moment of the process
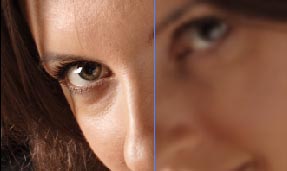
Example of how blur it gets compared to the original
>> Step 3
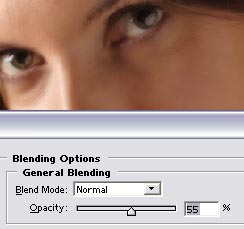
Set the layer’s opacity value to 50%. (layers / layer style / blending options ) or double click the layer in the layer palette
The opacity value can go from 30% to 60% it will determine how soften the pic will be

>> Step 4
So far we have achieved to get the softness of the skin however , all the details such as eyes lips and nose look bury so we have to :
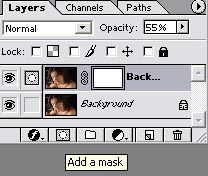
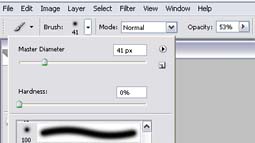
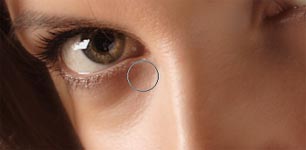
Add a mask in the layer we have been working into , and use the soft brush tool with at least 50 % of opacity and brush the details we want to sharpen such as eyes , lips , hair , nose
>> Step 5
The last step but not least is , is to modify the curves , when we add some light to the texture layer the results are magic so lets end this .
Go to (image / adjust / Curves )
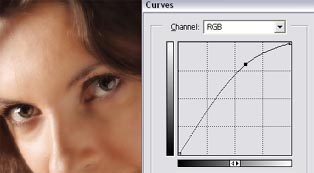

I add some light to the upper face I want to keep the low light feeling , but you can add as much as necessary
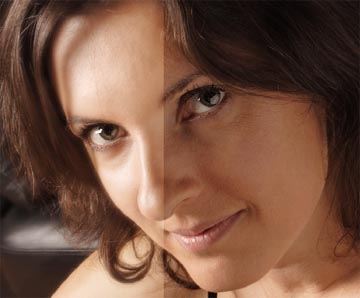
Before & After


Comments