
Professional Modern Web Layout
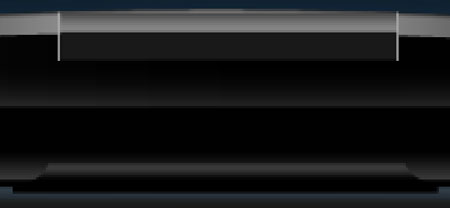
Using the Line Tool (U) on the right and left sides, try to make two vertical lines along the edges of the recently created stripe, colored in #8D8D8D
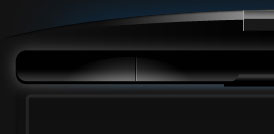
Choose the Pencil Tool (B) to draw a double vertical line on the buttons’ panel, upper than the left flare.
The layer’s parameters:
Blending mode-Soft Light

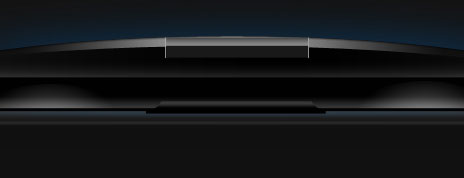
Make a copy of the new made layer and select the Free Transform option to place the flare upper than the flare situated on the right side.

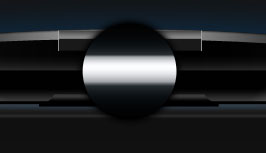
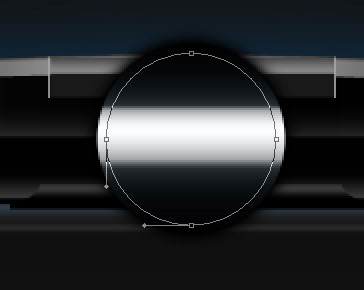
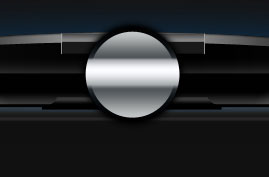
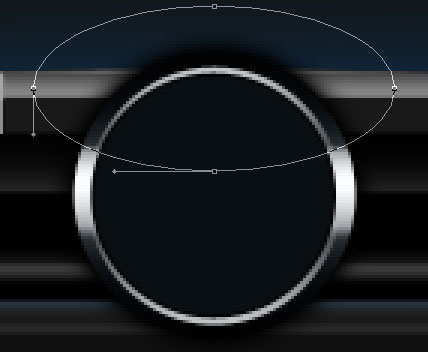
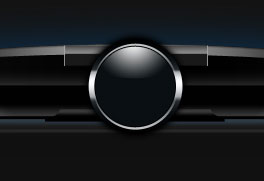
Using the Ellipse Tool (U), draw now the primary layer, reserved for the site’s logotype.
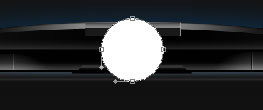
The layer’s parameters:
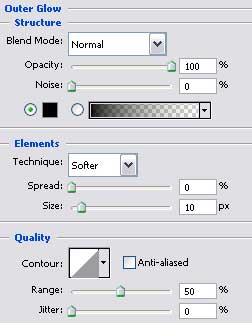
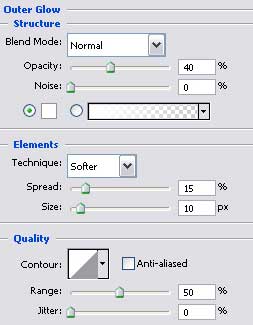
Blending Options>Outer Glow
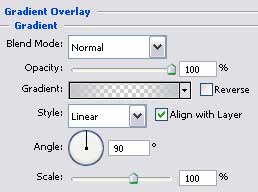
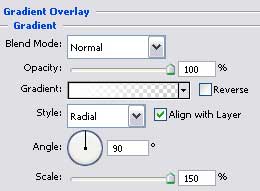
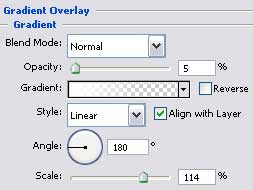
Blending Options>Gradient Overlay
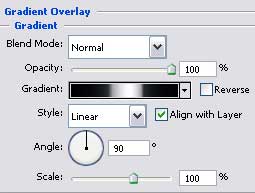
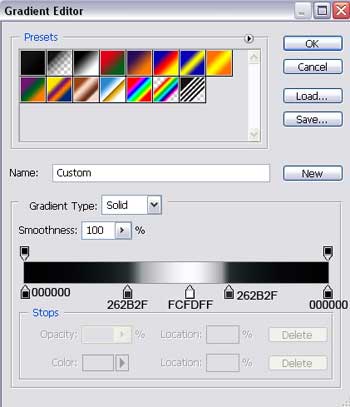
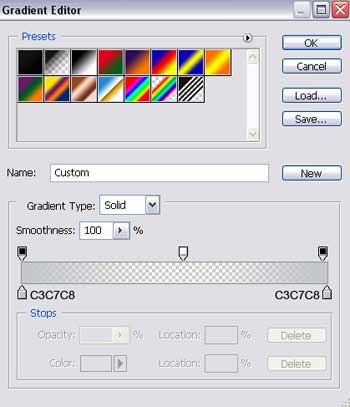
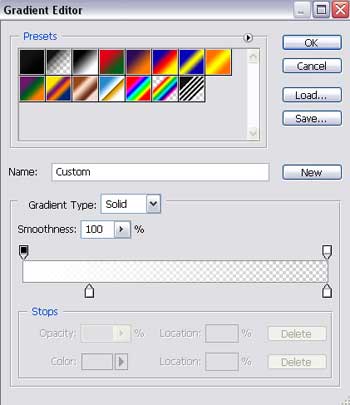
Gradient’s parameters:
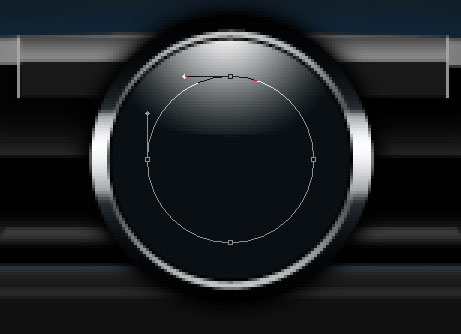
Using the previous instrument, represent the next layer reserved for the logotype.
The layer’s parameters:
Fill 0% on the layers.
Blending Options>Gradient Overlay
Gradient’s parameters:
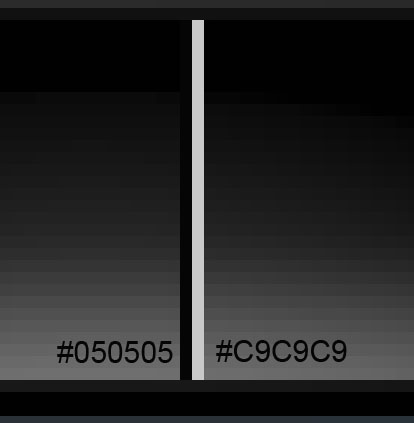
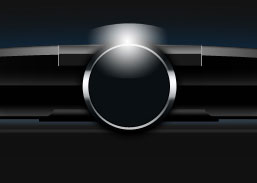
Selecting the Ellipse Tool (U), try to make one more layer reserved for the site’s logotype, colored in #0A0F12.
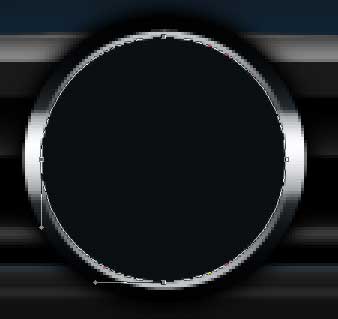
The layer’s parameters:
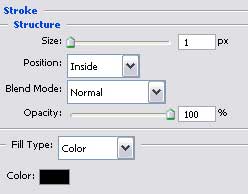
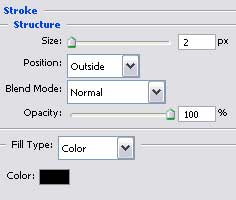
Blending Options>Stroke
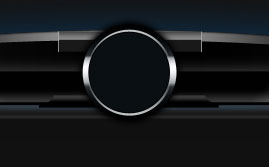
Select the last applied instrument to draw now a flare on the logotype’s made element.
The layer’s parameters:
Fill 0% on the layers.
Blending Options>Gradient Overlay
Gradient’s parameters:
Press the Alt button and make a mouse’s click between the layers for the flare to be applied in the limits of the primary layer.
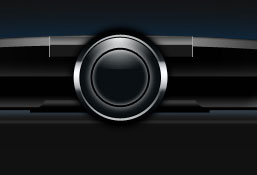
Select the Ellipse Tool (U) to draw the next logotype’s layer.
The layer’s parameters:
Fill 0% on the layers.
Blending Options>Outer Glow
Blending Options>Inner Glow
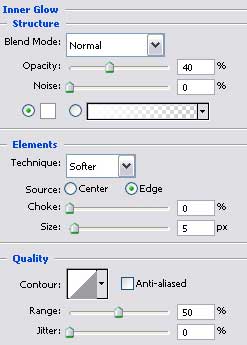
Blending Options>Stroke
Next step includes creating a special section situated on the left side of the panel on the site’s sections. We’ll select the Rectangle Tool (U) for this operation.
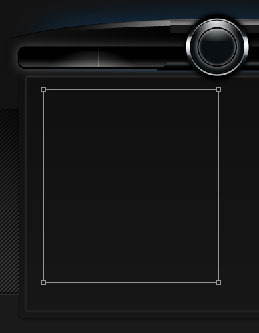
The layer’s parameters:
Fill 0% on the layers.
Blending Options>Gradient Overlay
Comments