
Professional Header
1) Create a new image 700×160 with transparent background. Rename this layer as “background”
2) Fill the background with #adacac.

3) Create a new layer, rename this layer as “header”, make a selection and fill it with any color.

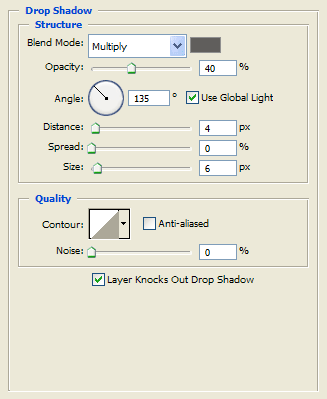
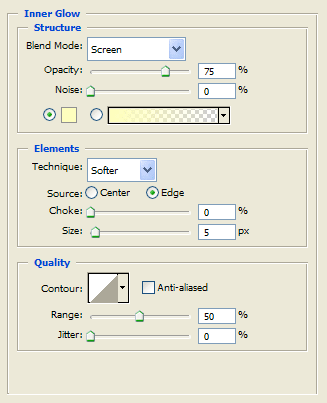
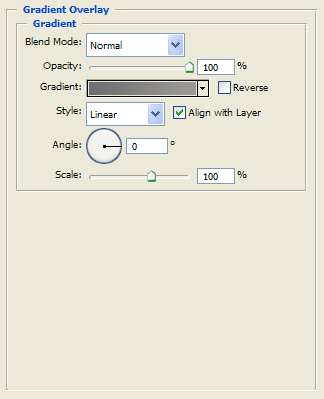
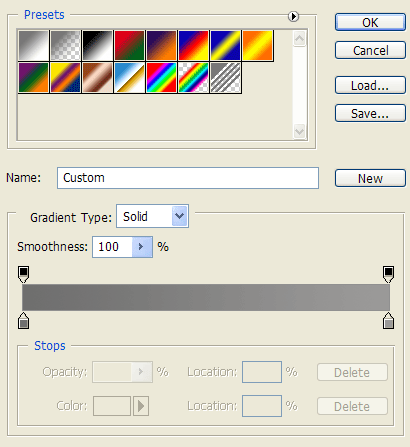
4) Right click the header layer and choose Blending Options, use these settings:

Drop shadow:
Inner glow:
Gradient overlay: use these colors #6f6f6e —> #9b9a99
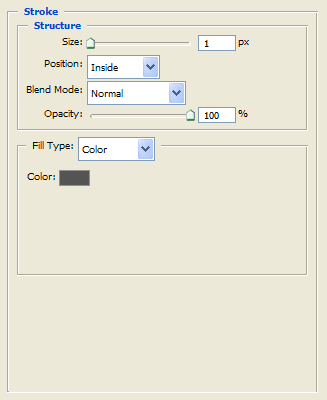
Stroke:
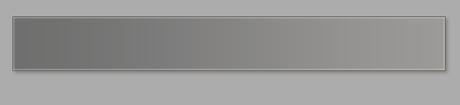
The result is:
5) Create a new layer, rename this layer as “menu”.
6) Select the Rounded Rectangle Tool and draw a shape similar to this:
7) Right click the menu layer and choose Rasterize Layer.
8) Right click the menu layer and choose Blending Options, use these settings:
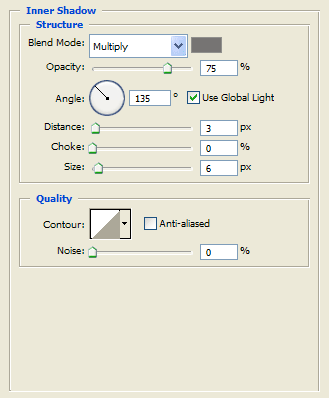
Inner Shadow:
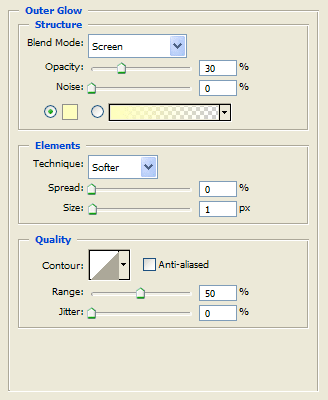
Outer Glow:
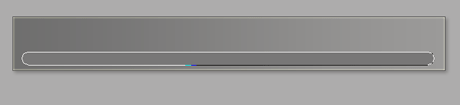
The result is:

9) Finally add some text for the links, a text title, an image and you are finished.
The final result is:


Comments