
Practice interesting design
Hello. Today we are going to practice some design. For this one I’m using Photoshop version 9 or CS 2. The basic thing about the design is shape and color, so we will do some shaping and color them in the end.
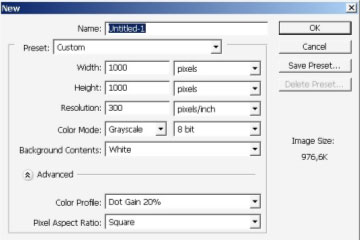
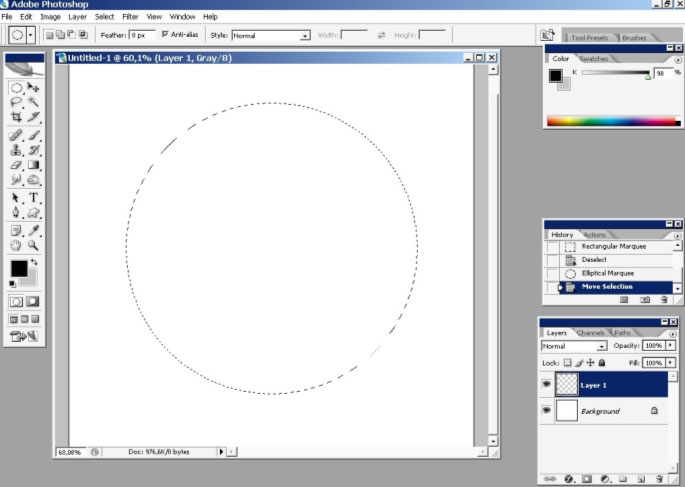
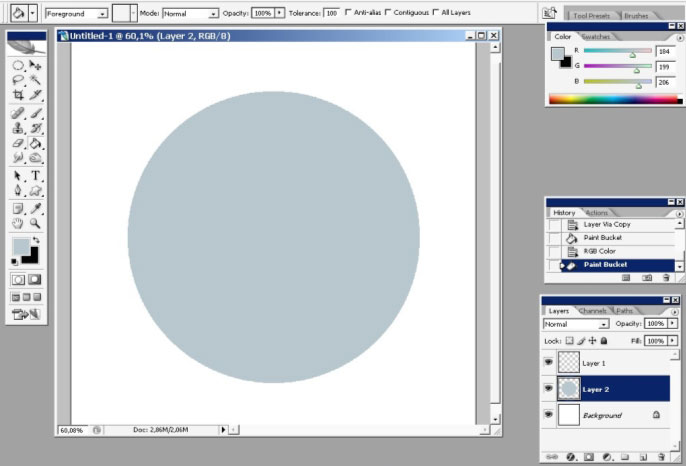
Create a new document and a layer.
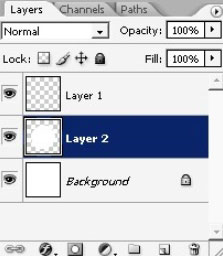
Make a round selection and copy it to a separate layer. As the color is white (like on the background) fill the newly copied layer with some color.

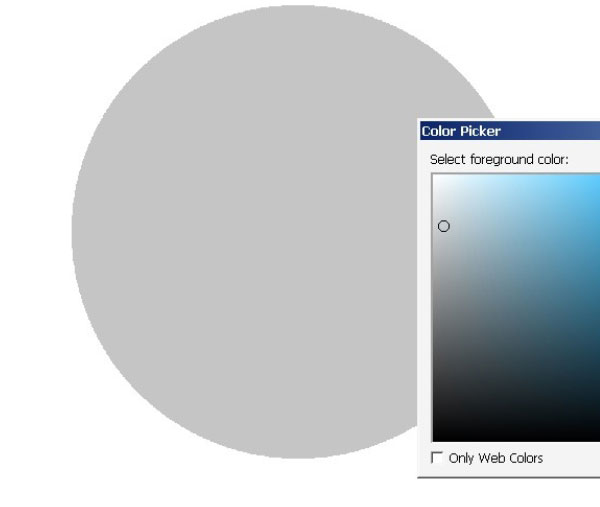
I like it to be a little bluer.
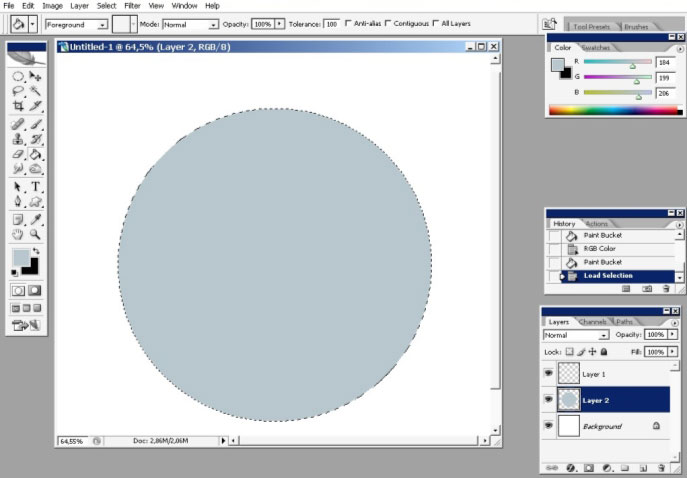
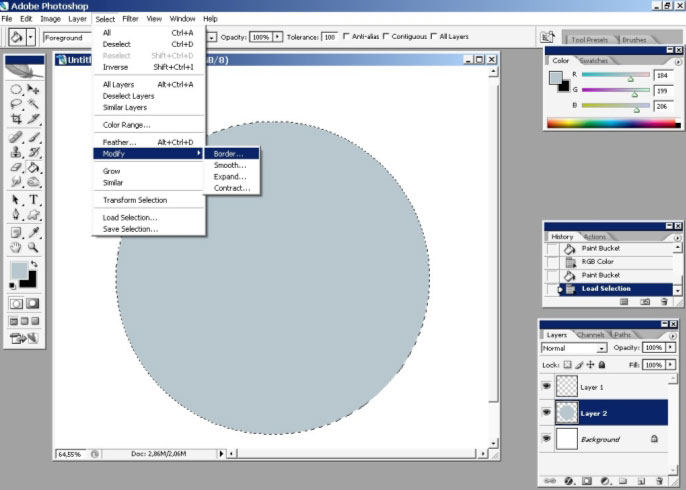
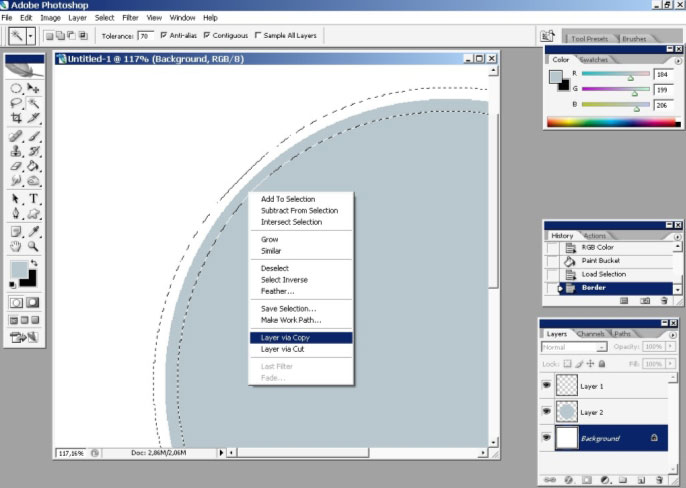
I will use object’s border as a different layer and its style will be completely different.
So Alt+Click on the layer selecting it; go to Select > Modify > Border and make a 33 pixel border.
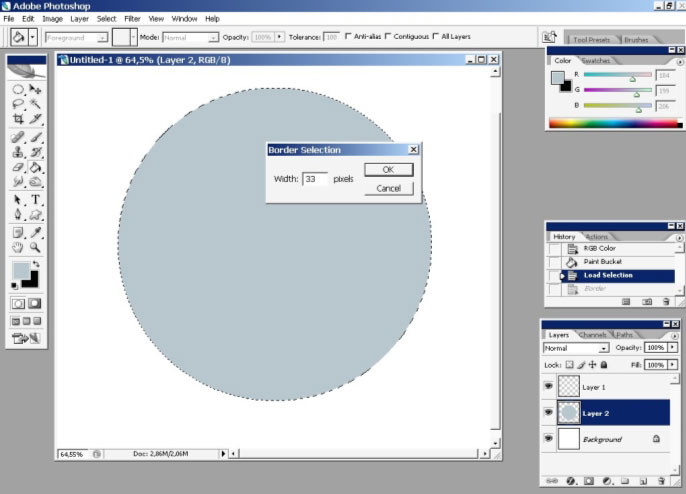
When the selection is done, copy the layer to a new separate layer.
There we have it. Now let’s style the border using layer styles.
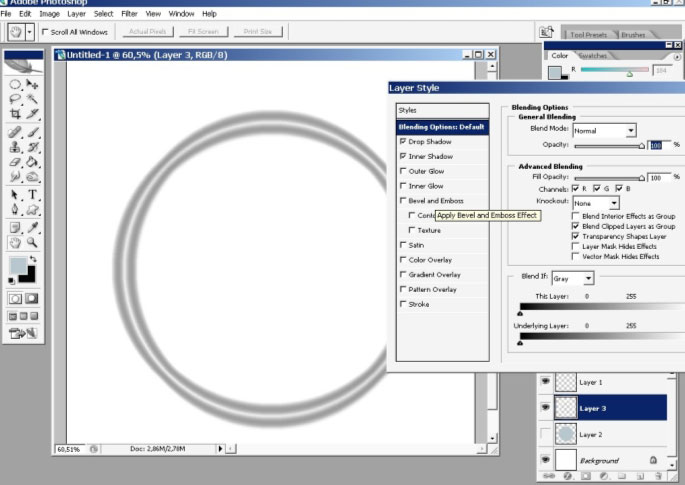
All the layers styles are quite typical and don’t have any complex settings.


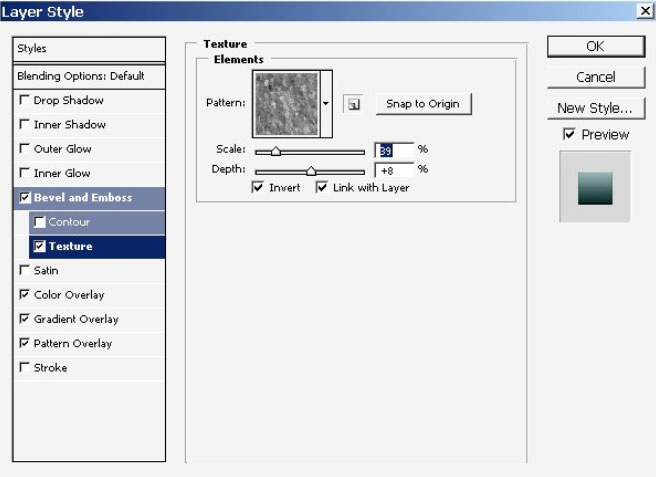
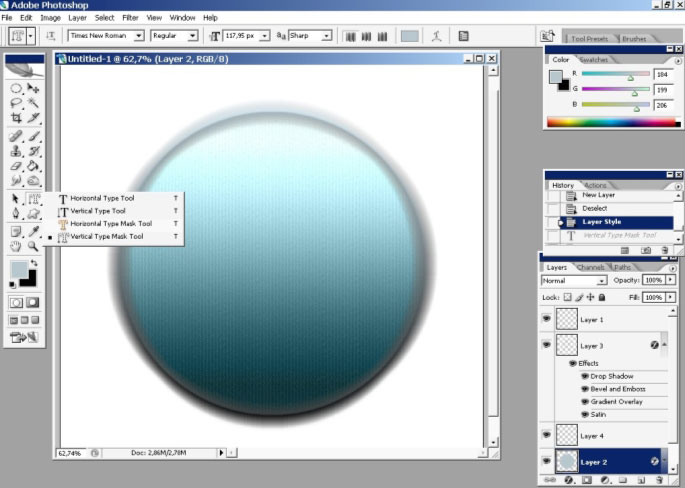
Now, when we took care about border style let’s take care about the center, circle area.
I will try to give as mush styles as possible to this one.
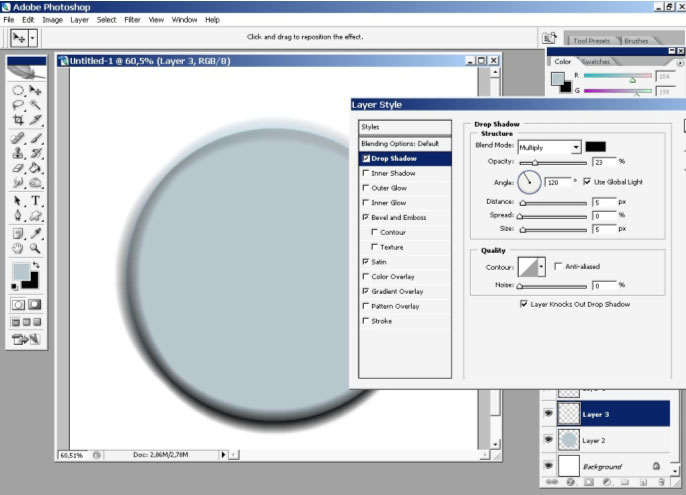
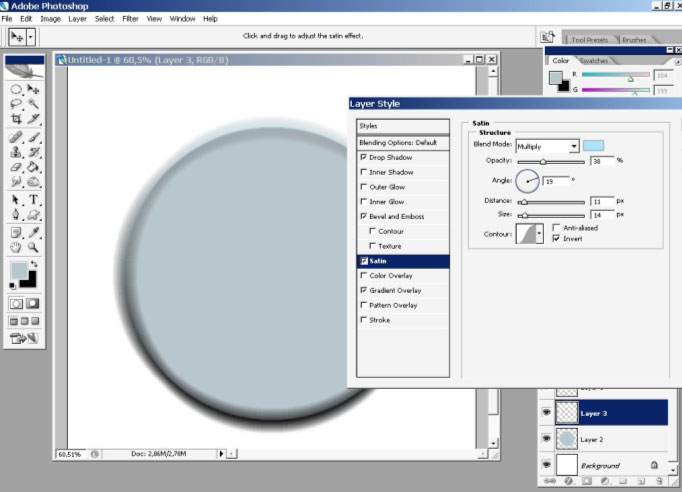
1- we have Emboss with the small amount of texture, you will hardly see it.

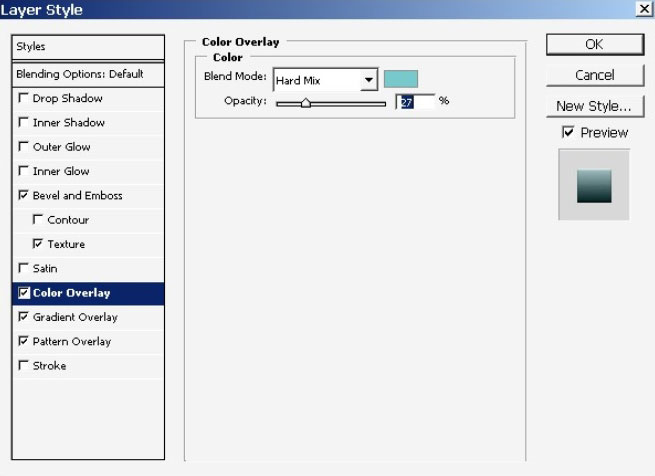
2- Cyan color overlay set to hard mix to maximize the contrast of the image.
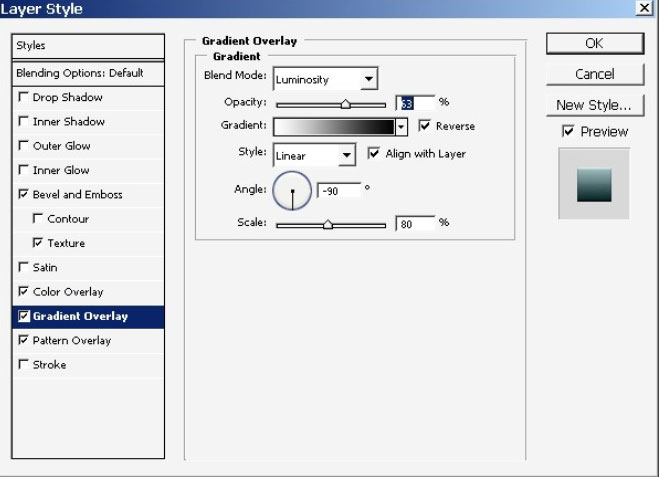
3 – quite standard gradient overlay set to Luminosity.
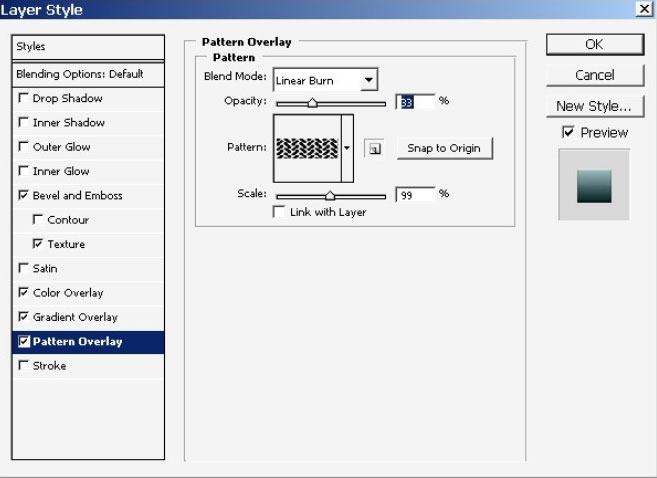
4 – and of course the pattern set to Linear burn (&33% opacity)
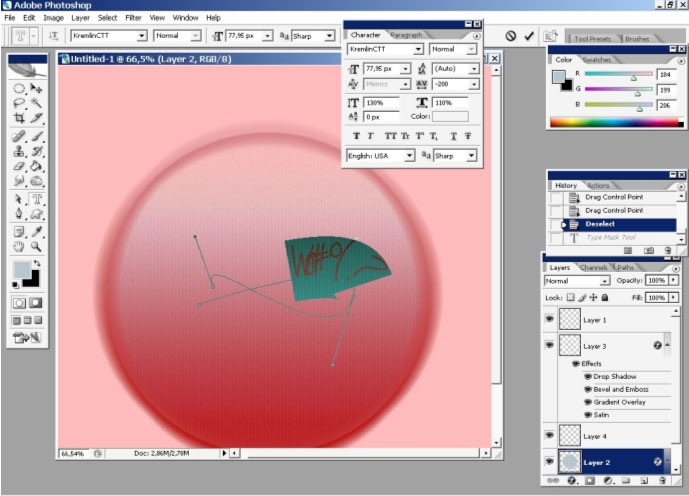
Now I’ve remembered a very good and easy technique that can be applied to styled objects.
Choose Horizontal Type Mask Tool. But first I would like to create a curve line using pen tool.
Here we have the curve and now it’s time to layout our text.
This time there will be no concrete words just symbols.

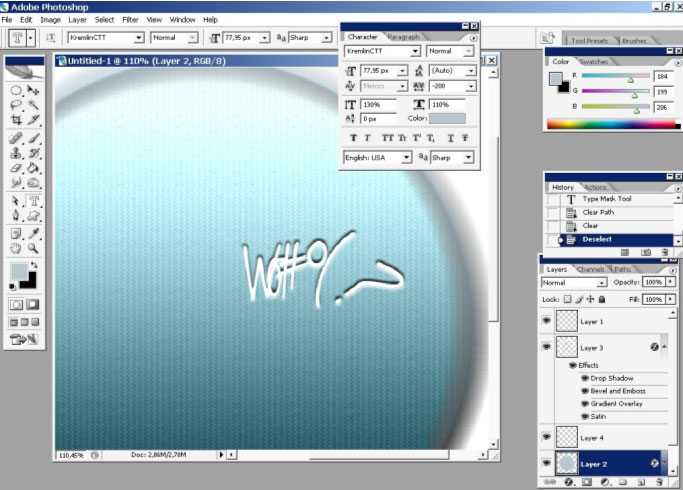
We’ve used Type mask, remember? So we have just a selection of our text.
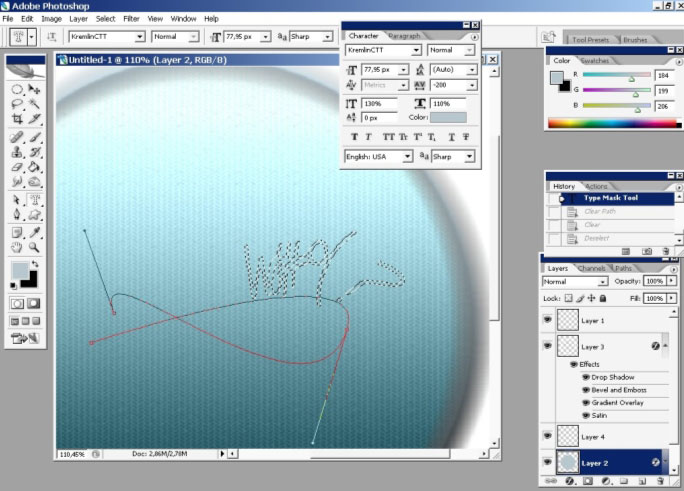
And now just hit delete. To delete all that is within the selection (can be selected inverse).
We’ve could have used styles and do better but it is a very easy to use and good technique.
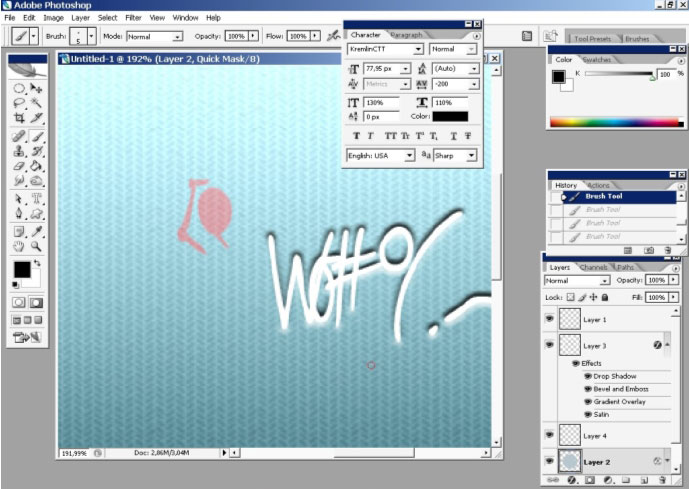
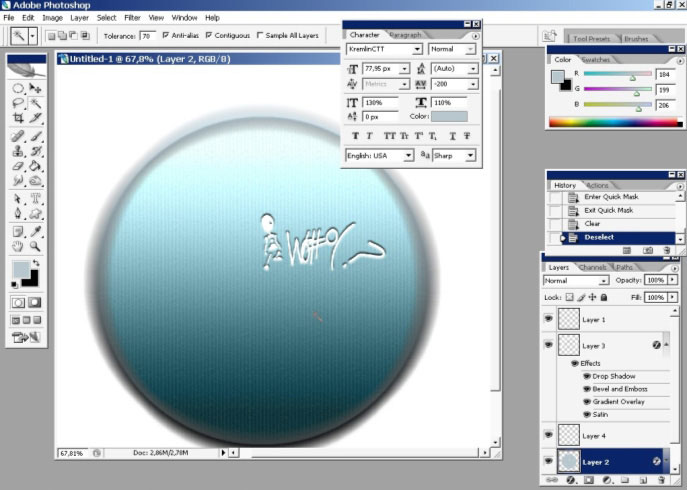
Let’s do a little more on this one. Hit the -Q- key and you will enter the Quick Mask Tool.
I
will paint some kind of character using quick mask. In quick mask you
got only 2 colors: black and white. Black masks the effects and white
exposes the effects; just like a brush and eraser.
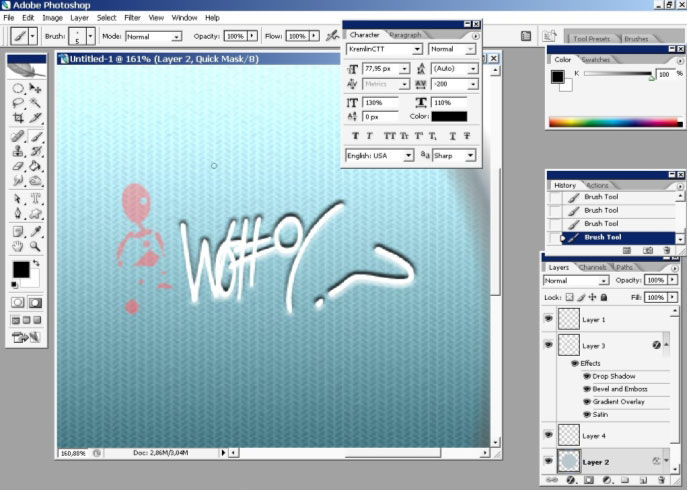
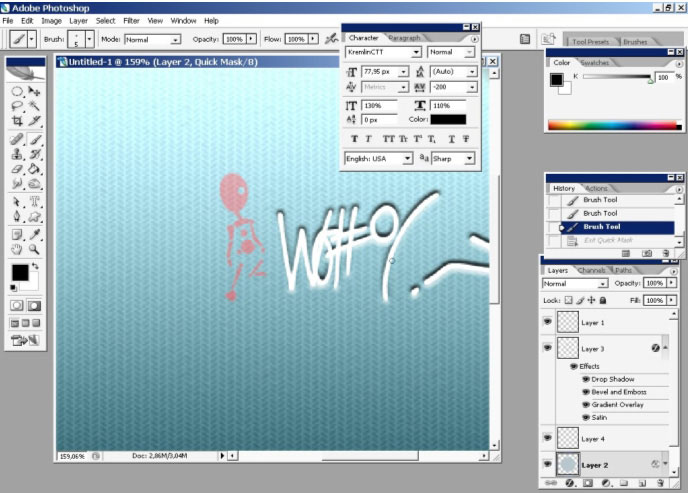
When you are done with shaping just hit -Q- key selecting the whole area,
but without the character itself, so you will have to Select Inverse.
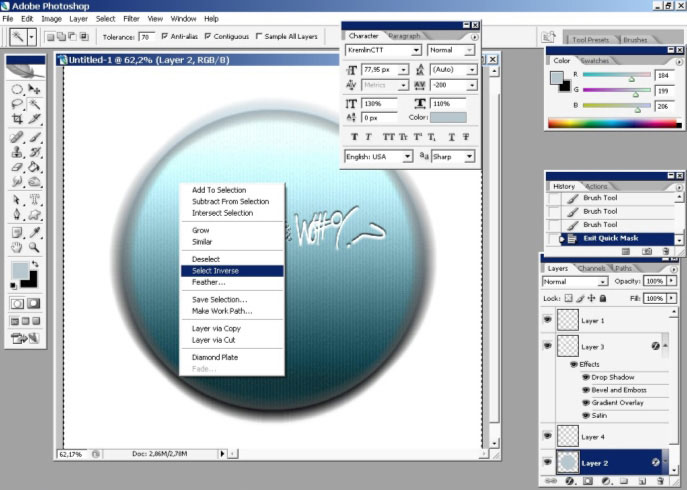
…and hit delete deleting all the character area. Note that you should stay on the base layer (Layer 2).
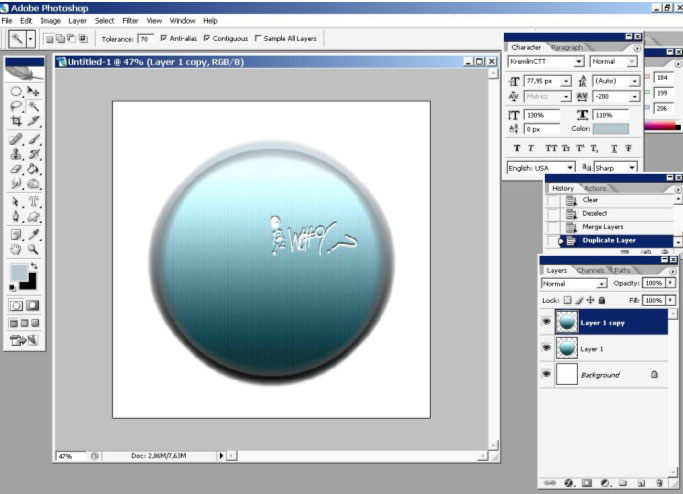
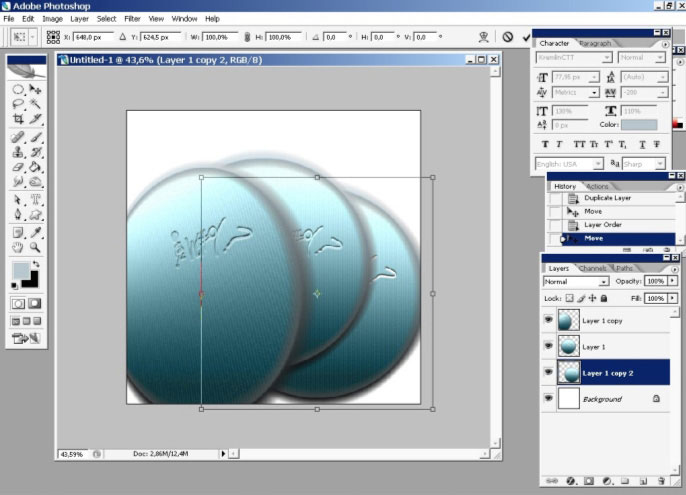
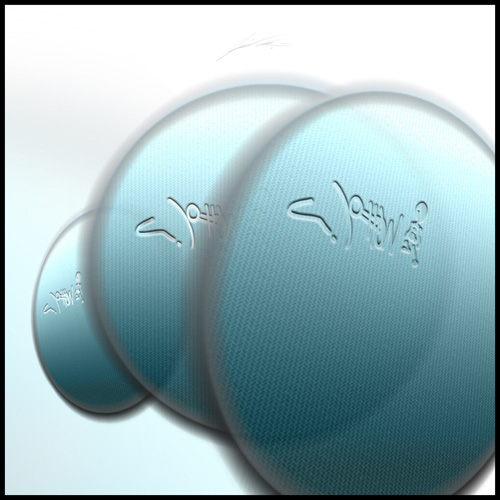
Now, about the design. Just make several copies of the layer (I’ve merged all my effects into one).
Make one smaller than the original and one bigger then the original.

I will now transform each of my newly created layers and put them into perspective.
I
will not explain what perspective is because it will take a lit of time
to you to understand and feel it. Just try to feel it, feel when the
object stays right, on the right angle, just like happens in the real
world.

I will lower the opacity of each layer a little bit.
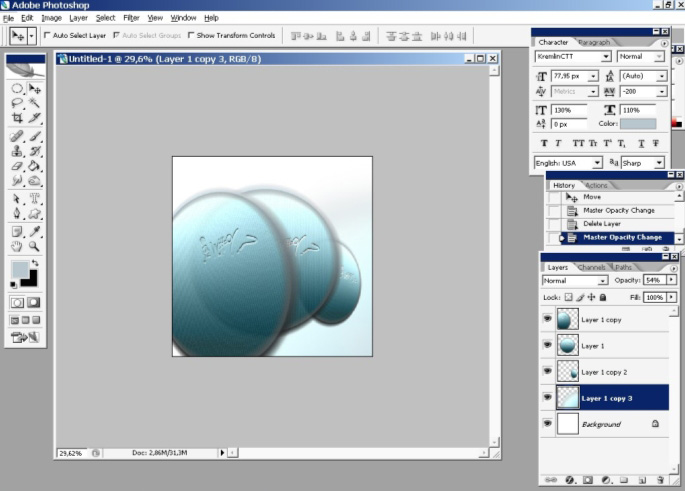
And we are done here! Enjoy the design!
Comments