
Practice advanced texturing using layer styles
Today we are going to practice advanced texturing using layer styles in Photoshop.
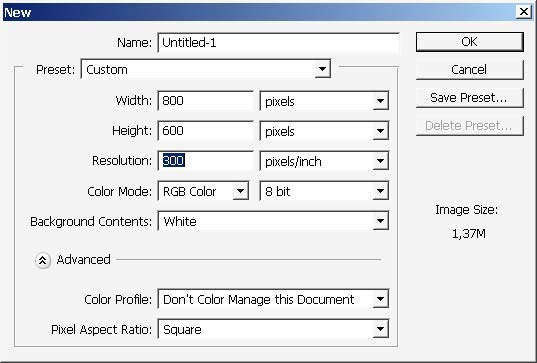
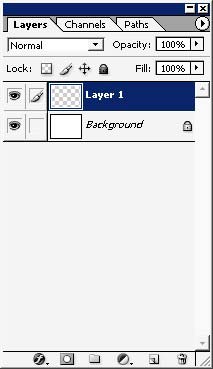
So create a new document, and a layer. I suggest to set 300 dpi pixel resolutions for better image quality.
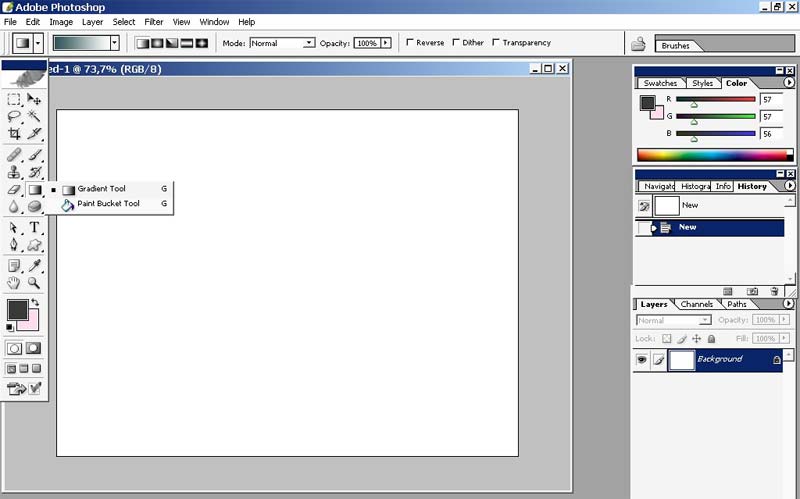
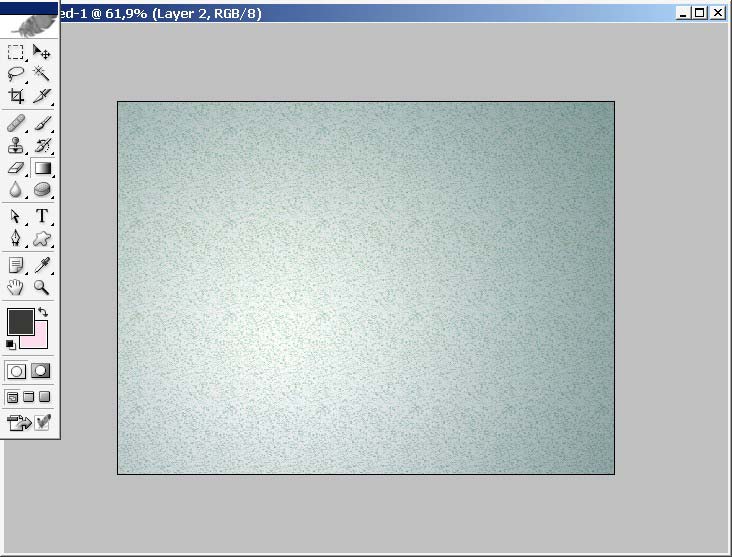
Fill the layer with gradient.

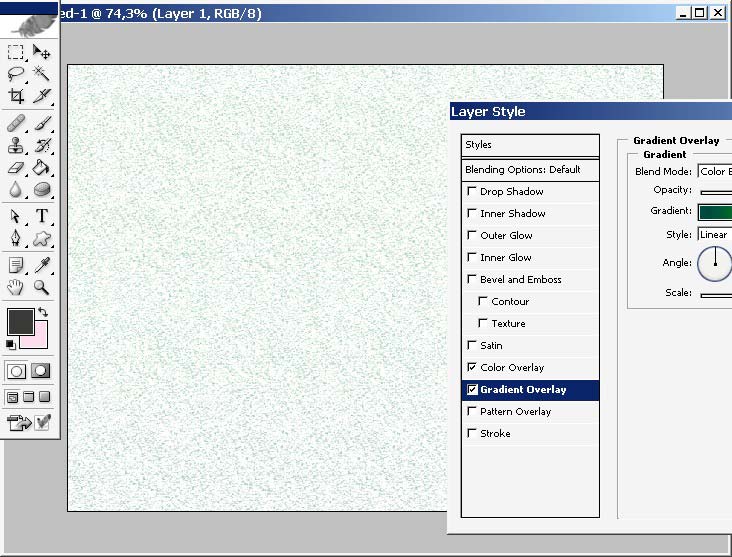
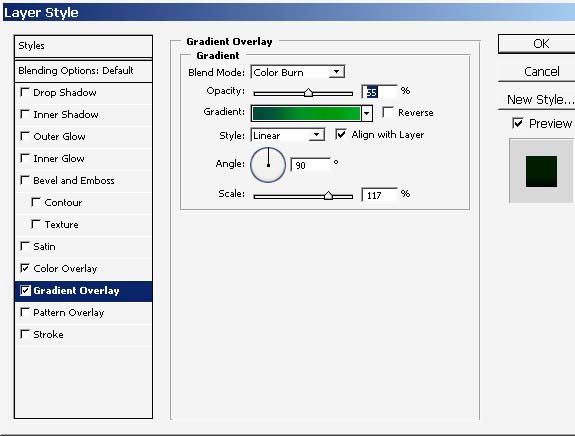
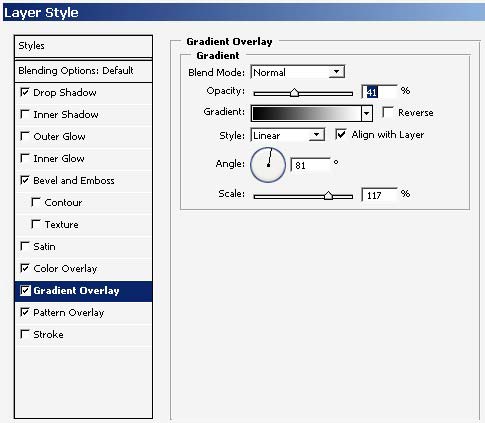
Moreover I want you to overlay the gradient layer with some of layer styles.
Especially the texture part is important here.
So follow me.
Here is what we’ve got as a result.
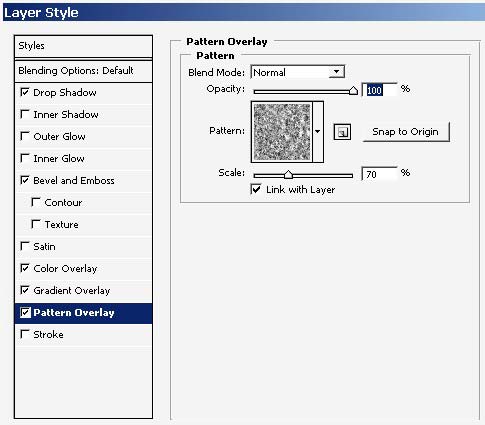
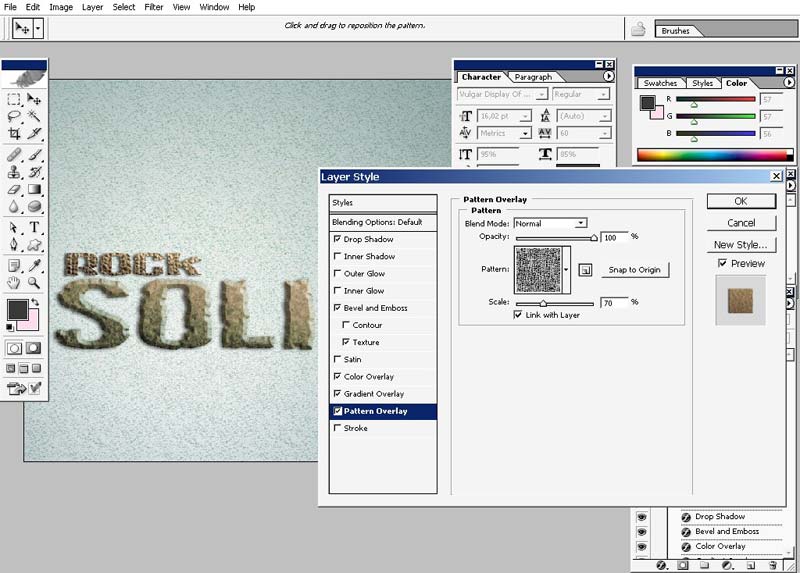
Add a pattern overlay.
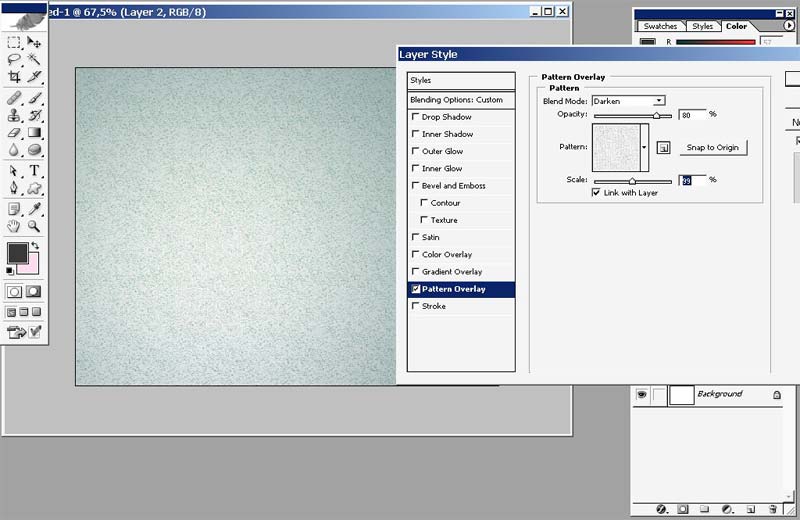
That is it for our background. Let’s make a foreground element.
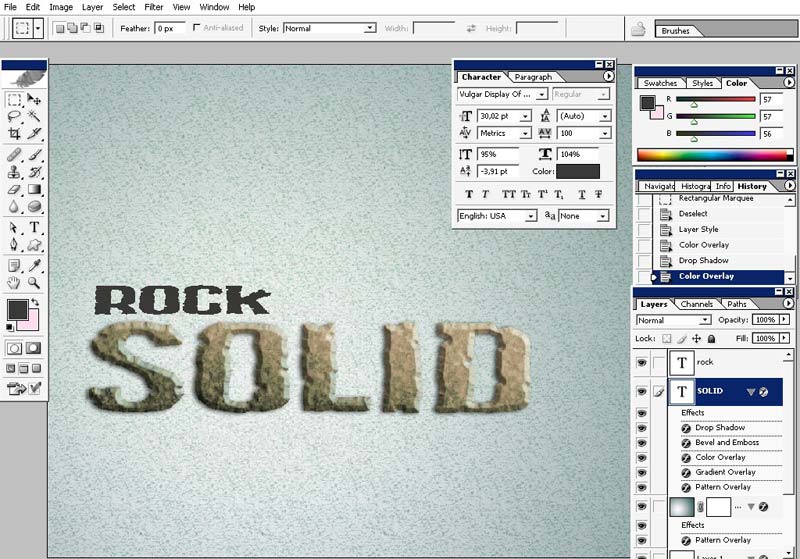
I will use text as a foreground element.
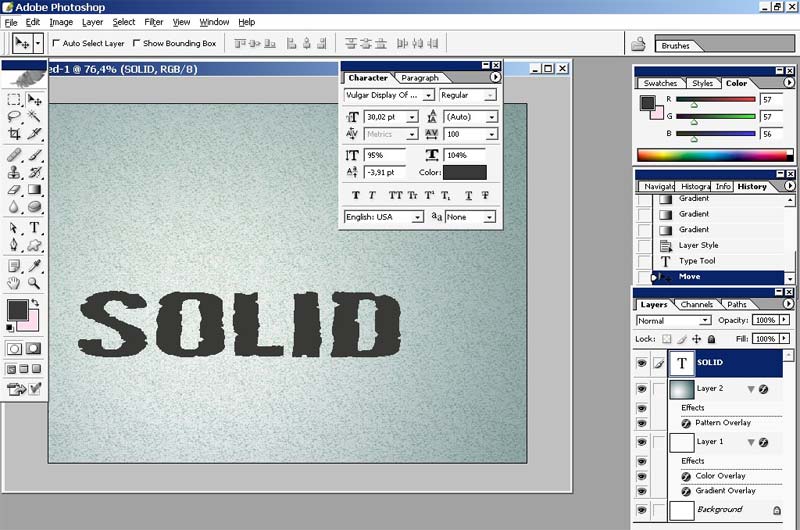
So here is our text. See the settings in the right cornet.
My text says solid.
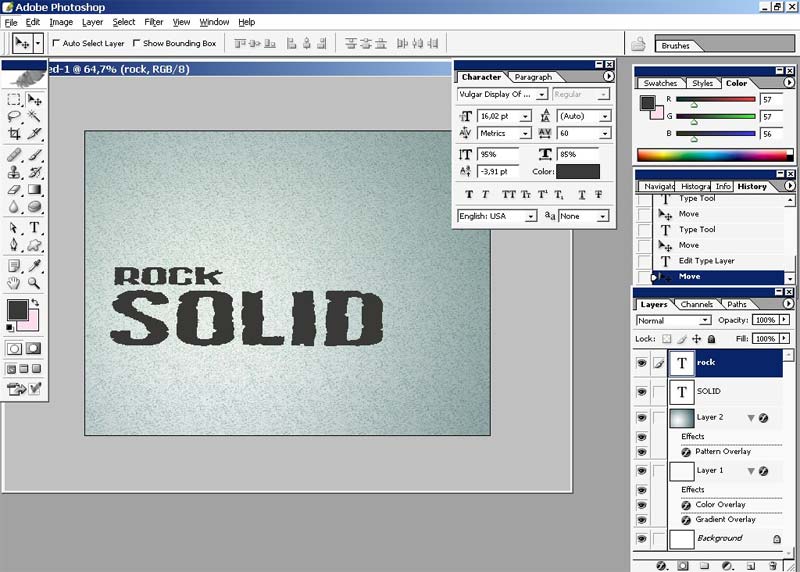
I will do another line that says rock, and the whole phrase will be rock solid.
The second word will be mush smaller. It will be a part of my design concept.
You can see the settings in the right upper corner too.
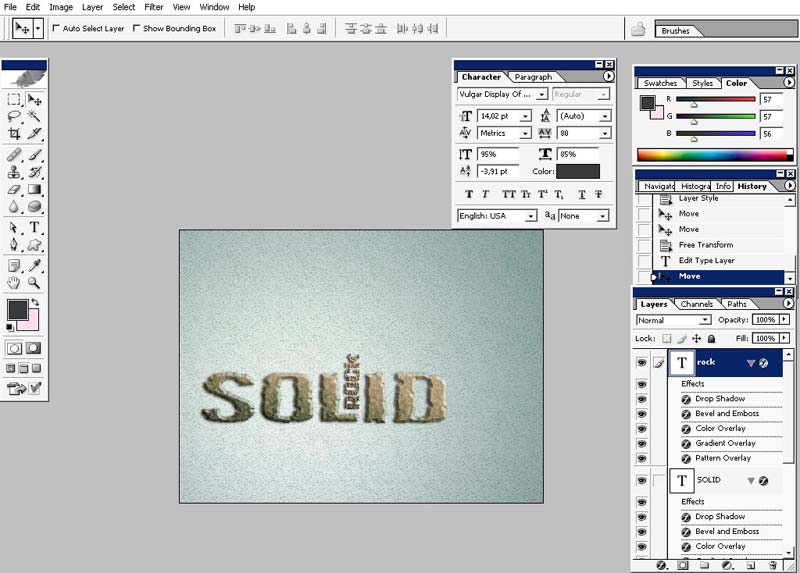
Now let’s texture those.
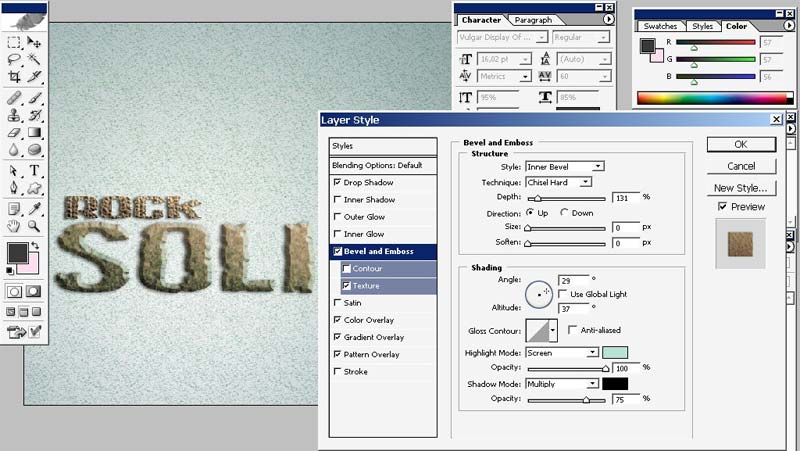
I will start from SOLID.
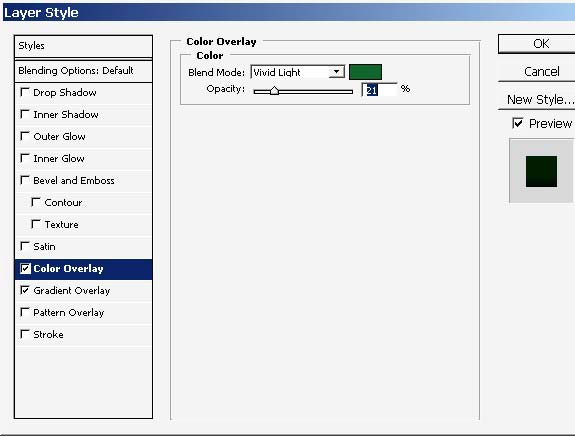
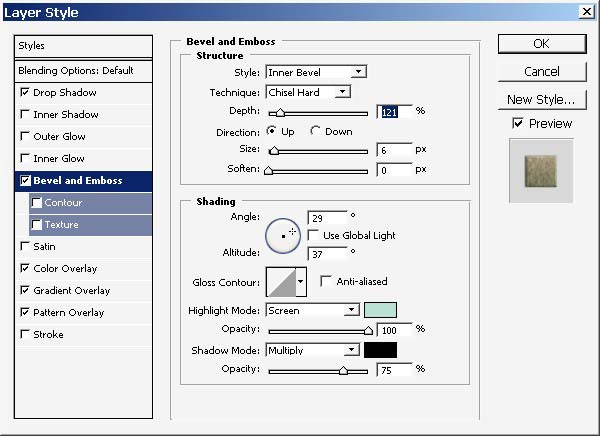
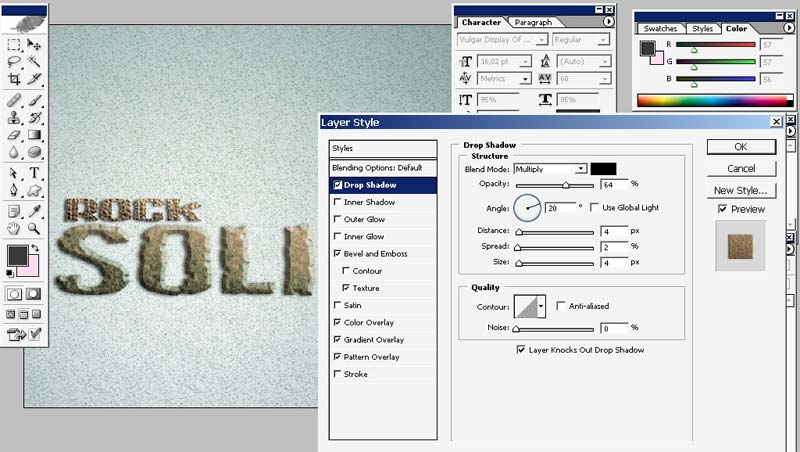
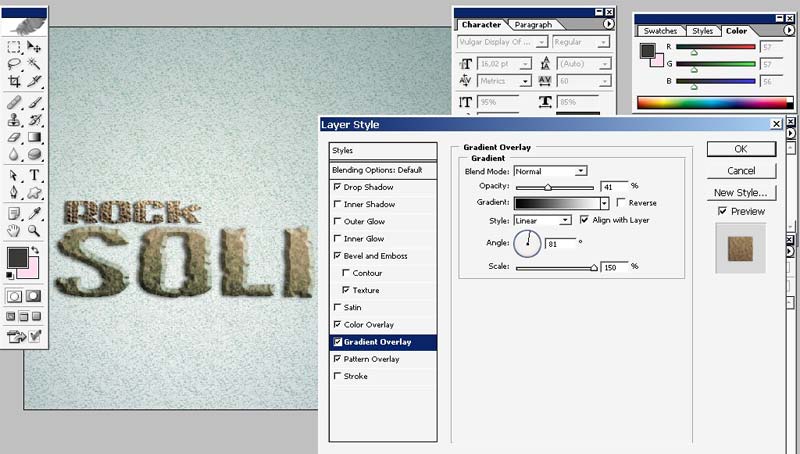
And here are my layer styles to SOLID.

Note the light source here. Moreover the highlight zone color is similar to our background color and has green tone.
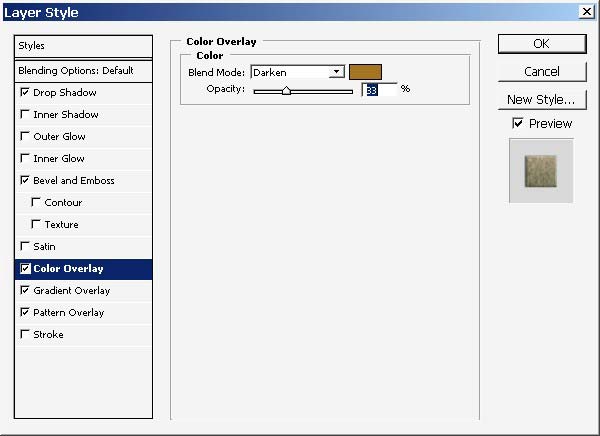
See the color here.
Choose the crackly pattern to be similar to a rock pattern.
And see the result for your self.
Very mush alike a rock, don’t you thing so? And all this is made without tablet and hand painting styling.
Now for the rock part: I will make it made out of stone too, but the stone texture will be different this time.
So the layer styles settings will be a lot similar to Solid.

Change the pattern.
Now a little bit transformation of the word rock to form some sort of design.
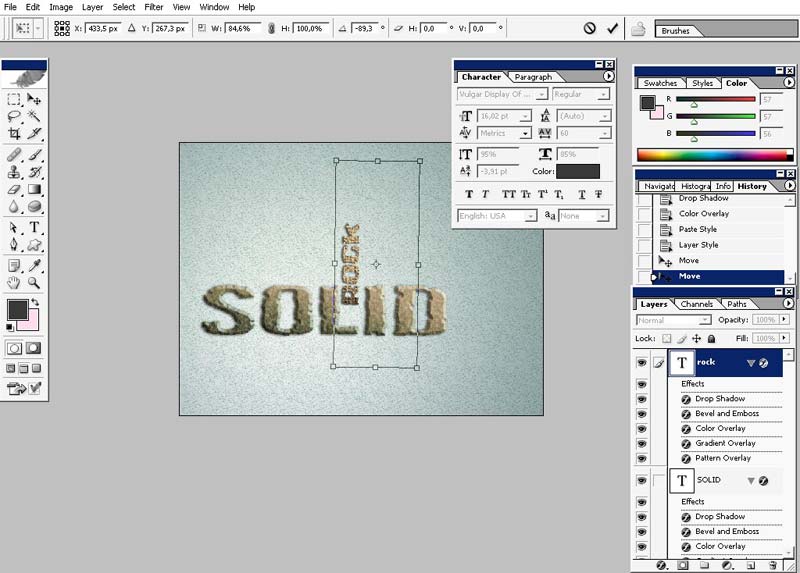
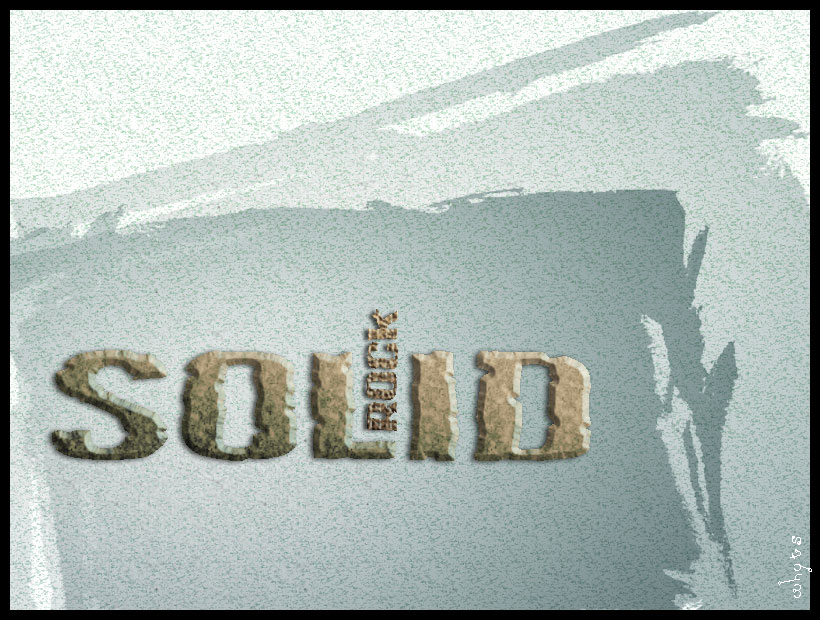
And one more thing: I’m using the Photographic edges from AutoFX Photoshop plug-in to form these borders. It is very easy done in this plug-in.
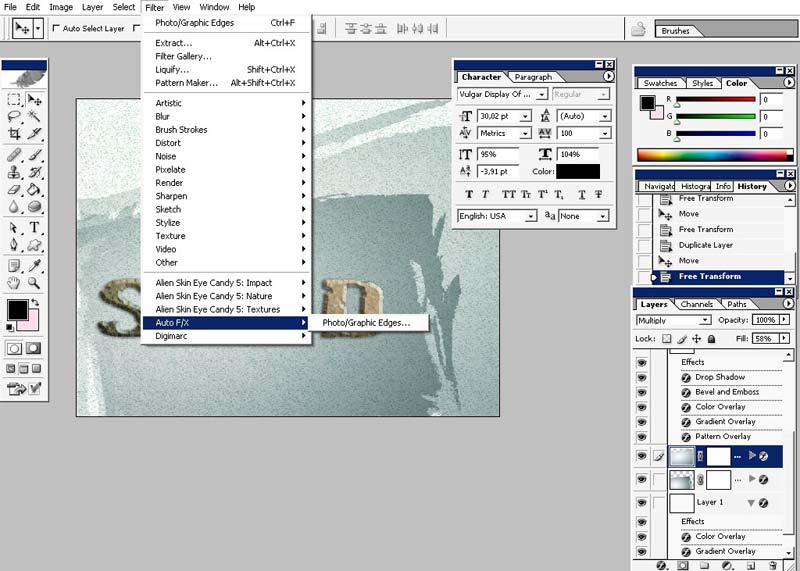
And we are done here.
Comments